

The Exact Order You Should Build Your Campervan In and Why It Matters.
The most common mistake first time van builders make is jumping in and starting for the sake of “just making progress”. Halfway through the build, that often turns into burnout, decision fatigue, or realising important steps were missed.
Every good van conversion follows three clear phases. This 23-step build order walks you through them in sequence - from researching and buying your van, through critical groundwork like rust treatment and insulation, to the final touches that get you on the road.
If you don’t know what order to do things in, this guide gives you a clear, proven path forward - so your time, money, and energy go into the right steps, at the right time.
Here are the steps I follow in every van conversion, and why each one is tackled in the order that it is.
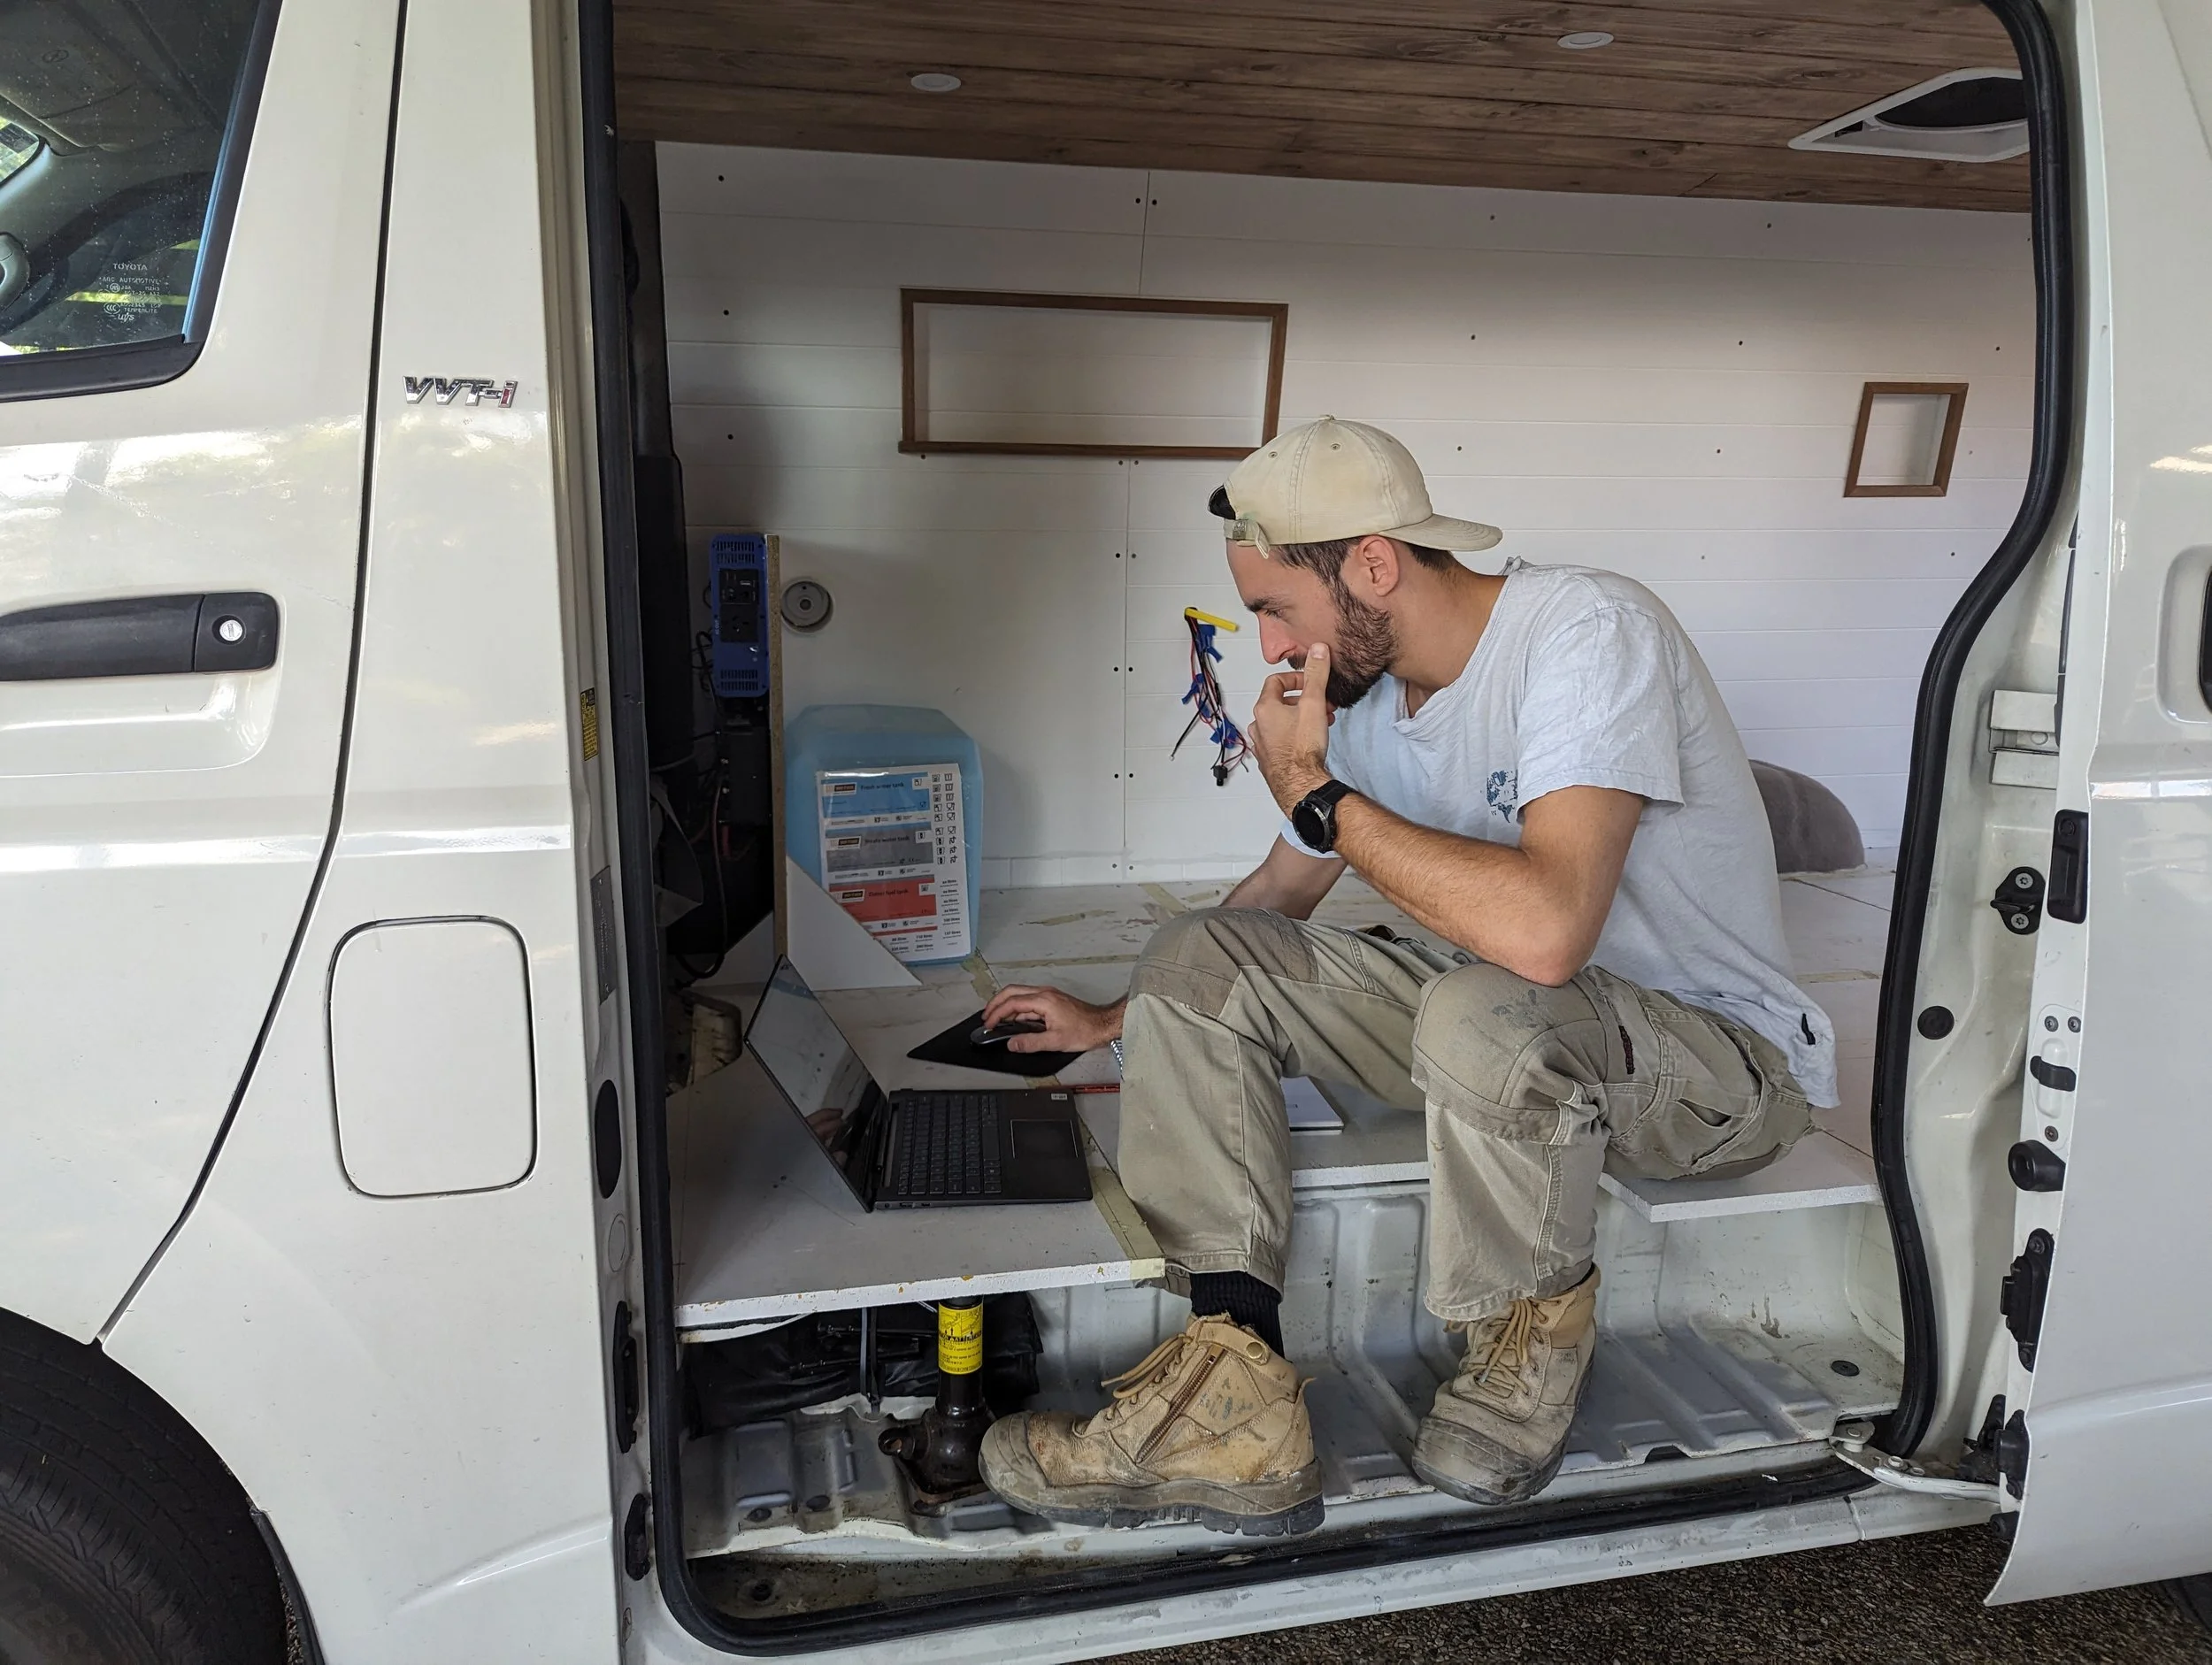
🔧 Part 1 - Planning & Preparation
The more work you put into these 3 steps, the easier, quicker, and cheaper the rest of your build will be.
The planning and preperation phase is all about learning what you don’t know - which vans are suitable vs. which ones aren’t. You’ll start to gain a basic understanding of 12v electronics, and research what van layouts would best suit you and make the most efficient use of the space. This step involves a lot of learning on new topics. It can be overwhelming at times, but the work you put in here is the biggest indicator of how smoothly your van conversion will go once you’re in the trenches of your van build and up to your ears in decisions!
The Planning & Preperation steps are:
Choosing Your Van
Budgeting a Van Conversion
How to Buy a Used Van
Designing Your Conversion Layout
12V Electronics – Understanding The Basics
Creating Parts Lists
As you set out to reasearch each of these steps I highly recommend you start with the Free Planning & Preparation Guide on my website. It takes all the information from my own research as well as years of experience building and living in vans all synthesised down to easy to follow processes and ideas.
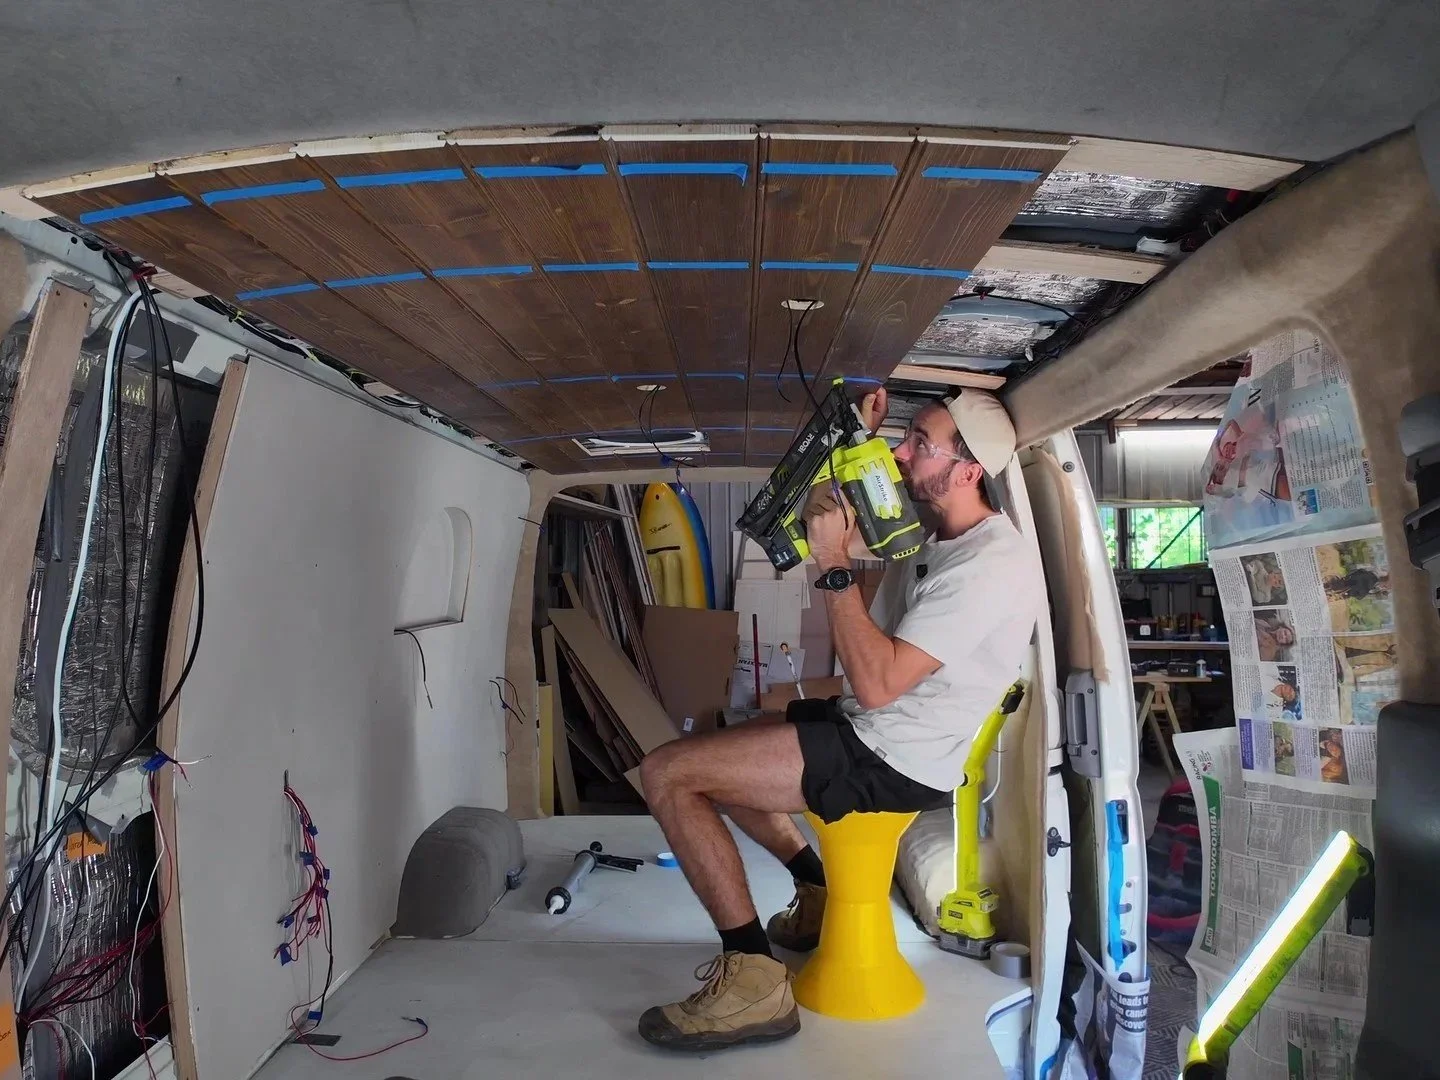
This is where you finally get your hands dirty. You’ll begin by stripping the van back nothing and start building your campervan the right way - from the ground up - and end with a beautiful and practical “blank canvas” for the rest of your fitout. A lot of the work you do in this phase is about preparing your conversion to be ready for a straighforward and seamless Fitout phase. Although steps like rust treatment, insulation and sound deadening aren’t visible in the end, they’re critical to get right now to avoid unfortunate re-works, and for the comfort and health of your van long into the future.
The Base Build steps are:
The order in which you complete the steps in this phase are more important than any other. In-fact if you take nothing else away from the Journey Van Build resources available - if you at least take this list with you, you’ll be far ahead of most who start out on their conversion journey blind and swinging in the dark! But better than a list, I want you to go to the Journey Van Builds Conversion guide where you will have access to the complete breakdown of each step listed here including which tools and materials I recommend, practical step-by-step instructions on each task, and my tips and tricks after my hands on experience and the mistakes of dozens of first time van builders I’ve worked with. The value of this guide is massive - go check it out!
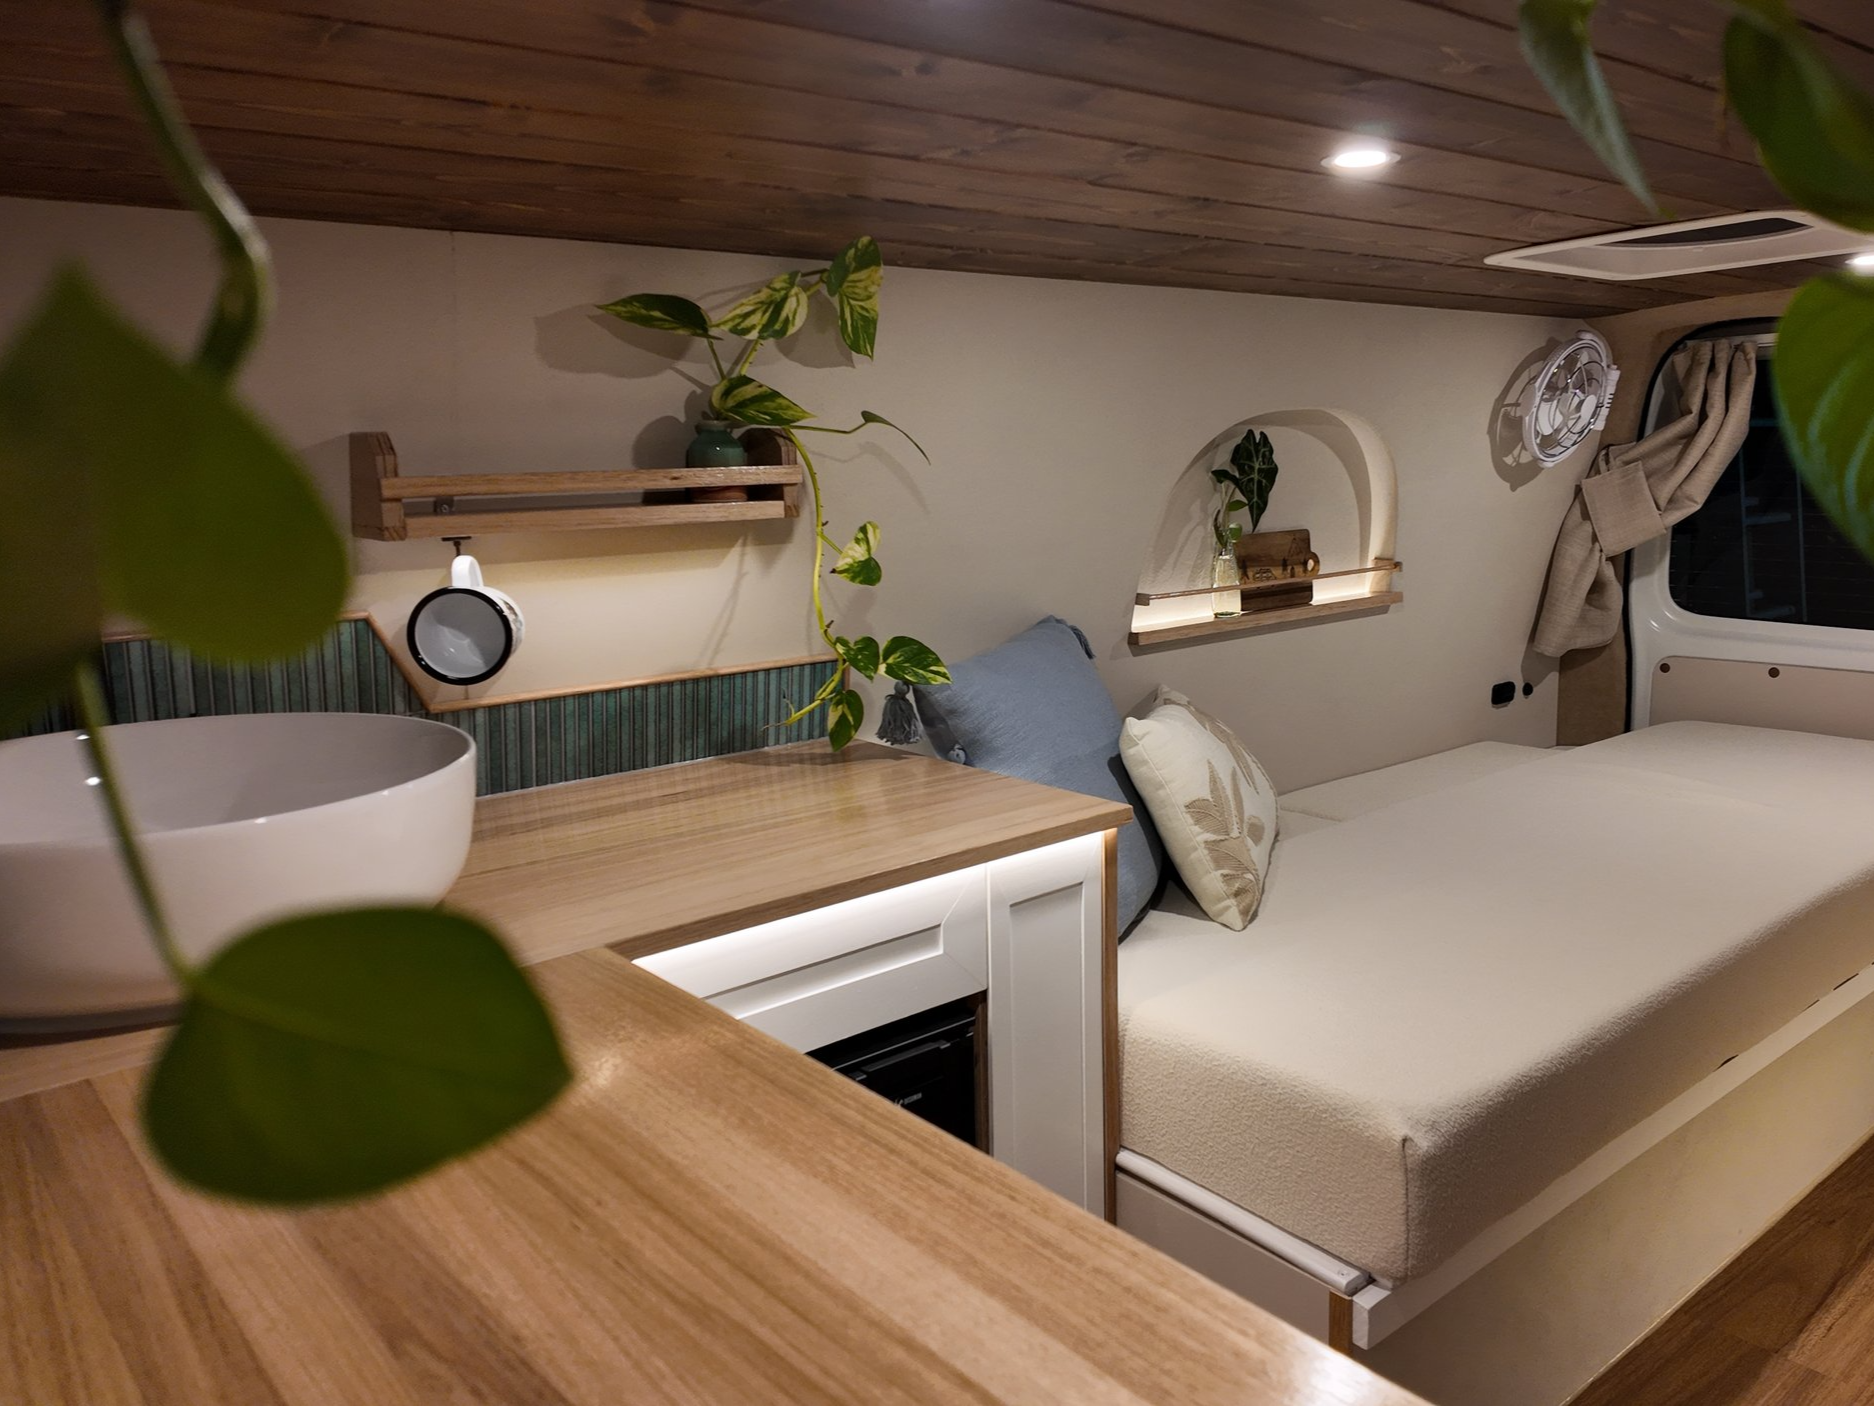
🏠 Part 3 - Fitout
Finally, you start to see the build come together. With a clean, well-thought-out base build behind you, it’s time to give the van its heart - the 12V and plumbing systems - and its soul, through your own carpentry, layout choices, and personal touches. Because these steps are all so influencial in the final product of your van they can be really rewarding, but there’s still a lot of “heavy lifting” to be done. The final install of your 12v system for example requires a practical understanding of 12v electronics, and building cabinetry can be as complicated as you want it to be. These steps become slightly less about the order in which you’re doing them, and more about the reliability of the information you’re following for each step individually.
The steps in the Fitout phase are:
Electrical System Install
Plumbing
Kitchen Cabinetry
Bed
Storage
Finishing Touches
While creating a “one size fits all” guide for this phase ins’t possible because each person who is undertaking a van build has very different priorities, skill sets and expectations for their campervan conversion - there are a number of video on the Journey Van Builds YouTube page detailing the methods I use to bring these aspects of a build to life.