


Van Conversion Guide
Base Build
Finished Walls
This is where the transformation really begins. You’re covering the rough metal interior of your van with clean, modern walls - creating a blank canvas for the rest of your build. It’s exciting, but before you get stuck in, make sure all your electrical rough-in is done. Every wire should be run, labelled, and double-checked - because once the walls go up, there’s no easy way to go back.

Materials and Tools
Tongue-and-Groove Boards
A popular option for van walls that gives a clean, homey look. Easy to install piece-by-piece, which makes them beginner-friendly. The natural timber grain also looks great if you’re going for a warm, earthy interior.
MDF Sheets
A more affordable option that covers large areas quickly. Great if you’re confident with curves and cutting, but can be tricky to install solo. Mistakes are less forgiving, so double-check your measurements before committing to a cut. (Some people use plywood for this but I prefer MDF because it has a much smoother finish.)
Paint or Stain
Used to finish your wall panels and seal both sides before install. I recommend white for the interior to keep the van bright, and a timber oil, stain or clear varnish to highlight any woodgrain or add warmth.
Clear Coat or Varnish
If you’re staining or oiling your timber, apply a clear coat to protect it from dirt and marks. A semi-gloss or satin finish makes cleaning easier and adds durability in high-touch areas.
Sikaflex or Construction Adhesive
Helps secure the panels and reduce squeaks caused by vibrations while driving. Acts as both a structural adhesive and sound dampener when used behind each board.
Wood Glue
Optional, but useful for sealing gaps between tongue-and-groove joins. Helps prevent moisture from building up behind the walls and adds a touch more rigidity.


Additional Tools:
Screws
Jigsaw or circular saw
Sander or sanding block
Tape measure + pencil
Paintbrush or roller
Drill + driver bits
Impact driver
Rags or drop sheets

Know Your Finishes
Timber
There are two main approaches for wall panelling: tongue-and-groove boards or full plywood/MDF sheets. Both have their place, and the choice often comes down to budget, confidence, and personal preference.
Tongue-and-groove boards are the classic van look. They’re beginner-friendly, easier to install in small sections, and the repetitive process (measure, cut, repeat) is satisfying and forgiving. Sheets like 3mm or 7mm MDF cover larger areas faster and are cheaper, but they’re harder to install cleanly — and mistakes cutting curves means starting again. If you’re confident or working to a tight budget, sheet materials can be a great option. For a hybrid finish, you can even use a router to give a tongue-and-groove “VJ panneling” look to your MDF or plywood sheets.
Paint & Stains
When it comes to finish, white walls are a smart choice to brighten the space, especially in a smaller van. But don’t be afraid to mix in timber tones for warmth and contrast. Personally, I went for white walls with a stained timber ceiling — it keeps things light but still gives that natural, homely feel. If you're staining timber, use a clear topcoat to protect it from stains and scuffs, and go for a semi-gloss or exterior-grade paint to make cleaning easier.
Also — don’t forget to pre-paint or stain both sides of each board before install. The back side might not be visible, but sealing it gives better moisture resistance long-term.
Method
Double-check your cables
Make sure every cable run is in place, labelled, and accessible. Once the walls go on, cutting through is risky and messy.
Pre-finish all panels
Paint or stain both sides of your boards before installing. This protects against moisture and saves you from tricky edge work later. (Don’t paint/stain the tongues or grooves if you’re using pine lining boards)Measure and cut your boards
Use your framing layout as a guide making sure any joins in timber will fall on a frame for stability. For tongue-and-groove, start at the bottom and work board-by-board. For sheets, measure your wall shape carefully using stencils for curves and edges. Cut with a jigsaw and refine untill correct.Cut for cable access as you go
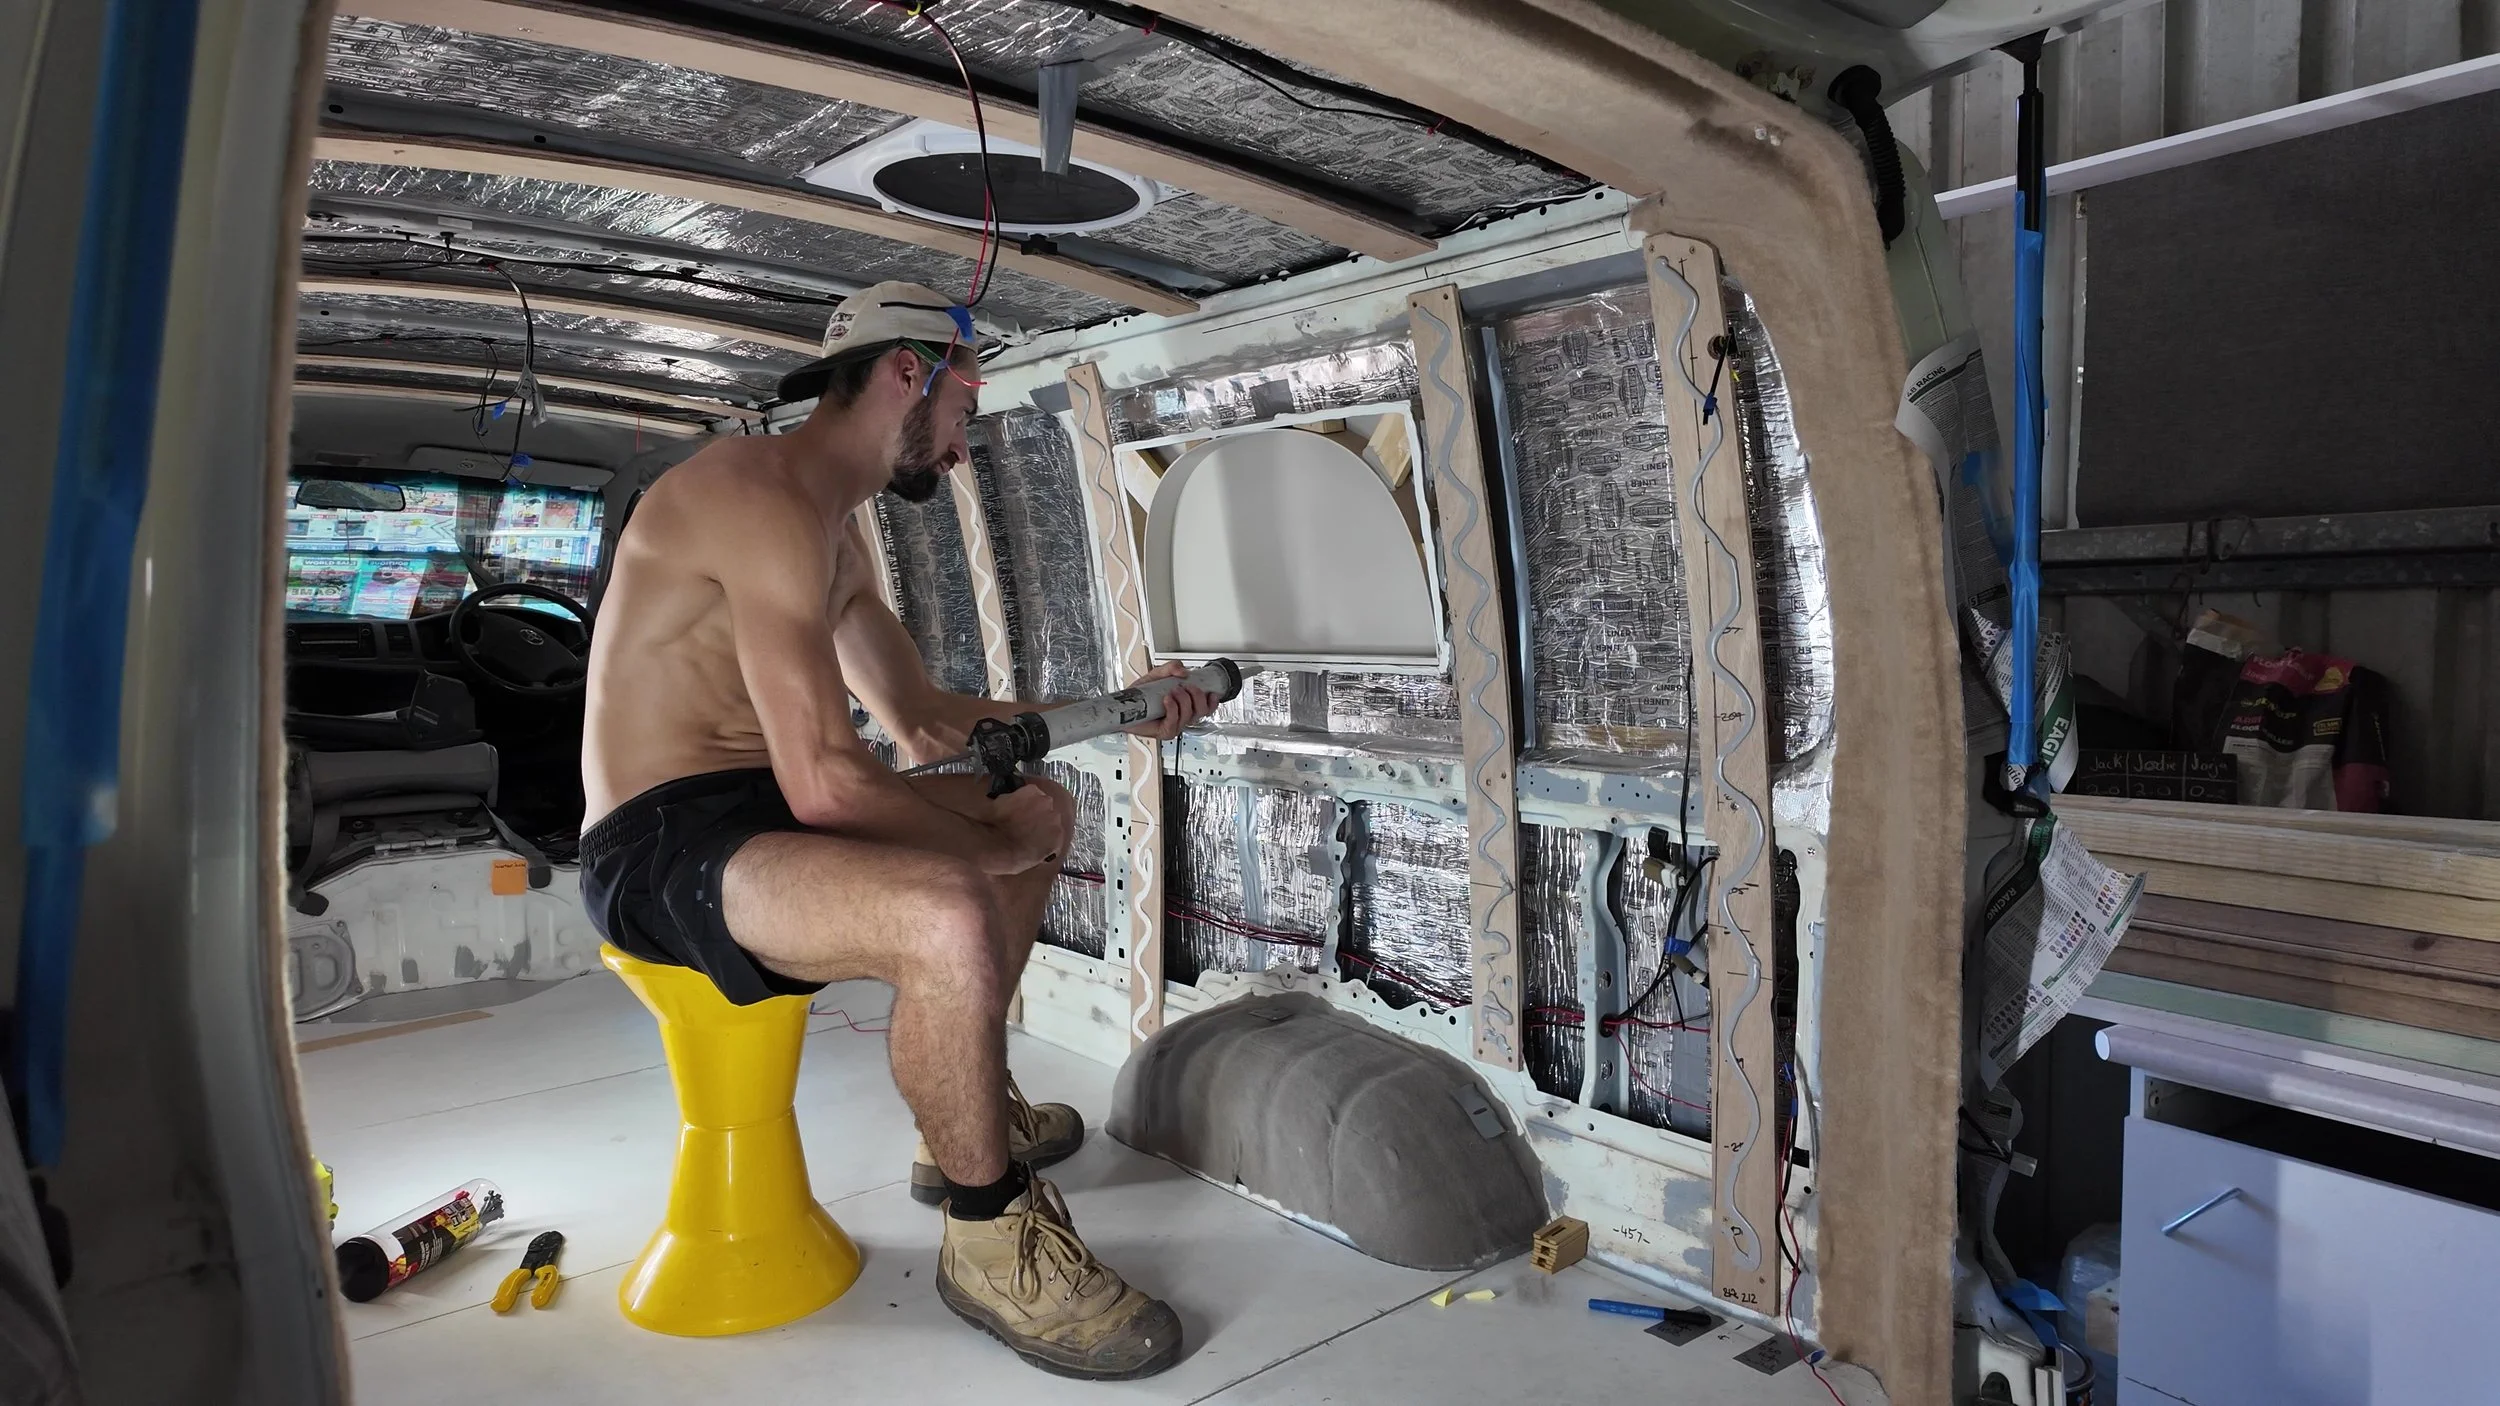
Don’t forget to cut holes for any light switches, USB outlets, or other wiring. Do this as you install each board to avoid cutting blind later.Secure boards with glue and screws
Use Sikaflex or silicone behind each board for vibration dampening, and fix with screws through the frame. This reduces squeaks and keeps things solid over time.Pay attention to the details
Pay extra attention when cutting around the rear door columns and any curves. Clean, consistent cuts here will give your van a professional finish. Plus sanding the ends of your boards to a 45 degree angle will give you a much cleaner look.


Use wood glue in tongue-and-groove joins
Sealing the joints with wood glue helps prevent moisture buildup behind the walls and adds rigidity to the structure.
Plan for nooks and recessed storage early
Mark out any cutouts for shelving or nooks before you install wall panels to avoid tricky retrofits later on.
Sikaflex stops squeaks
Using Sikaflex or silicone between the boards and frame absorbs vibrations and prevents that annoying squeaky-van sound.
Use semi-gloss or satin paint
Flat paints look nice but are hard to clean. Go for a durable, washable finish — even exterior-grade paint — for long-lasting walls.