Van Conversion Guide Pt.2
Base Build
Your Foundation for a Clean, Professional Campervan Conversion
The Base Build section of the Journey Van Builds Conversion Guide walks you through the essential early steps of transforming an empty van into a solid, reliable camper. From rust treatment and sound-deadening to insulation, subfloors, vinyl flooring, and stretch carpet, this stage sets the foundation for a clean, long-lasting and professional finish. Perfect for first-time DIY van builders, this guide breaks everything down in simple, practical steps with beginner-friendly advice, tools, materials, and product recommendations. If you want your campervan build to look great and last for years, your base build is where it all begins.
Base Build Steps
Select the stage of build you would like more information on:
Strip Interior
Start your build the right way by taking everything back to a clean, empty shell. Stripping the interior gives you a fresh canvas, helps you spot hidden issues, and makes every step that follows smoother and cleaner.
.
Treat Rust
Rust spreads fast — and ignoring it now can cost you big later. This step shows you how to find, remove, and properly treat rust so your van stays solid, protected, and ready for years of adventure.
Exterior Mods (Coming Soon)
Anything that cuts into the van body (windows, fans, racks, solar housings) needs to happen before you build inside. This section helps you get those big exterior jobs done safely and cleanly.
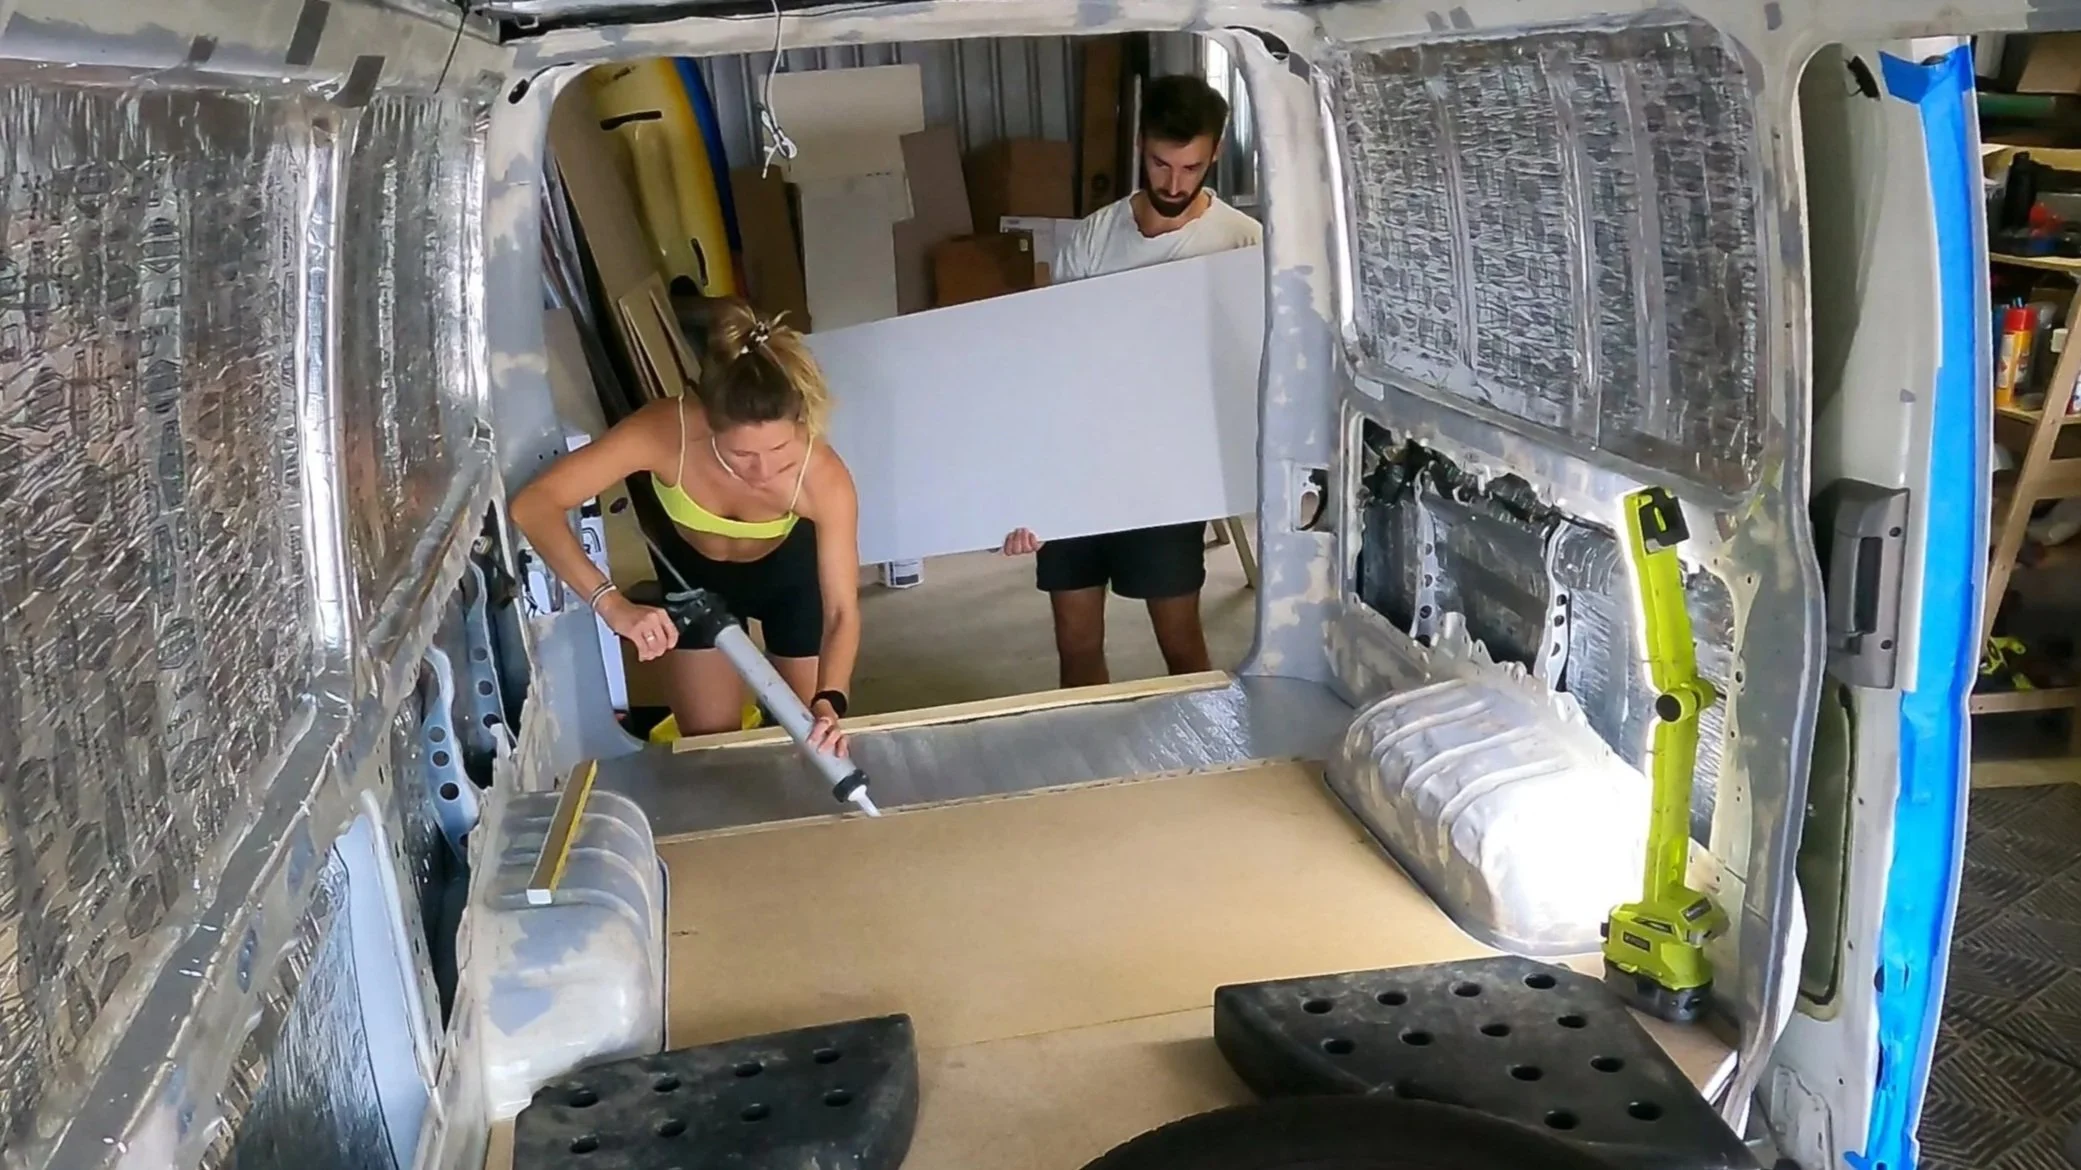
Sub-Floor
A strong sub-floor is the backbone of a solid build. Learn how to create a level, stable base that supports your layout, reduces noise, and sets you up for a professional finish later on.
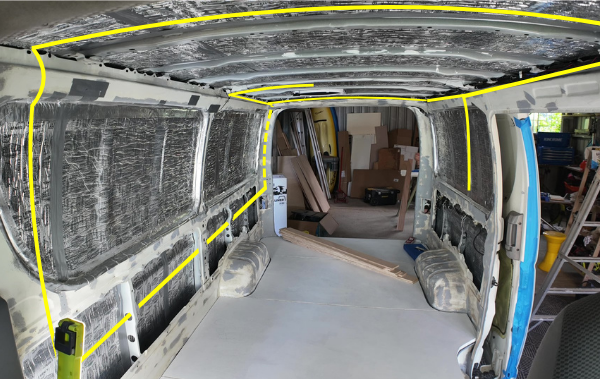
Finished Walls
Once your insulation and wiring are in, it’s time to close everything up. This step shows you how to install your wall panels or cladding for a clean, durable, and professional-looking interior.
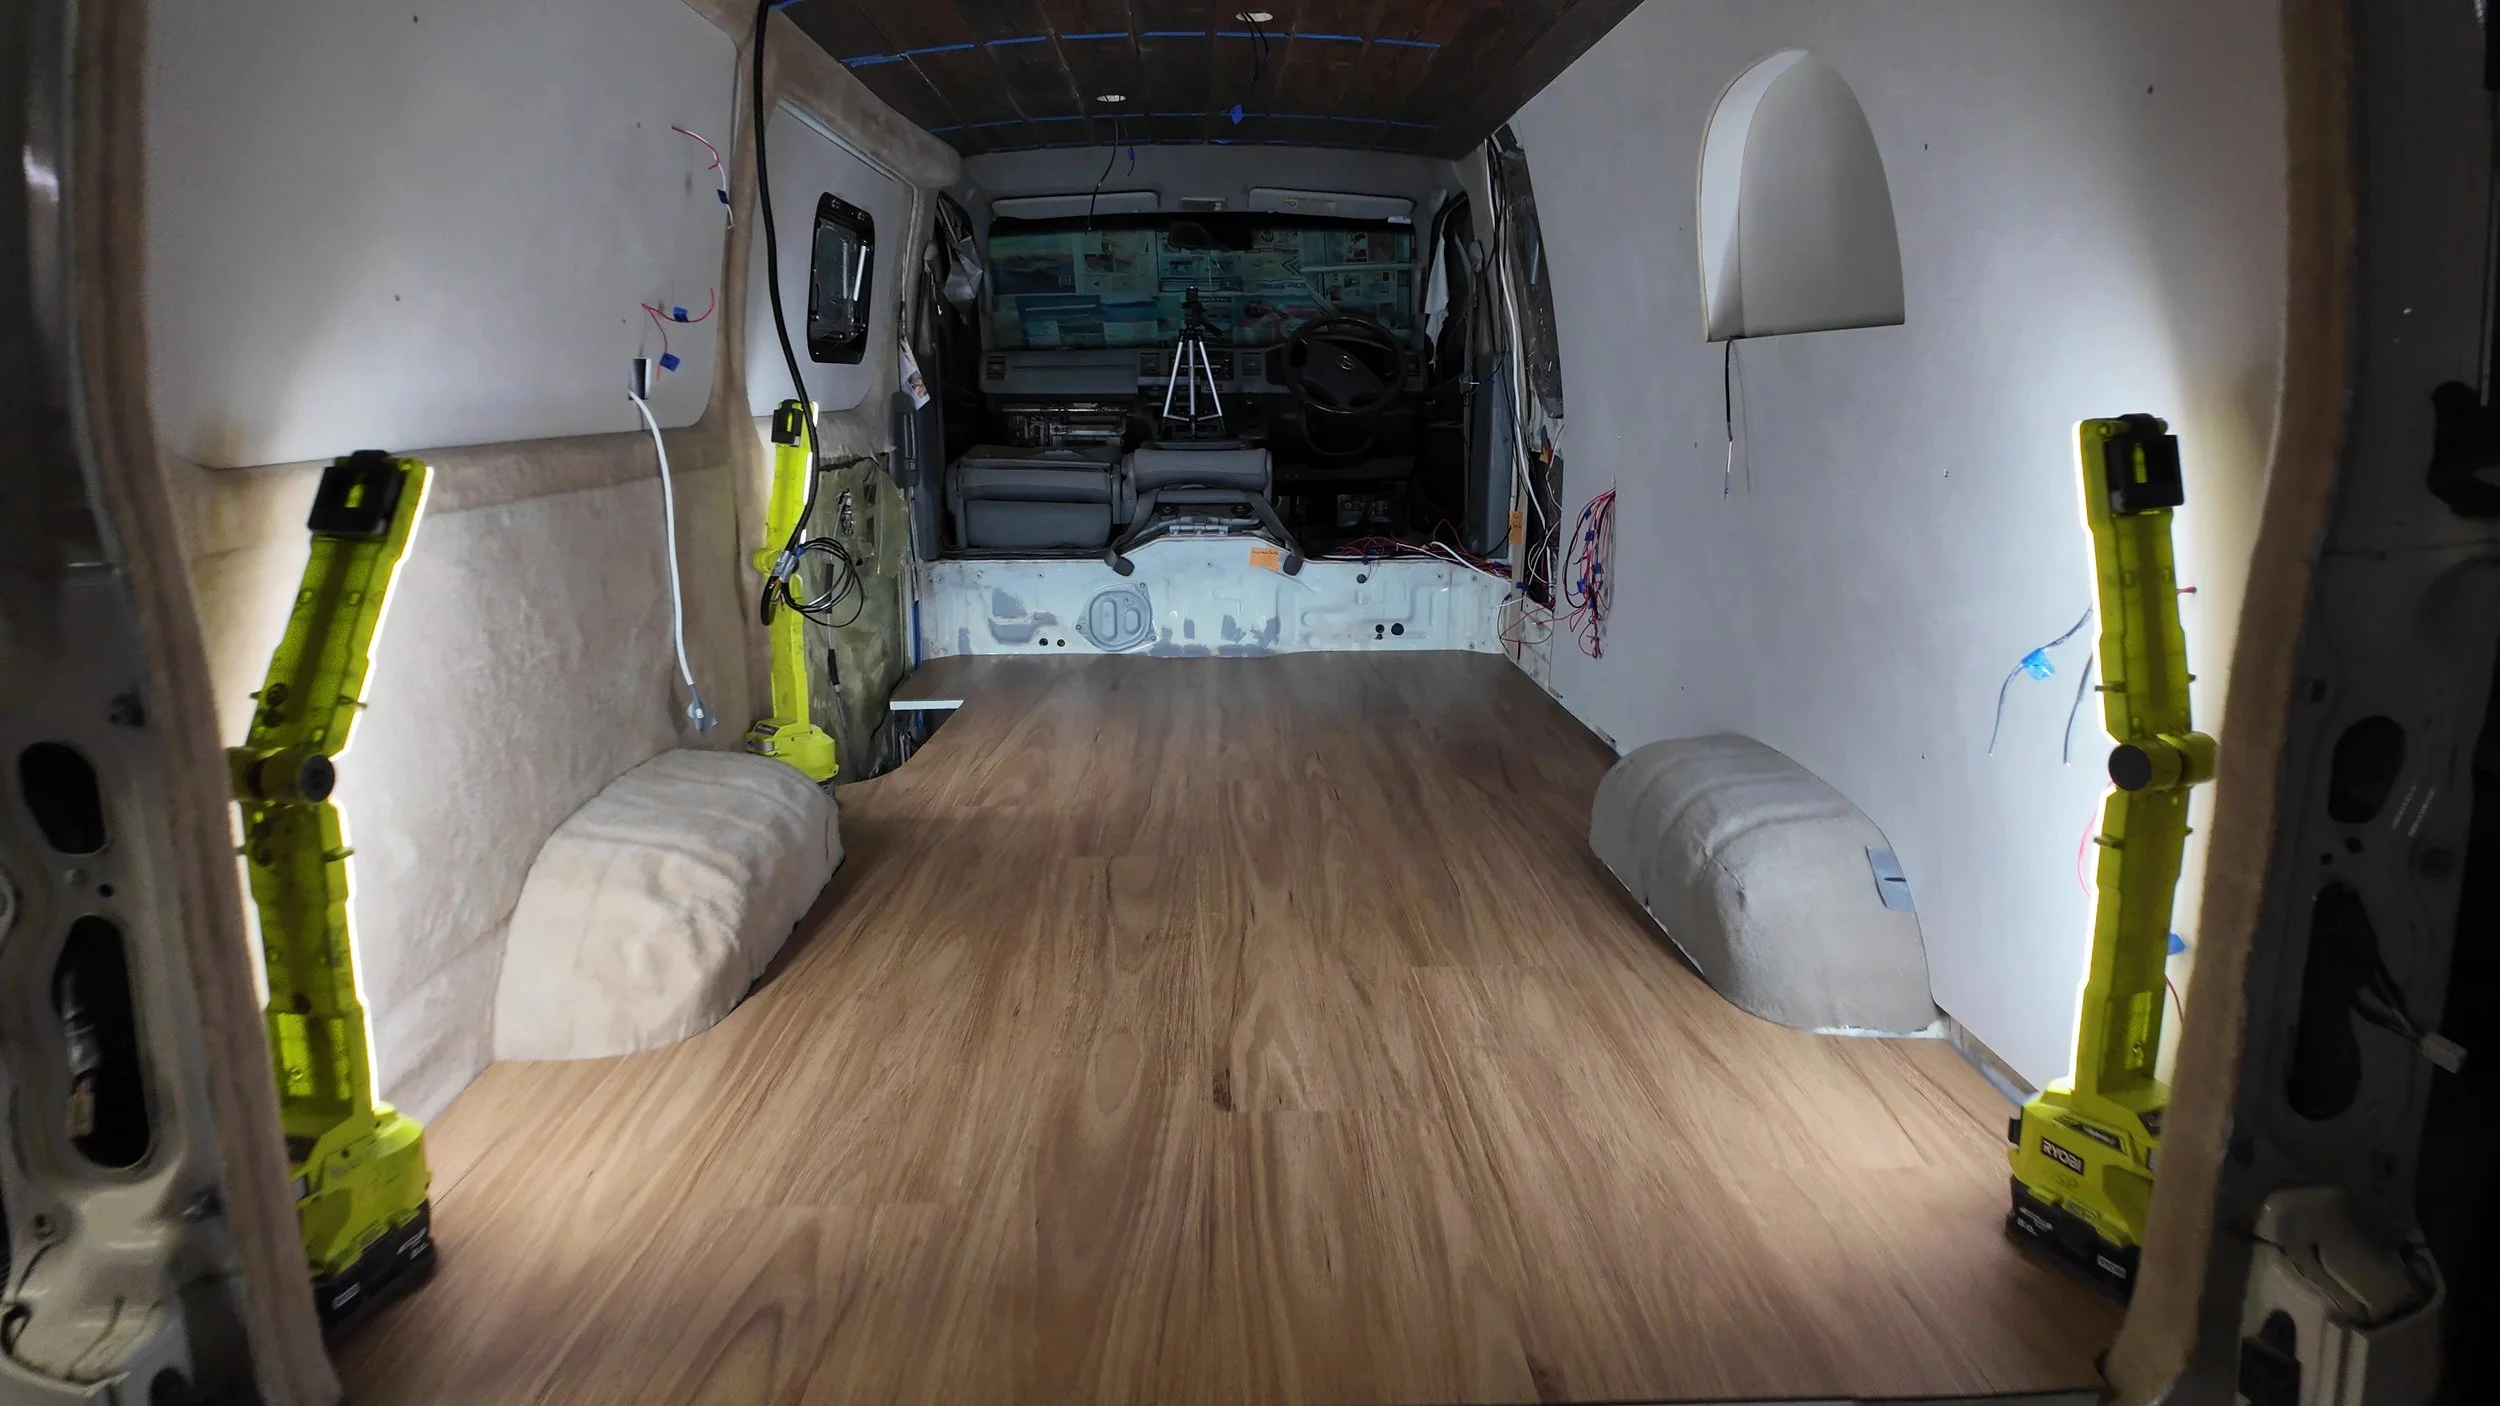
Finished Floor
The final layer of your base build. Whether you go for vinyl sheet or hybrid planks, this section shows you how to install a tough, waterproof, easy-to-clean floor that looks great and handles daily van life.
Ceiling
Your ceiling panels tie the whole space together. Learn how to fit a clean, straight ceiling with proper lighting cutouts and insulation for a polished, high-quality result.
Stretch Carpet
Stretch carpet instantly gives your van that warm, modern, finished look. In this section, you’ll learn how to line your walls and ceiling for a clean, seamless result that hides imperfections and boosts comfort.
Cable Rough-In
Running your cables now keeps everything hidden, tidy, and easy to access later. This step walks you through routing your 12V and 240V wiring before the walls go up.
Framing
Framing is where your interior really starts to take shape. This step shows you how to build lightweight wall and ceiling structure that supports cladding, cabinetry, and your entire layout.
Insulation
Good insulation is the secret to a cooler, quieter, and more comfortable van. Here you’ll learn the best materials and methods to control heat, stop condensation, and make your van feel like a home.