


Van Conversion Guide
Base Build
Insulation
Insulation is one of the most debated topics in van conversions - and for good reason. It plays two key roles:
Thermal Barrier – keeping you warmer in winter and cooler in summer.
Condensation Control – stopping moisture from forming behind your walls, which can quietly damage your van over time.
There are plenty of strong opinions online, but the truth is: three main insulation options all get the job done thermally. The real differences are in cost, ease of install, and sustainability. This guide breaks down what you actually need to know.

But First -
Acoustic Insulation (Sound Deadening)
Before thermal insulation, it’s worth doing some soundproofing. This small step makes a big difference in comfort.
Benefits:
Reduces rattles and road noise
Makes the van feel more “homely”
Improves sleep quality
How to Install:
Use butyl-based mats (Linked here)
Apply directly to large flat panels (walls, ceiling, sliding door, wheel arches)
Do not apply to more than 50% of a panel - any extra coverage over 50% has negligable effectiveness.
Press down firmly so there are no air gaps and a solid connection has been made


Hot Tip: Sound deadening is particularly important on the ceiling to dull the thud of raindrops on your roof while you’re trying to sleep at night.
Choosing The Right Insulation
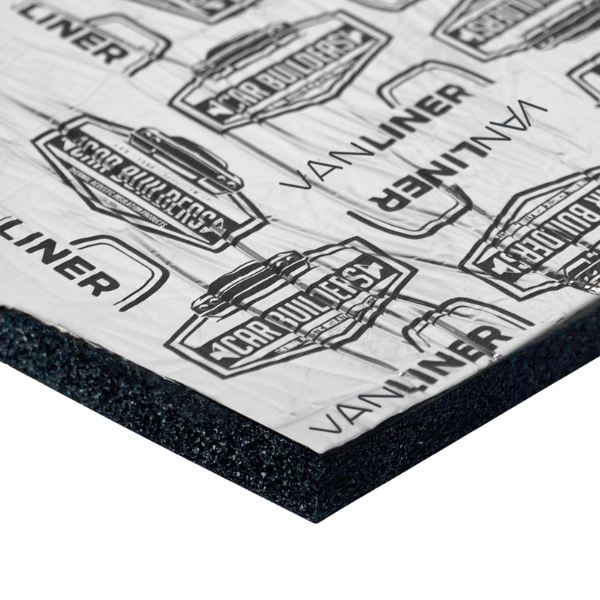
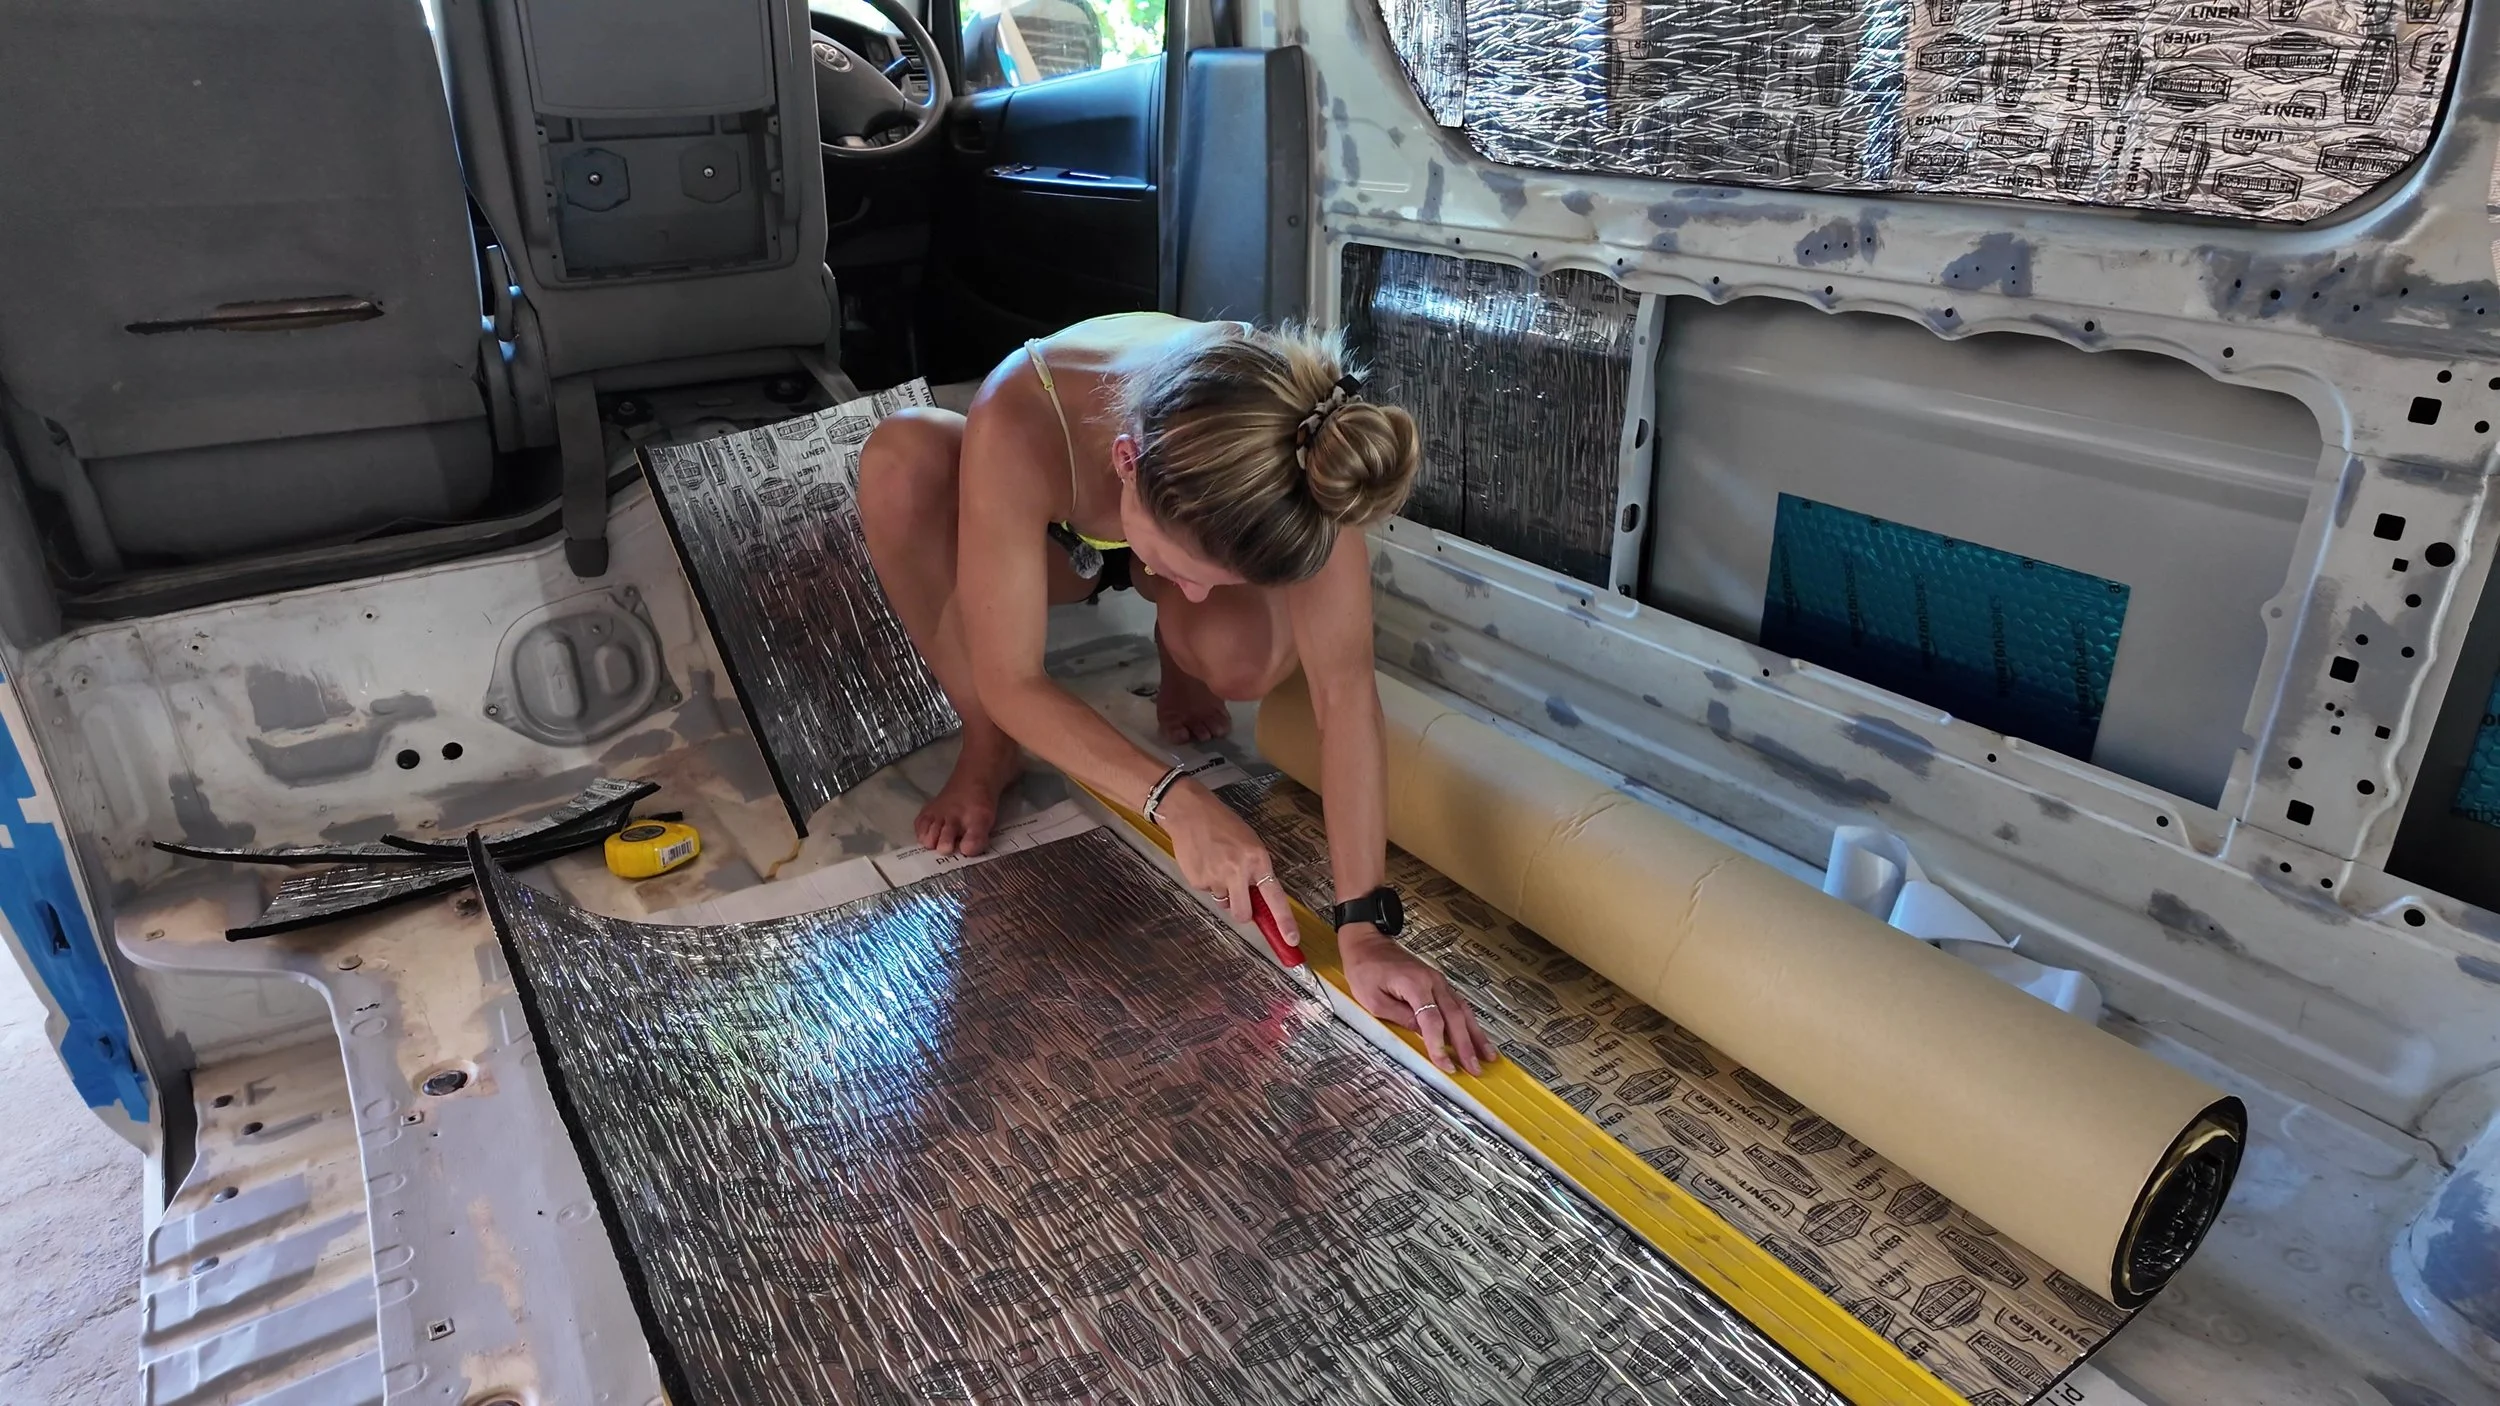
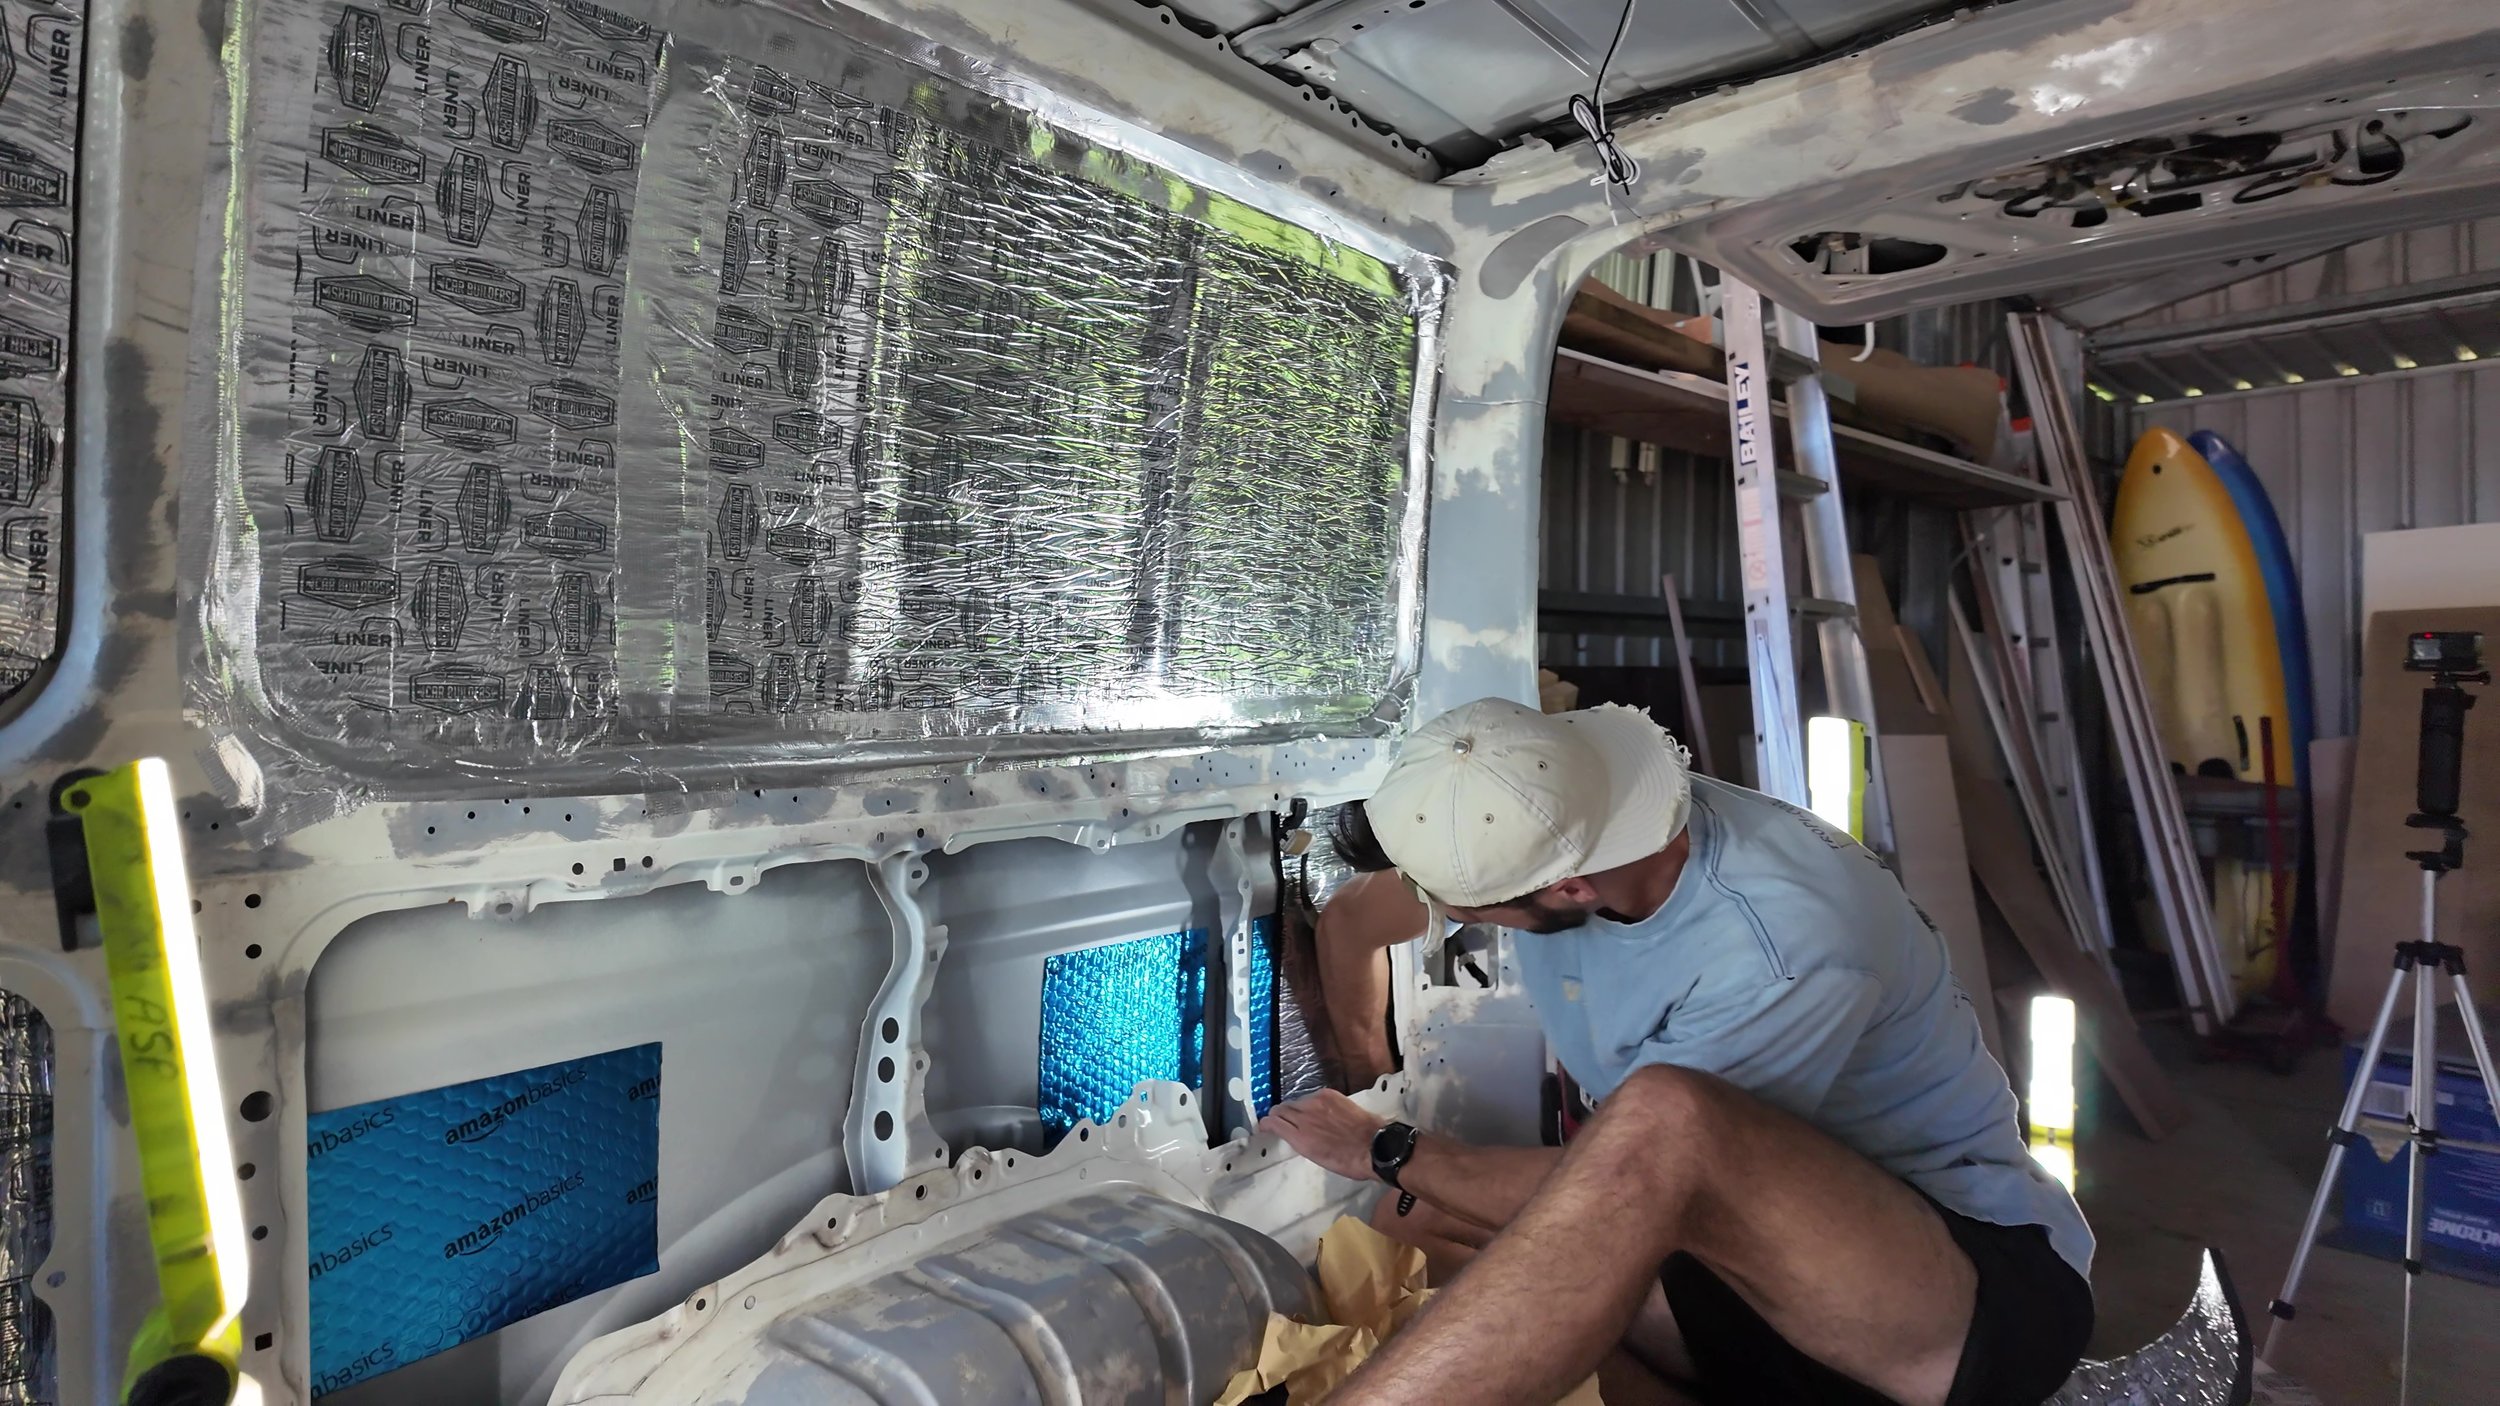
Self-Adhesive Closed Cell Foam (Jake’s Pick)
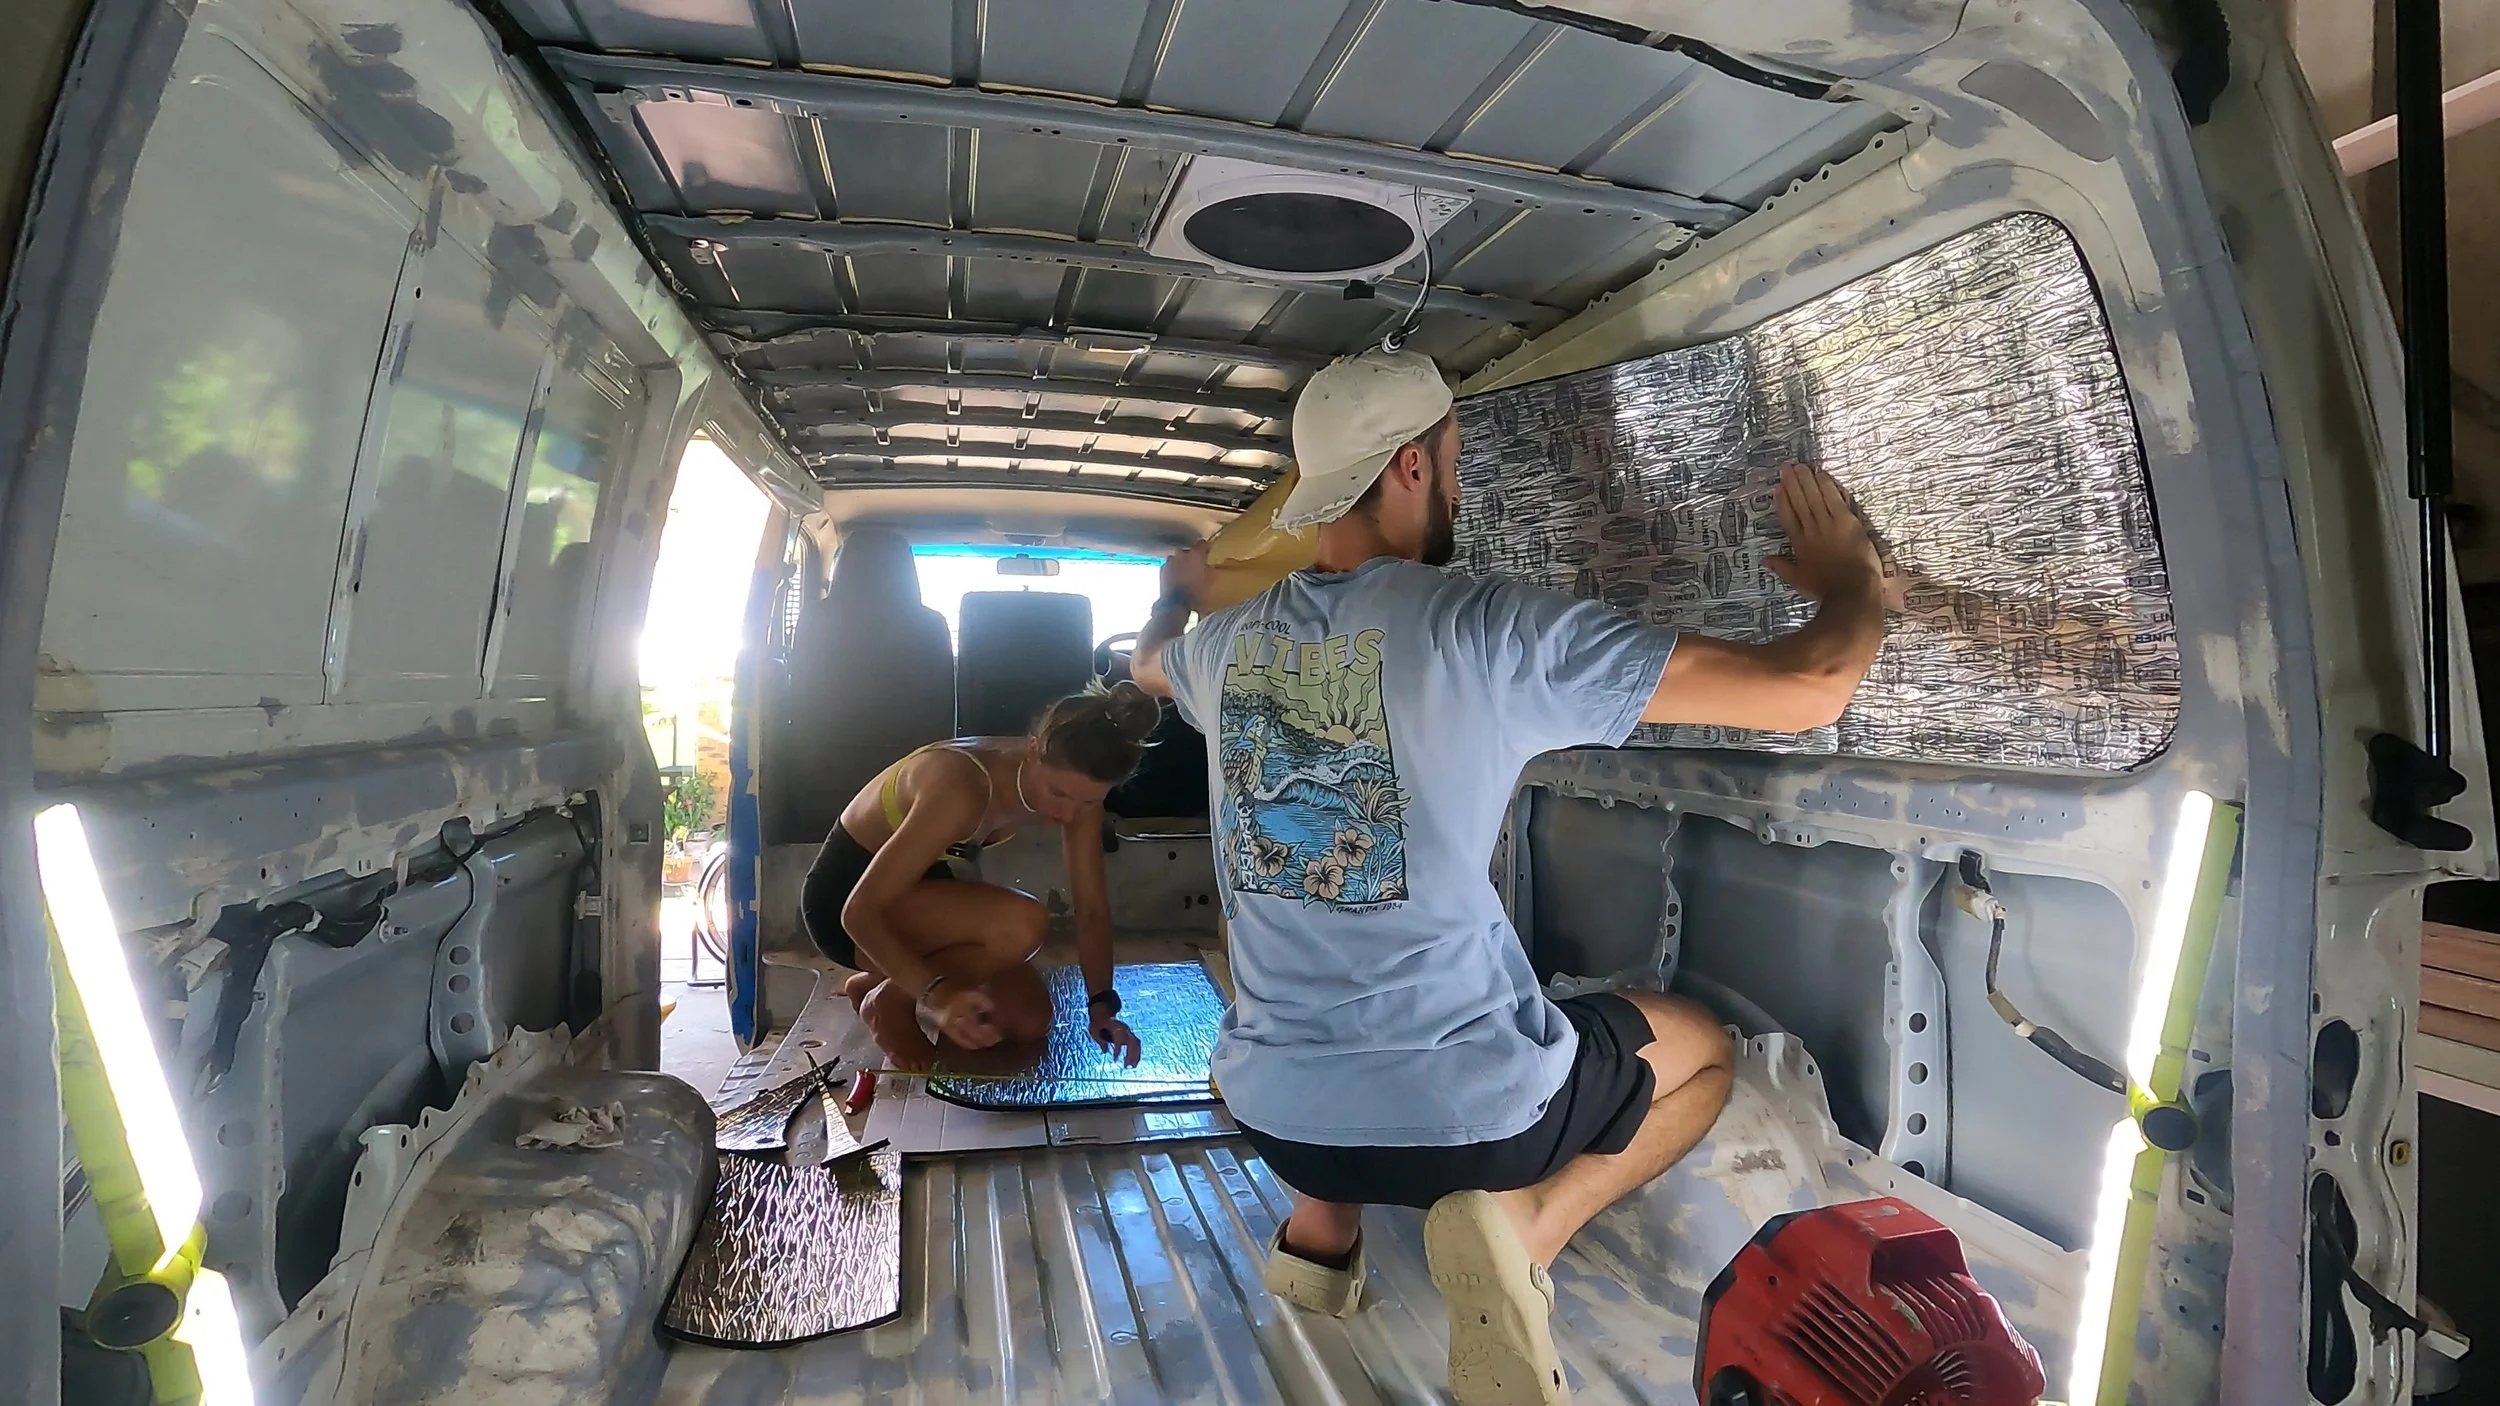
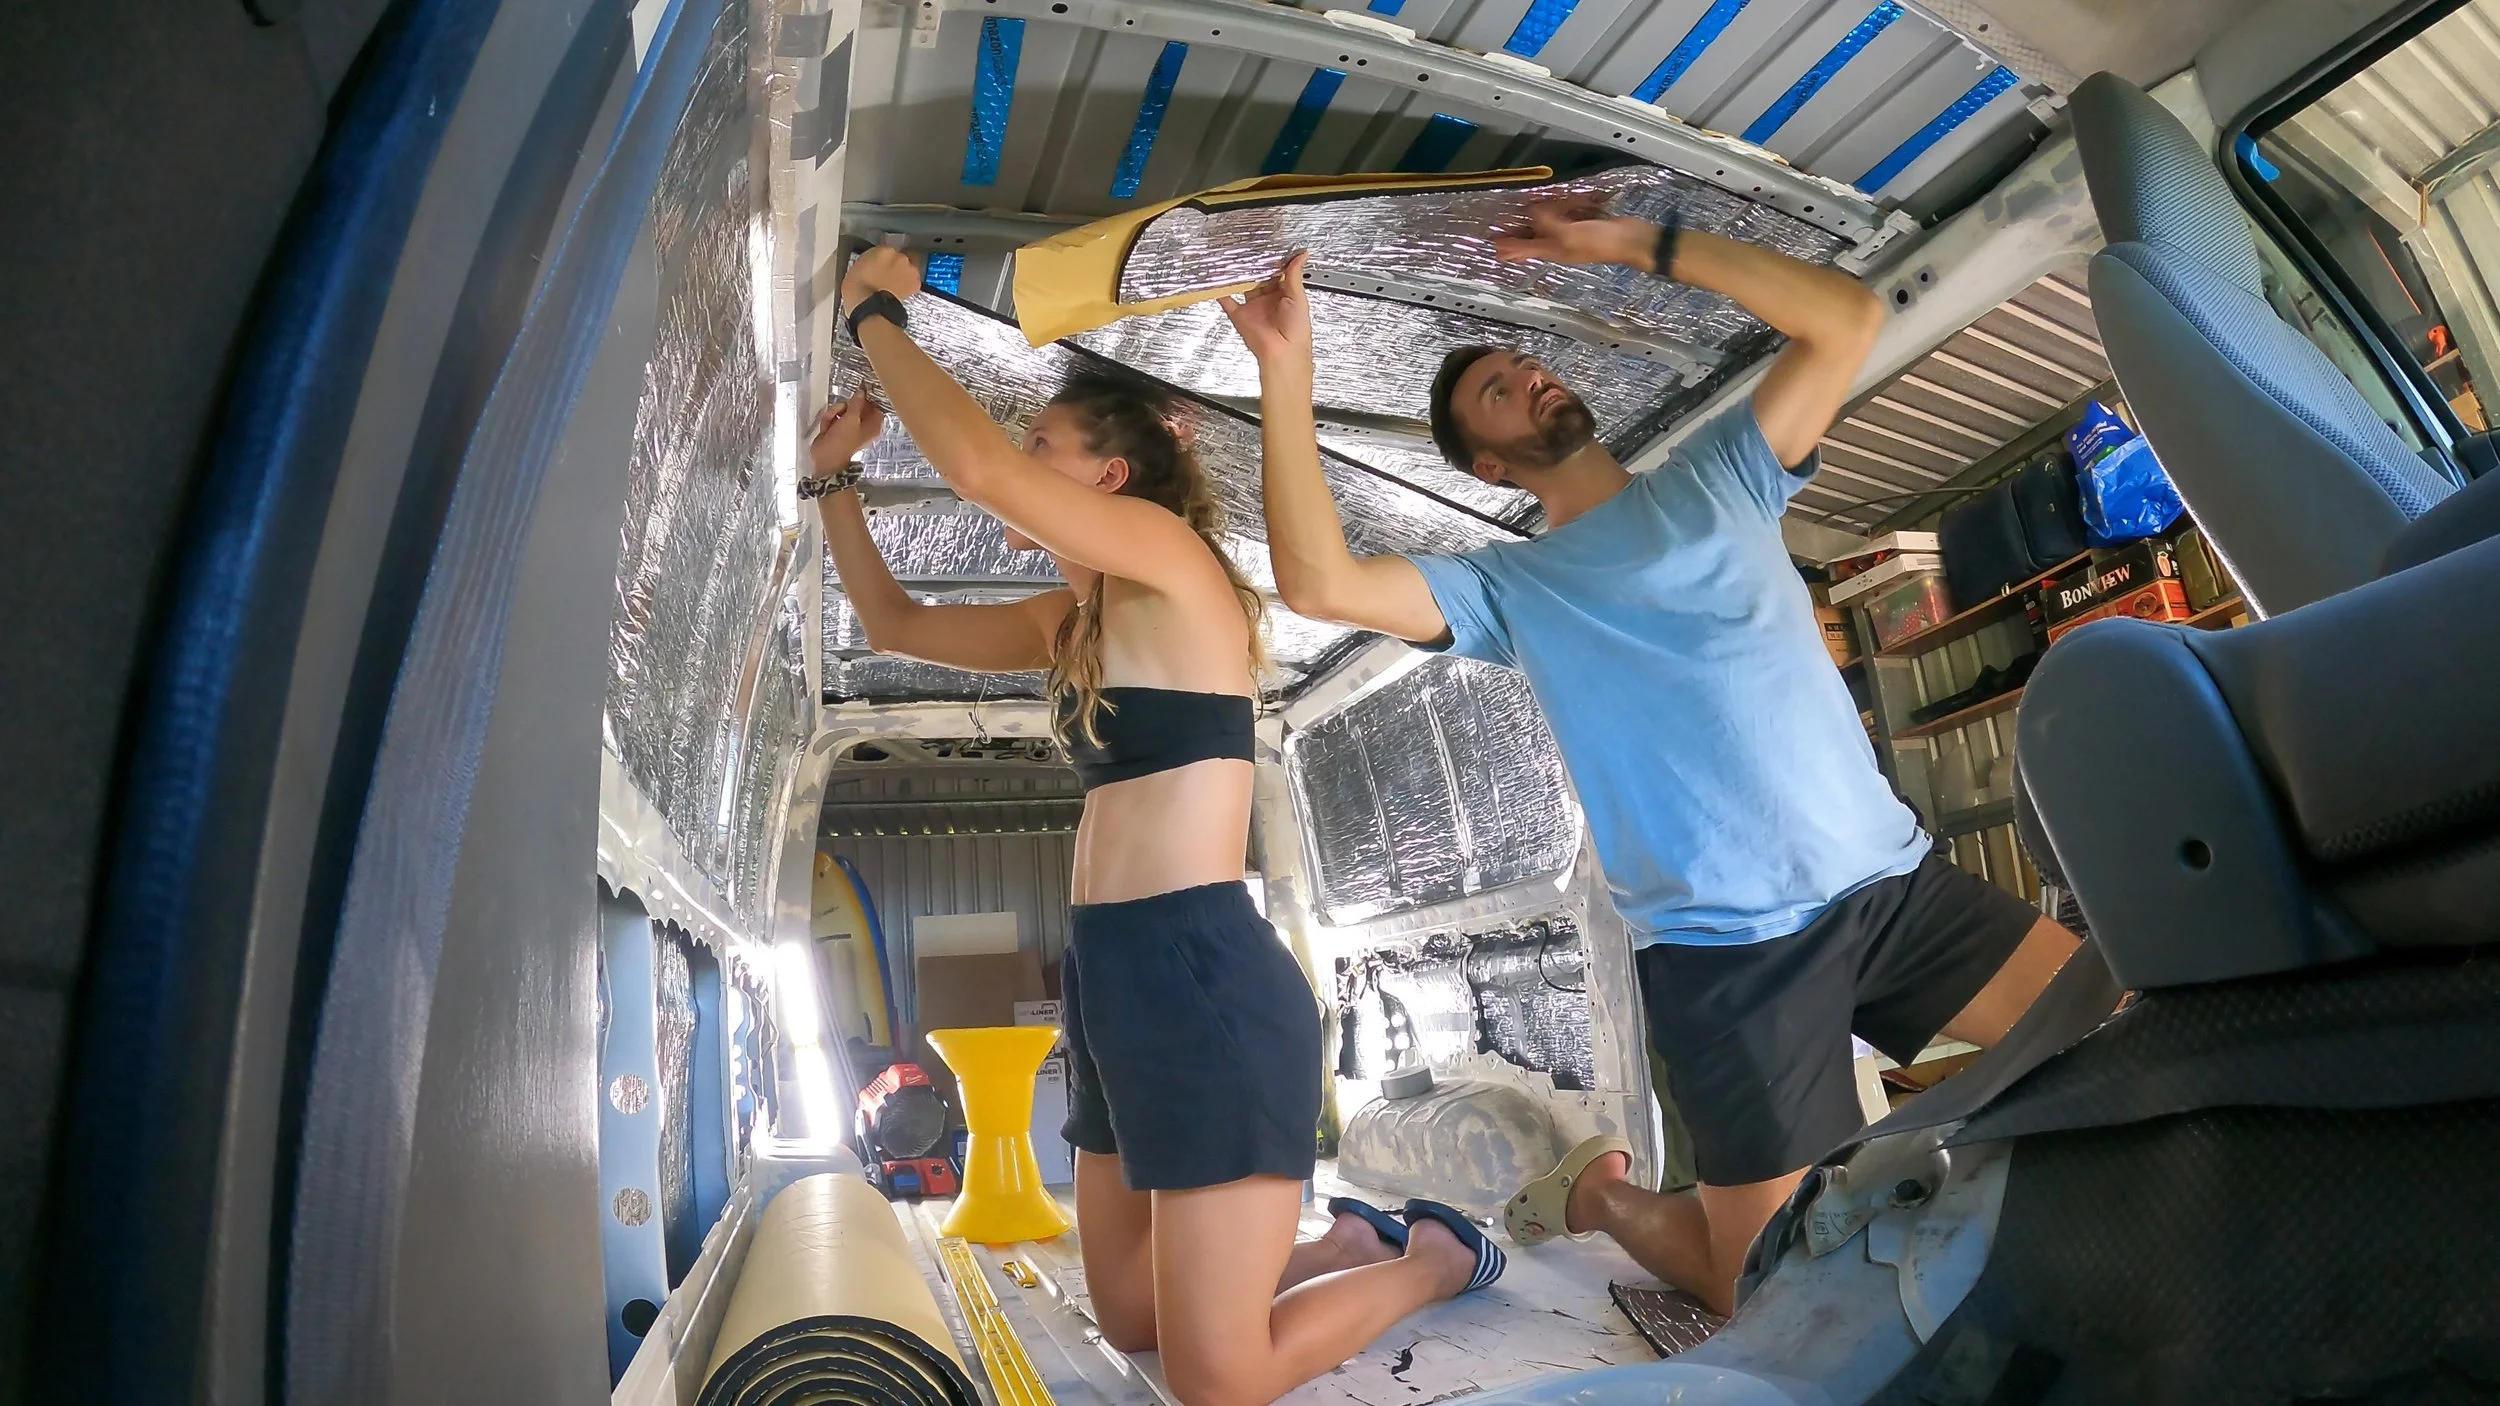
A flexible, lightweight foam that comes with a peel-and-stick backing, making it the easiest insulation to install in a van. It conforms to curves and irregular shapes, and because it bonds directly to the metal, it helps prevent condensation by blocking moist air from reaching cold surfaces. A premium option, but ideal for smaller vans and DIY beginners.
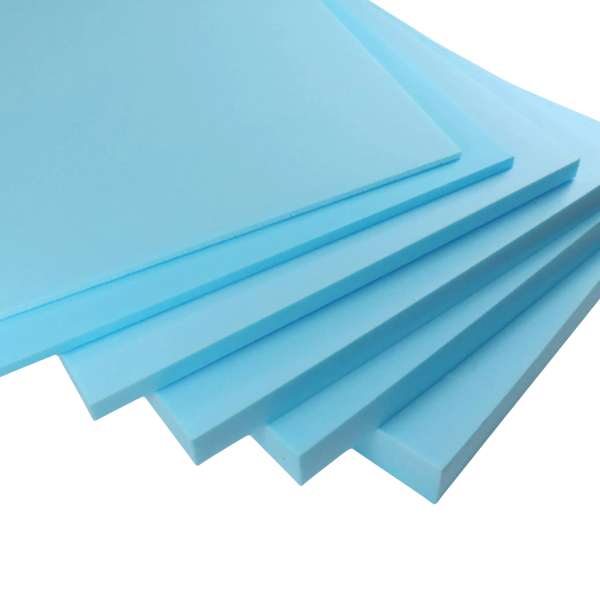
XPS Boards (Extruded Polystyrene)
Rigid foam panels with excellent thermal insulation performance. They’re affordable, easy to source, and available in thicker sizes (25–50mm) which boosts R-value compared to thin roll products. Best suited to larger vans or flatter surfaces like floors and straight walls, though they require careful cutting and fitting around curves.
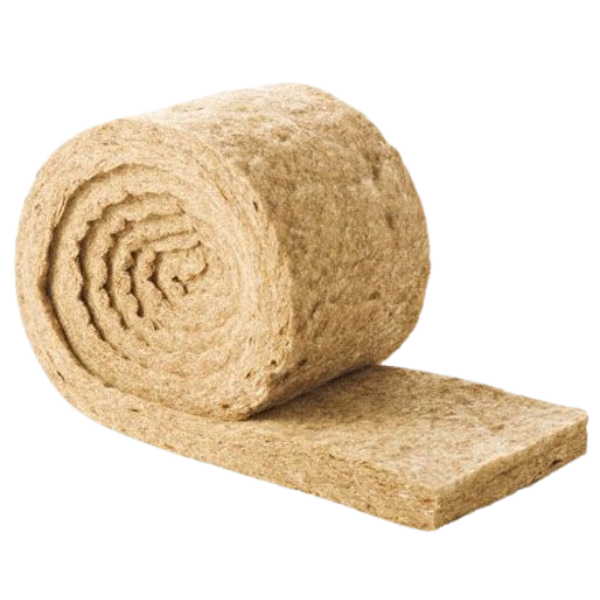
Sheep’s Wool
A natural, breathable insulation made from compressed wool fibres. It’s the most sustainable option and has the unique ability to absorb and release moisture, helping regulate condensation inside the van. Thermally effective and easy to install, though less common than foam products in Australian van builds.
Tools
Stanley Knife — For cutting foam or wool cleanly to size.
Cloth Tape — Seals joins and edges to prevent airflow and lock insulation in place.
Metho / Wax & Grease Remover — Used for cleaning surfaces so adhesives bond properly.
All three materials are thermally effective. Choosing comes down to:
Do you want the easiest install? → Closed-cell foam.
Do you want the cheapest high-performance option? → XPS.
Do you want the eco-friendly, natural choice? → Sheep’s wool.
Method
Clean your surfaces
If grease and grime are left on your working surfaces it can cause your adhesive to fail and lead to insulation falling and because loose behind your campervan walls - making it almost useless. Clean with Metho or Wax & Grease Remover.
Start on large areas of sheet metal
Large areas of sheet metal are where you’ll get the most bang for your buck. Start by applying large sheets of insulation to these areas and work your way into the smaller more detailed areas where consistant coverage is harder to achieve.
Quality over quantity
The consistancy with which you achieve your first layer of insulation is more important than simply stuffing more material behind your walls. Cut insulation to fit tightlyTape joins
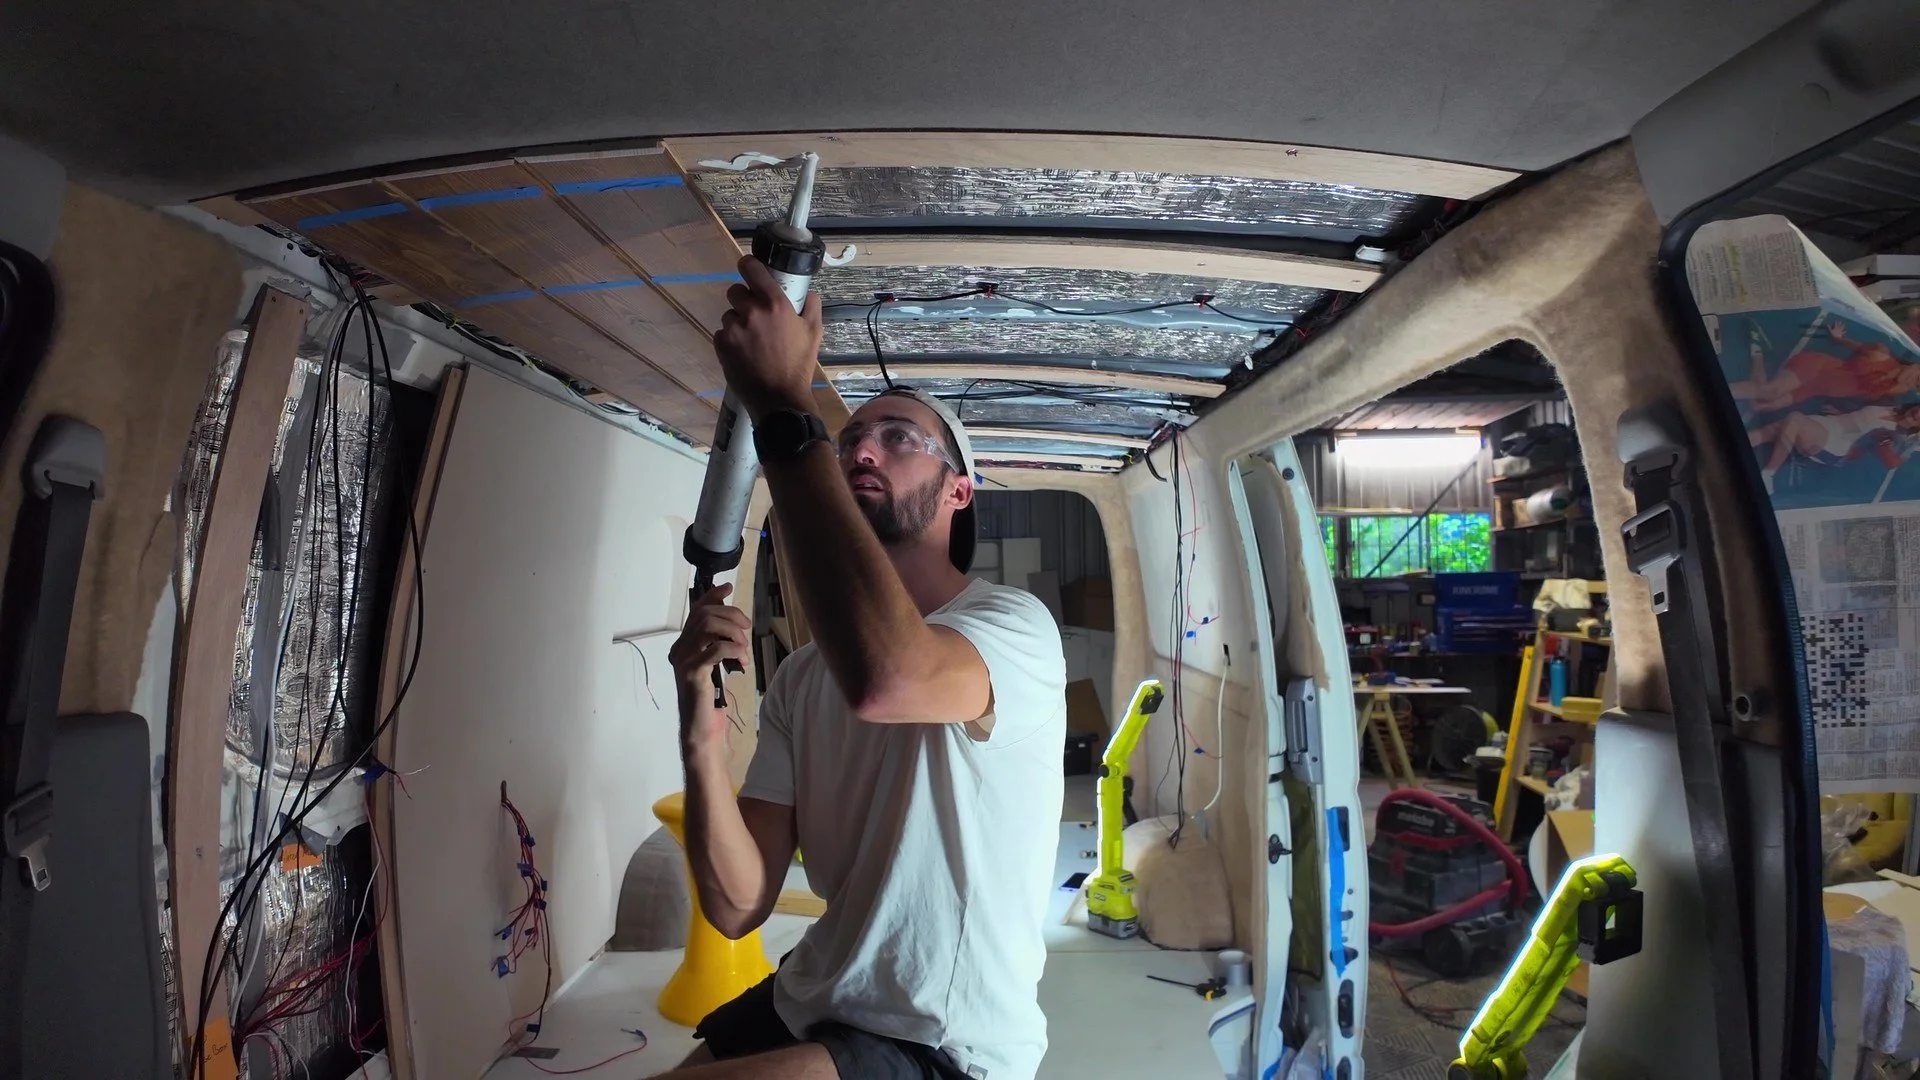
Using an airtight tape (Cloth tape is highly recommended) tape over all of your joins in insulation and over exposed edges where possible. Any exposed sections of metal between insulation is more likely to cause condensation to form behind your walls.Once you’ve chosen which material to use, actually installing your insulation is a relatively straight forward and rewarding process - Especially if you use Self Adhesive Closed Cell Foam!
FAQ
-
I don’t usually advise it. The odd keyboard warrior pops up claiming a vapour barrier is essential but the reality is that the overwhelming majority of van builders don’t use them - to no ill affect. Focus instead on sealing insulation properly and allowing airflow behind cladding where possible.
-
This is down to the individual. If you’re planning on traveling in colder climates then good subfloor insulation is critical. I still insulate for warm weather vans if you went without the insulation to save on money and headroom in the van then I wouldn’t blame you!
-
Use what fits your build and allows some breathinf room between your insulation and your internal walls. Around 10–25mm for walls/ceiling is common in small vans. You don’t need to max it out - thorough, sealed coverage is more important than stuffing more material in.
-
R-value measures how well insulation resists heat flow - higher means better insulation. It depends on both the material and its thickness. For example, a 10 mm roll of closed-cell foam might have a similar per-mm rating to XPS, but a 25 mm XPS board will perform roughly twice as well because it’s thicker. In vans, focus less on chasing high R-values and more on tight, well-sealed coverage with no gaps or exposed metal.
Ventilation is your secret weapon
A roof fan (like MaxxAir) dramatically reduces condensation no matter what insulation you choose.
No airflow = no condensation
Closed-cell foam sticks directly to the van’s walls, blocking moist air from contacting cold metal.
Work methodically
The quality of your install matters more than cramming in extra layers of insulation.
Skip the vapour barrier
They’re nearly impossible to DIY correctly - even most pro campervan shops don’t bother. Focus on sealing and ventilation instead.