


Van Conversion Guide
Base Build
Installing the Subfloor
Getting your subfloor right is one of the most important parts of the base build. Once installed, it gives you a level, stable surface to work on and sets up everything else in your van. It also makes life more comfortable straight away — no more kneeling on the ridges of bare metal.
Before starting, you should already have stripped out the van and dealt with any rust treatment. The subfloor includes framing, insulation (if you’re adding it), and the floor sheets themselves.
Materials and Tools
Subfloor sheets
Marine/Structural plywood (12 mm minimum) – Versatile, available in different thicknesses, and strong enough to anchor cabinetry.
Tongue and groove particle board (18 mm) – Purpose-built subflooring with very stable joins. Great if using vinyl sheet flooring, but must be sealed on all faces and edges to prevent water damage.
Whether to use Plywood or Tongue & Groove boards comes down to personal preference. In most cases I recommend using Marine Plywood because of it’s moisture resistance and slim profile. Tongue & Groove particle board on the other hand is cheap and still offers a very steady base for your conversion.
Timber for framing (packers)
9 mm marine plywood is ideal for framing strips. It’s strong, and moisture-resistant Structural ply works too, but marine ply gives better protection where condensation is likely to occur. Cut into strips (about 80–100 mm wide) to act as your packers.
Adhesive (Sikaflex or equivalent)
A strong polyurethane adhesive bonds both the timber framing and the subfloor sheets to the van. Adhesive alone is enough - screws into the metal floorpan are not recommended, as they create rust and risk damage underneath your van.
Insulation (optional)
6 mm Van Seal – A thin option for warmer climates, mostly to cover the base.
10 mm Van Liner / Armaflex – My go-to. A quality closed-cell foam roll, self-adhesive, with excellent thermal resistance.
XPS boards – For colder climates. A rigid foam board with higher R-value and good strength, making it suitable under subfloors. (Will require thicker timber strips/packers)


Other tools
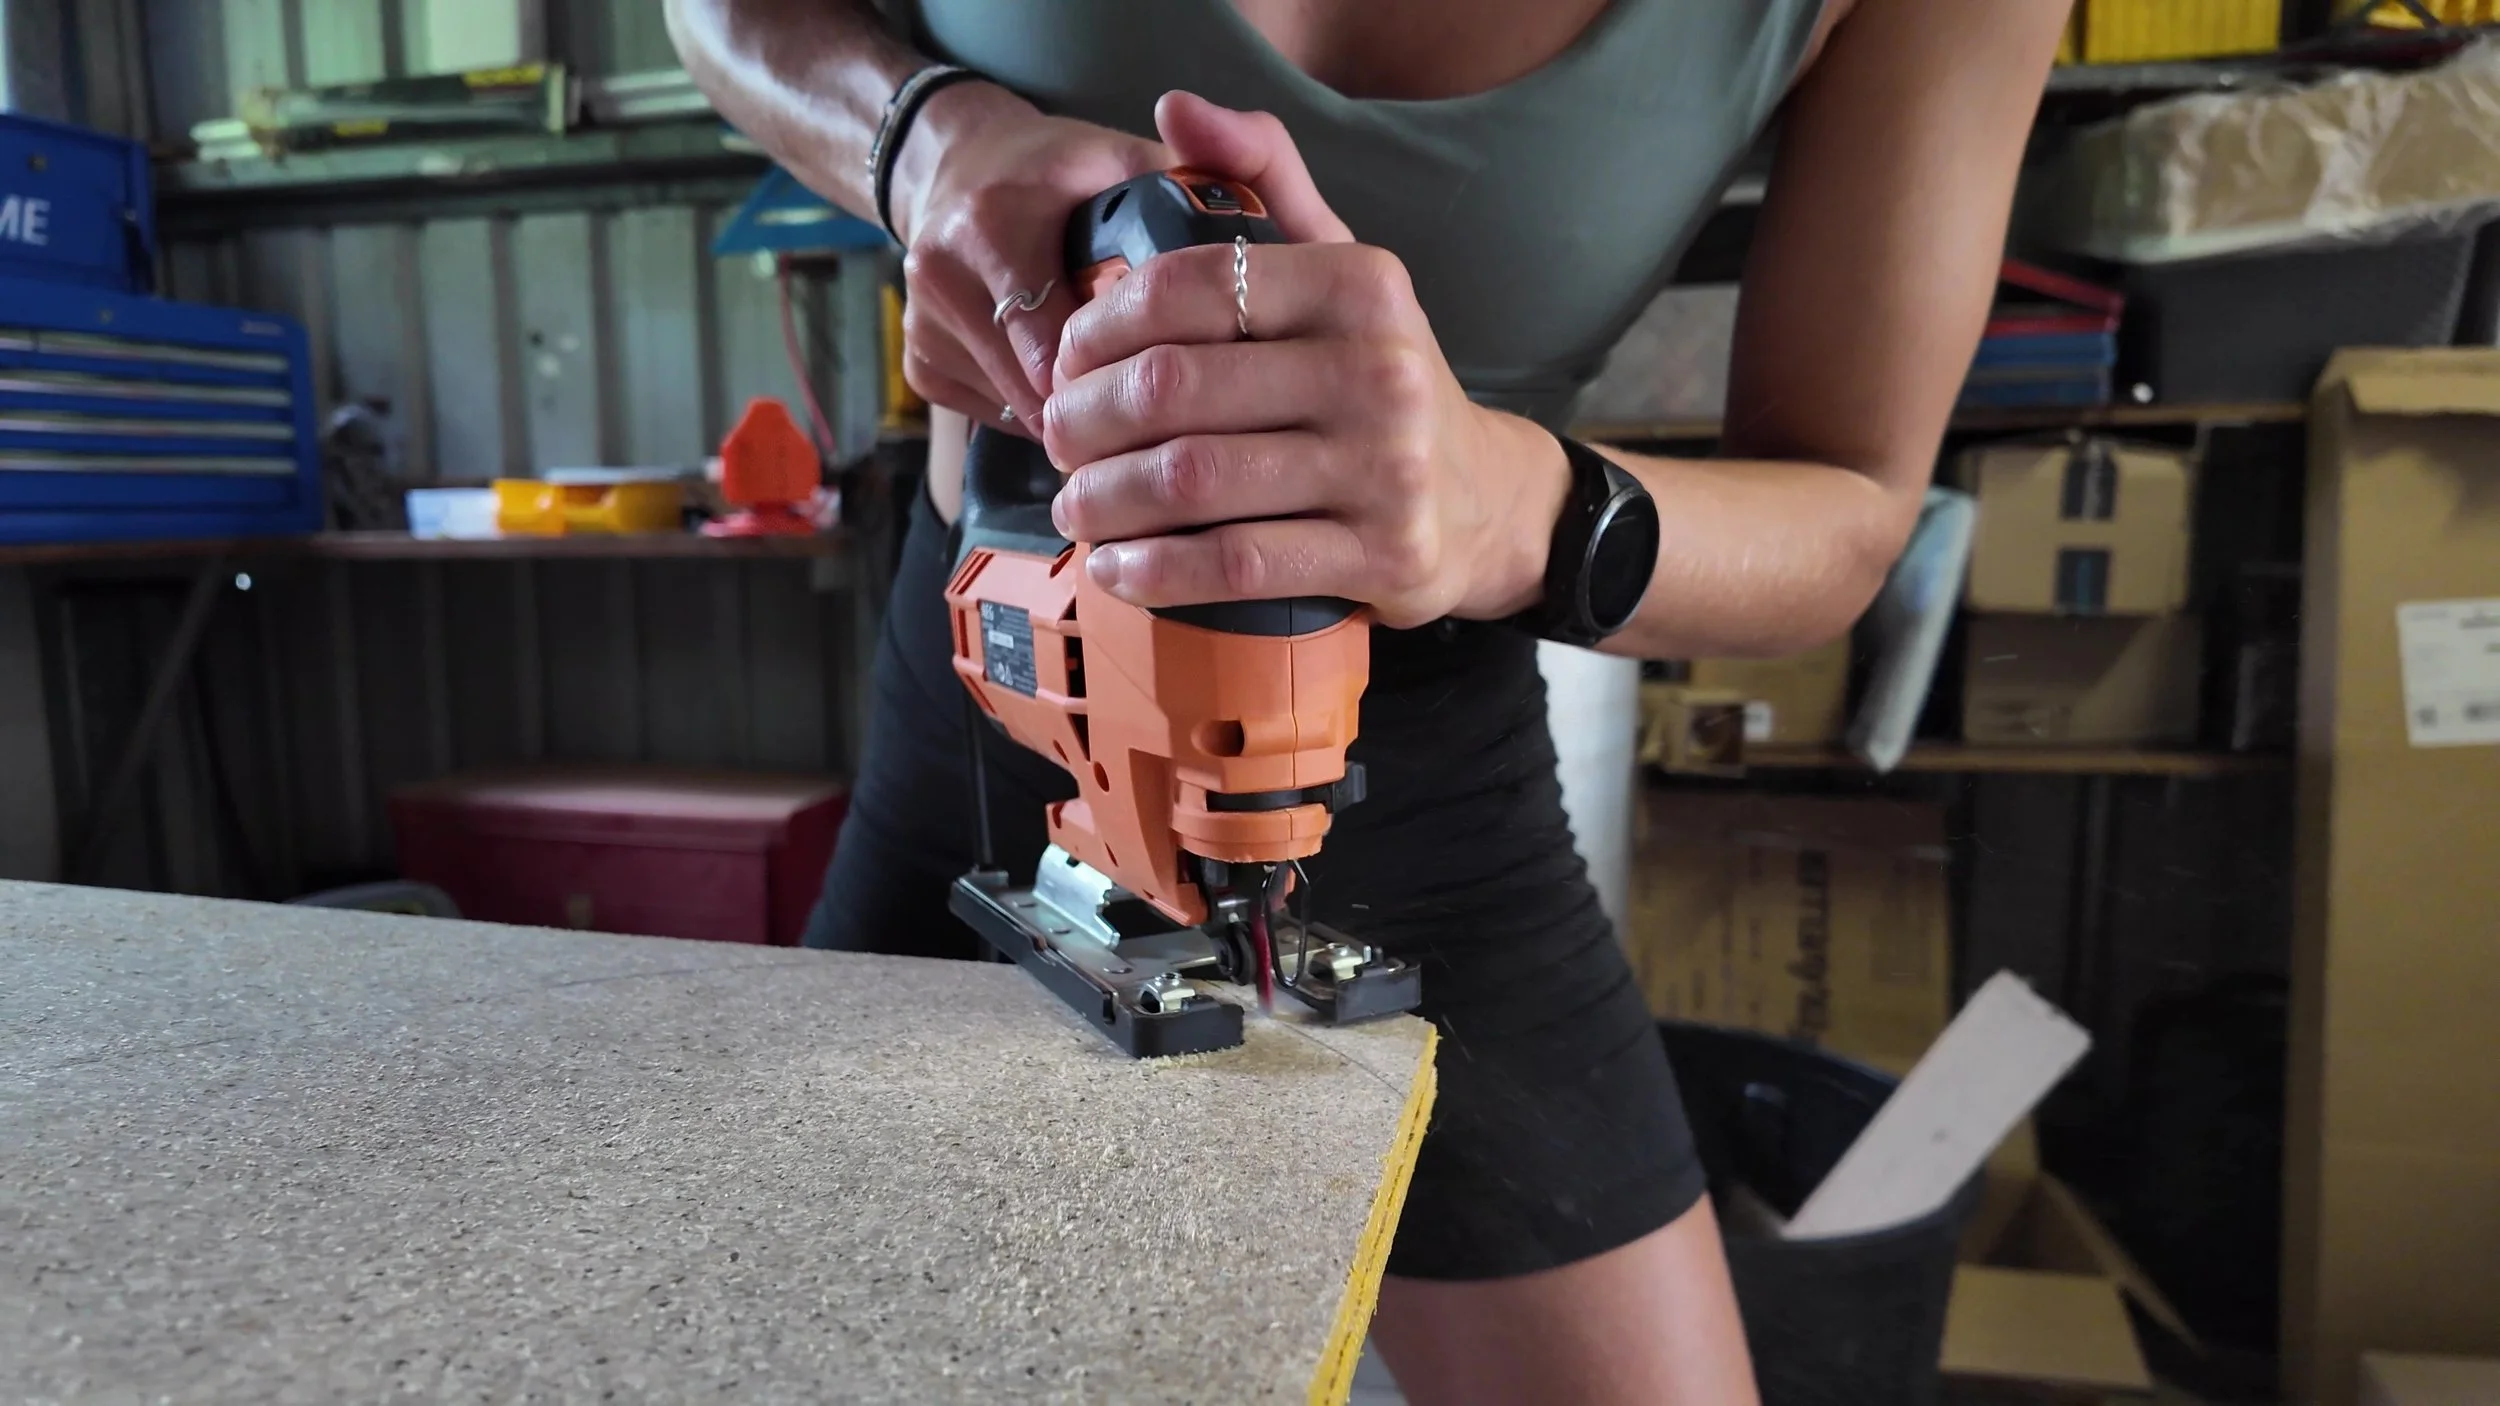
Jigsaw (recommended)
Circular saw
Straight edge
Tape measure
Pencil
Silicone gun
Cardboard (for templates)
Heavy objects (to hold sheets down while glie dries)
Method
1. Plan your insulation
Decide whether you’re insulating under the subfloor. In cold climates, it’s highly recommended (10 mm or more). In warm climates, you may choose a thinner option or skip it entirely to save headroom.
2. Cut framing strips
Cut marine ply sheets into strips around 80–100 mm wide. These will run across the van (east–west) over the raised ribs of the floorpan. Running strips across the ribs reduces thermal bridging, minimises condensation contact, and gives better support.
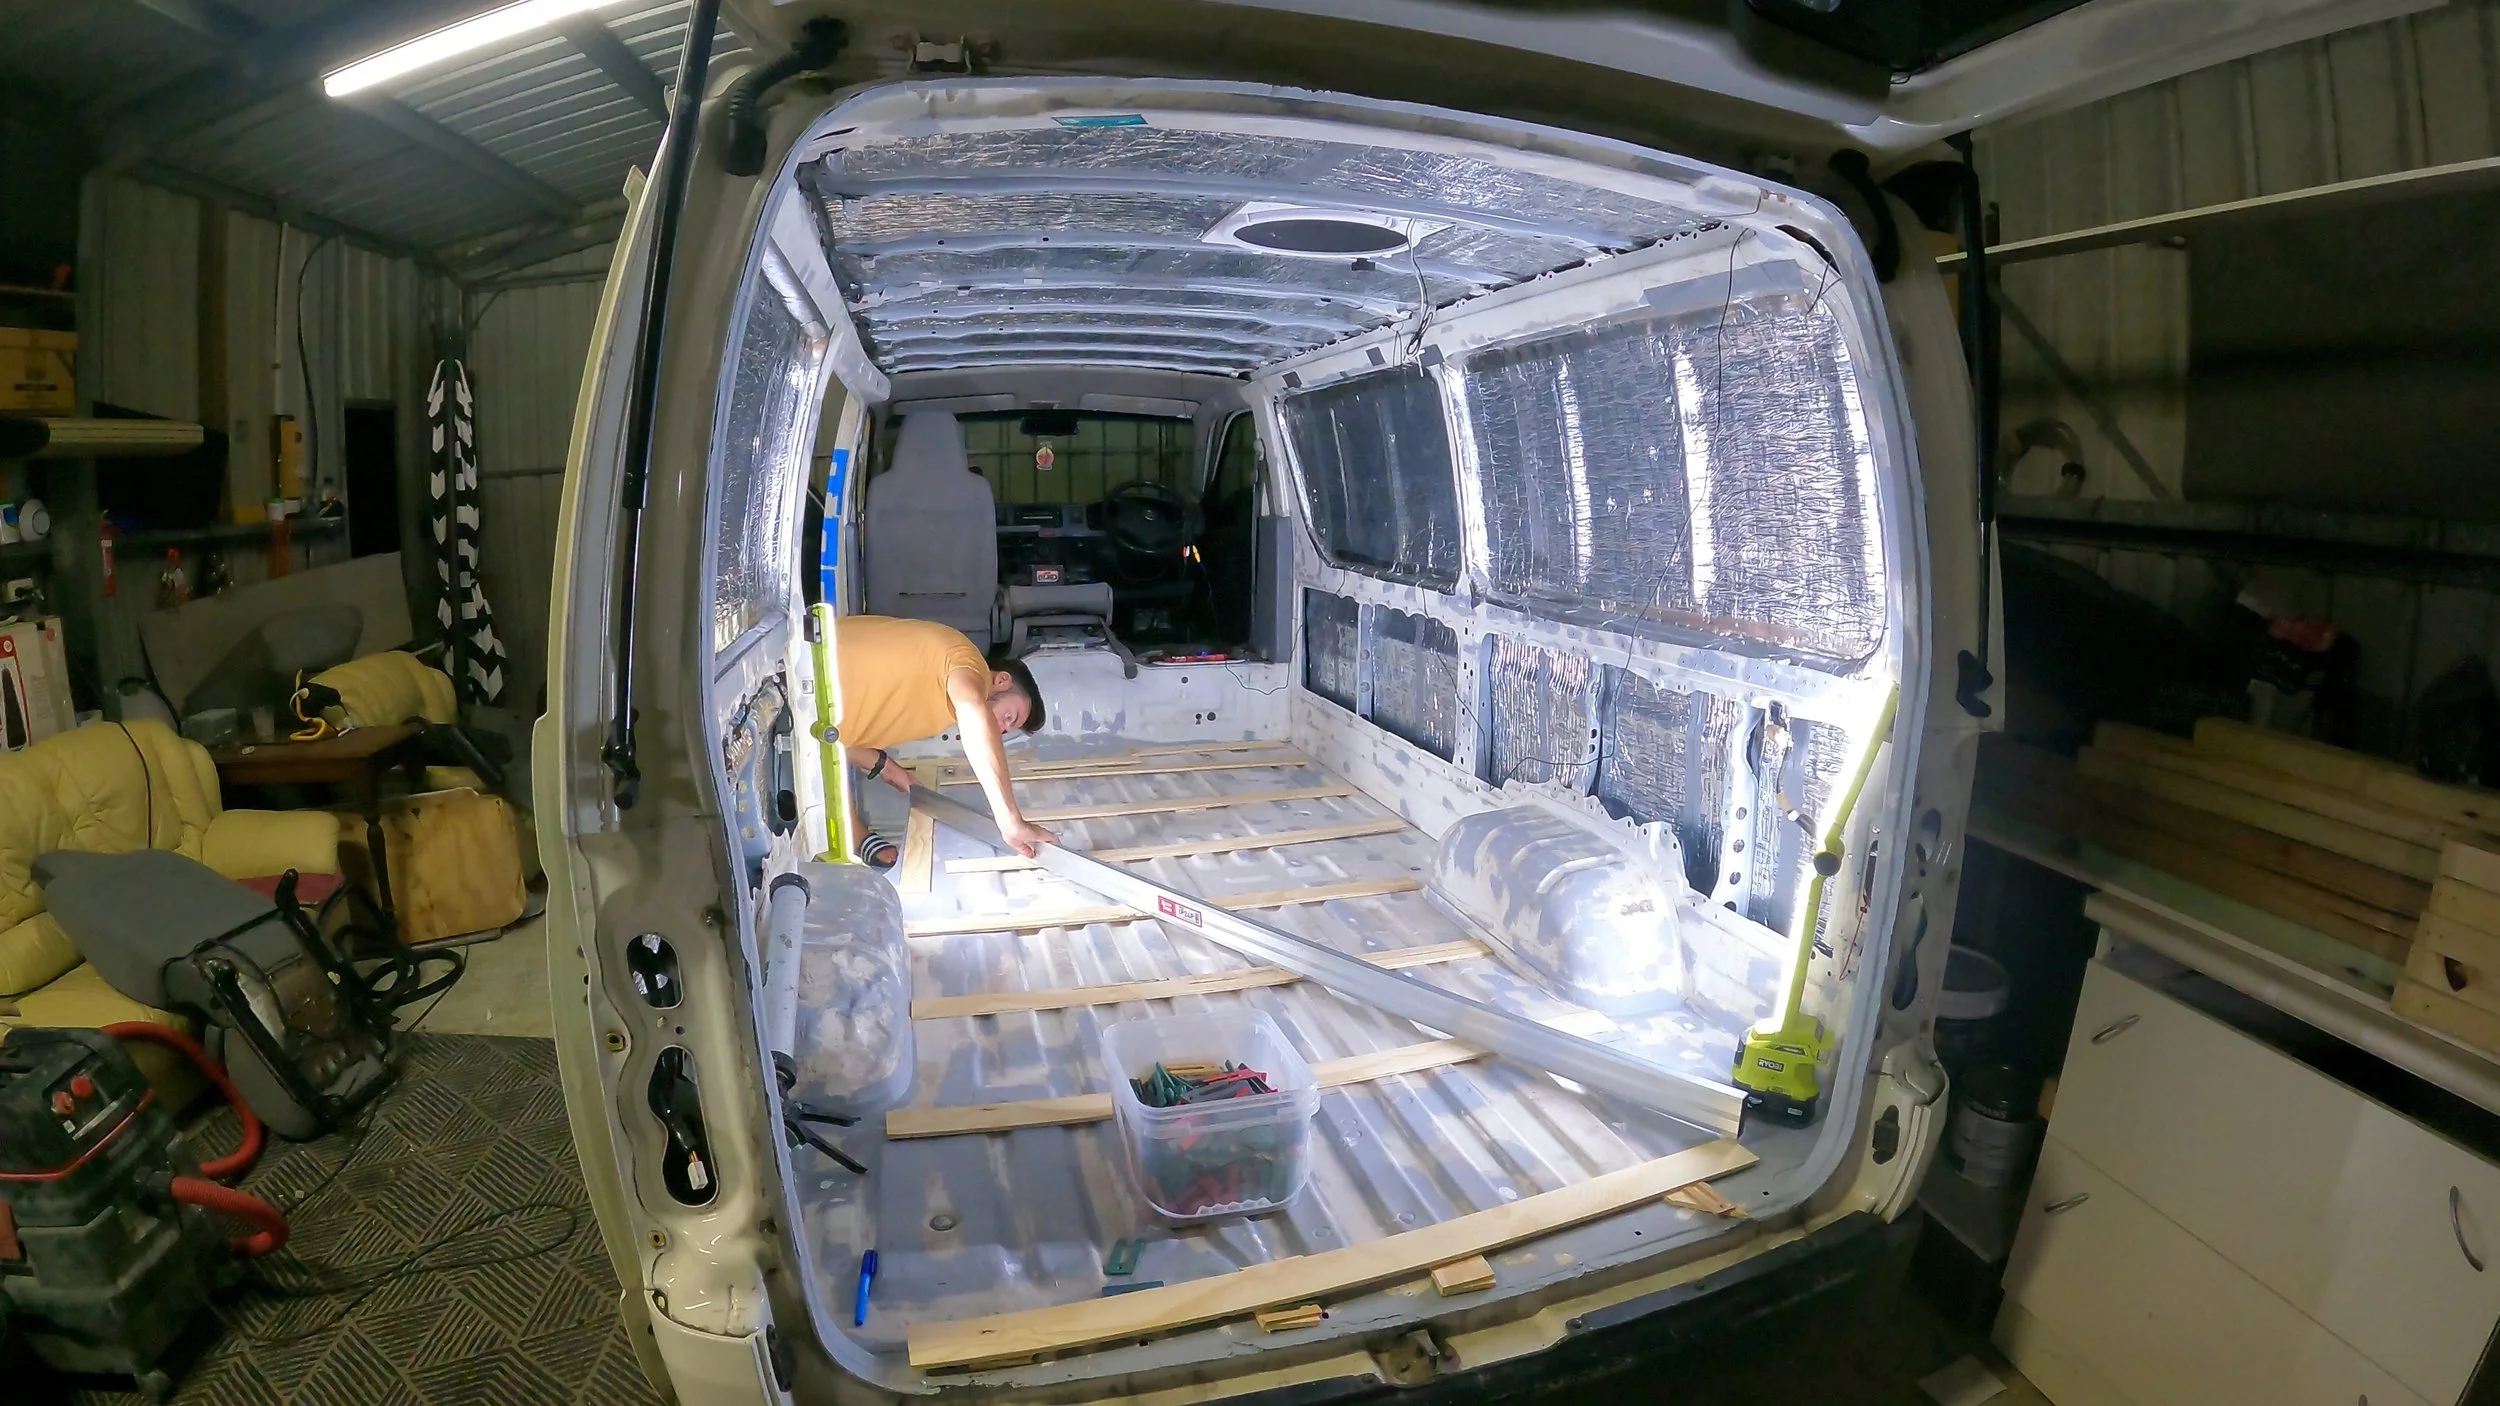
3. Dry fit and space framing
Lay out the strips across the van floor. The spacing should match your subfloor sheet joins - every board edge should land on a strip. Avoid spans greater than 450 mm without support. Add extra strips in high-traffic areas like doorways. Make sure all strips are level and use packers where necessary to adjust heights.
4. Glue down framing (No need to screw into the floorpan)
Run a bead of Sikaflex (11FC is a good general use option) on the raised floor ribs and press your timber strips in place. If you’re doing the subfloor and framing in one go, cut the sheets beforehand so you can glue everything in a single step. Otherwise, let the framing cure before adding sheets.
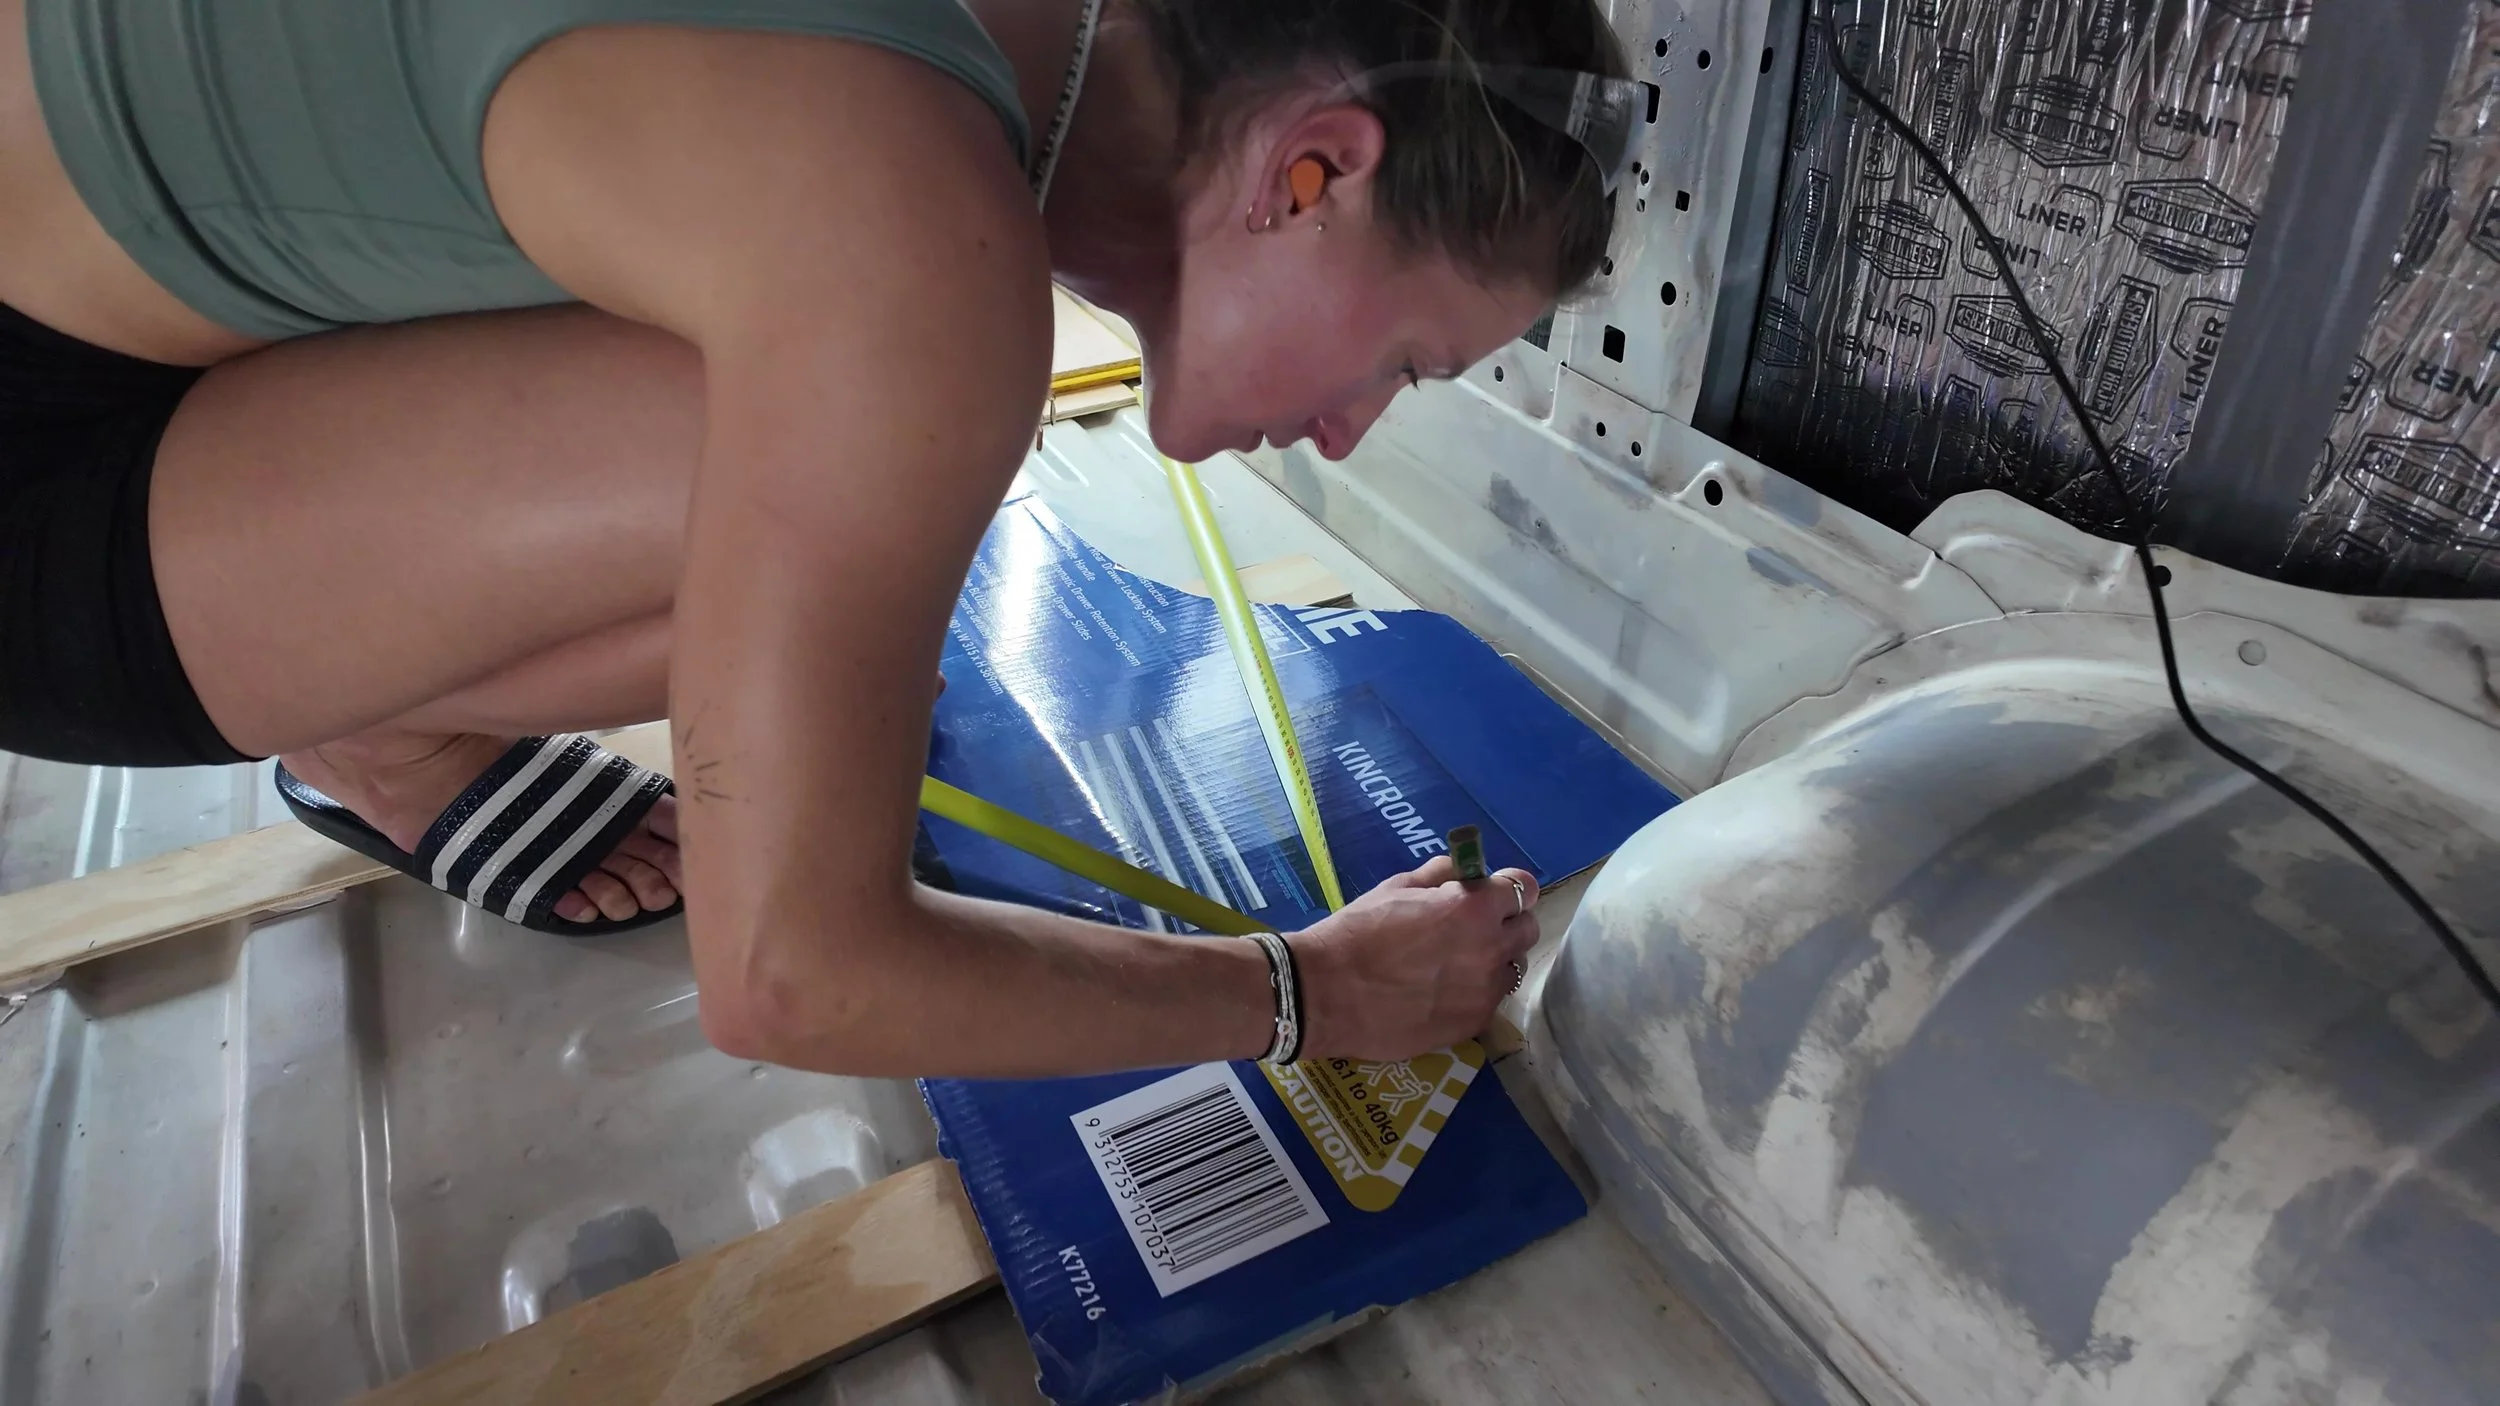
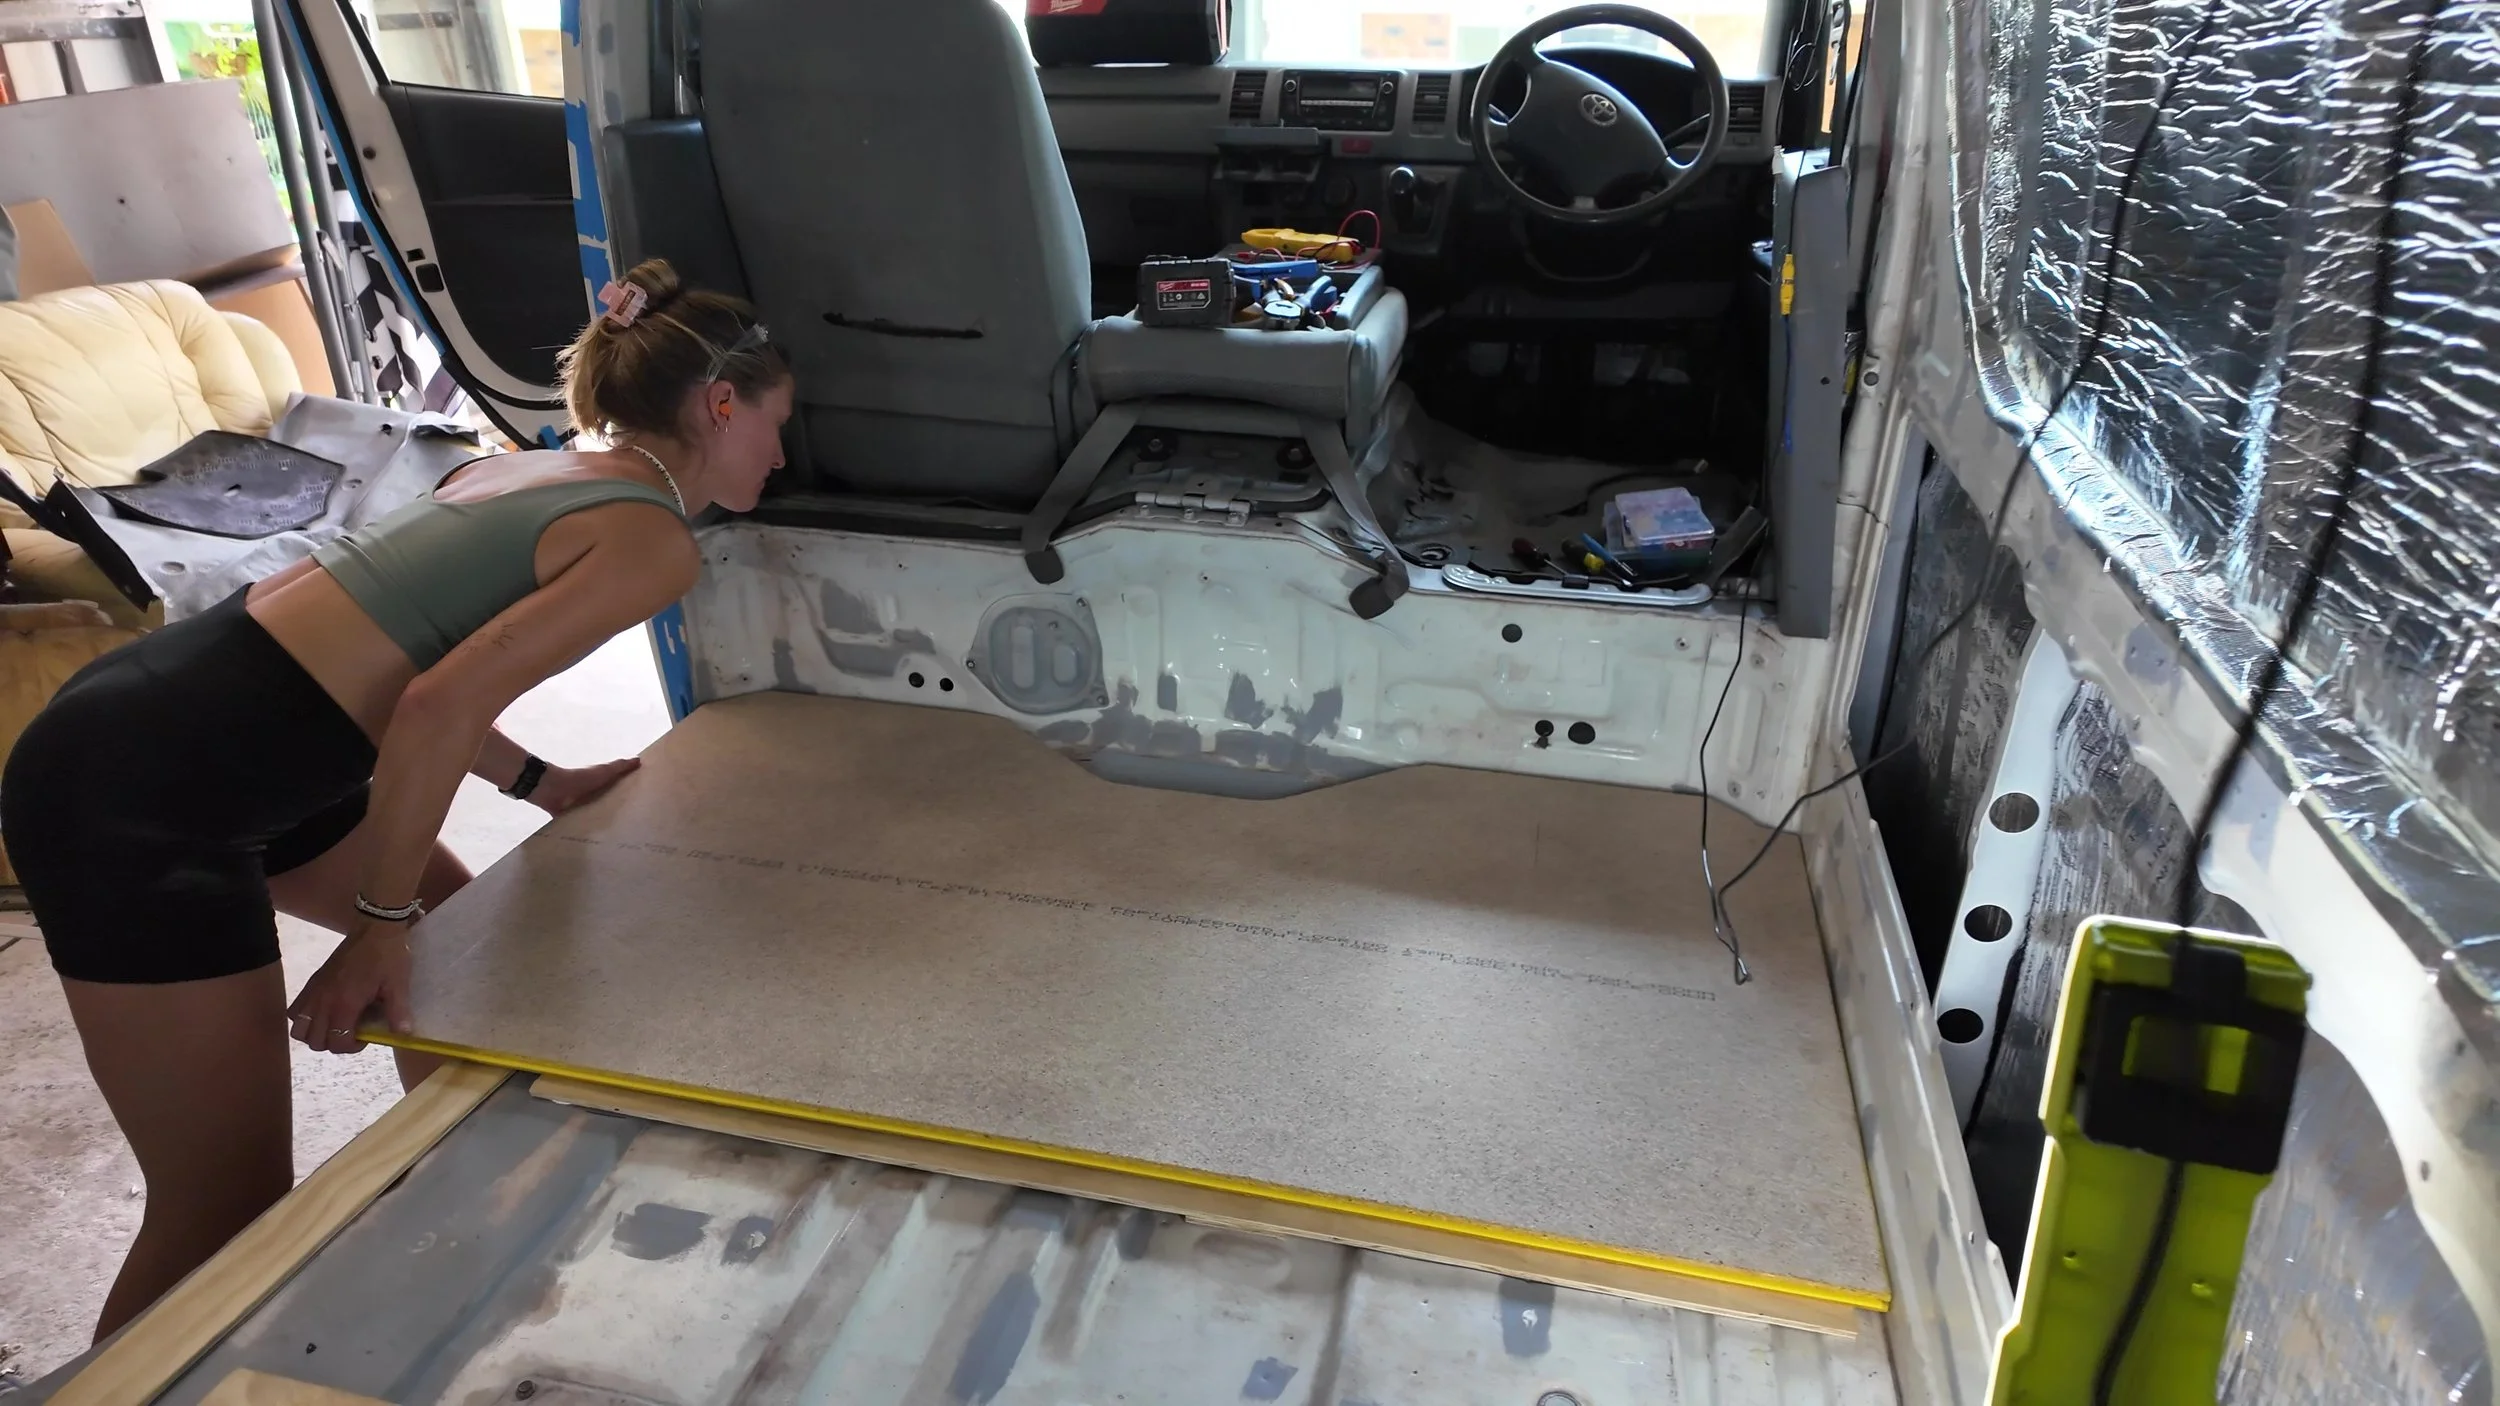
5. Cut subfloor sheets
If you have the van’s old floor liner, use it as a stencil. Otherwise, make templates from cardboard for tricky sections like wheel arches, door steps, and corners. Leave a 3-5 mm gap around the perimeter so the floor can expand slightly and so you can seal it later.
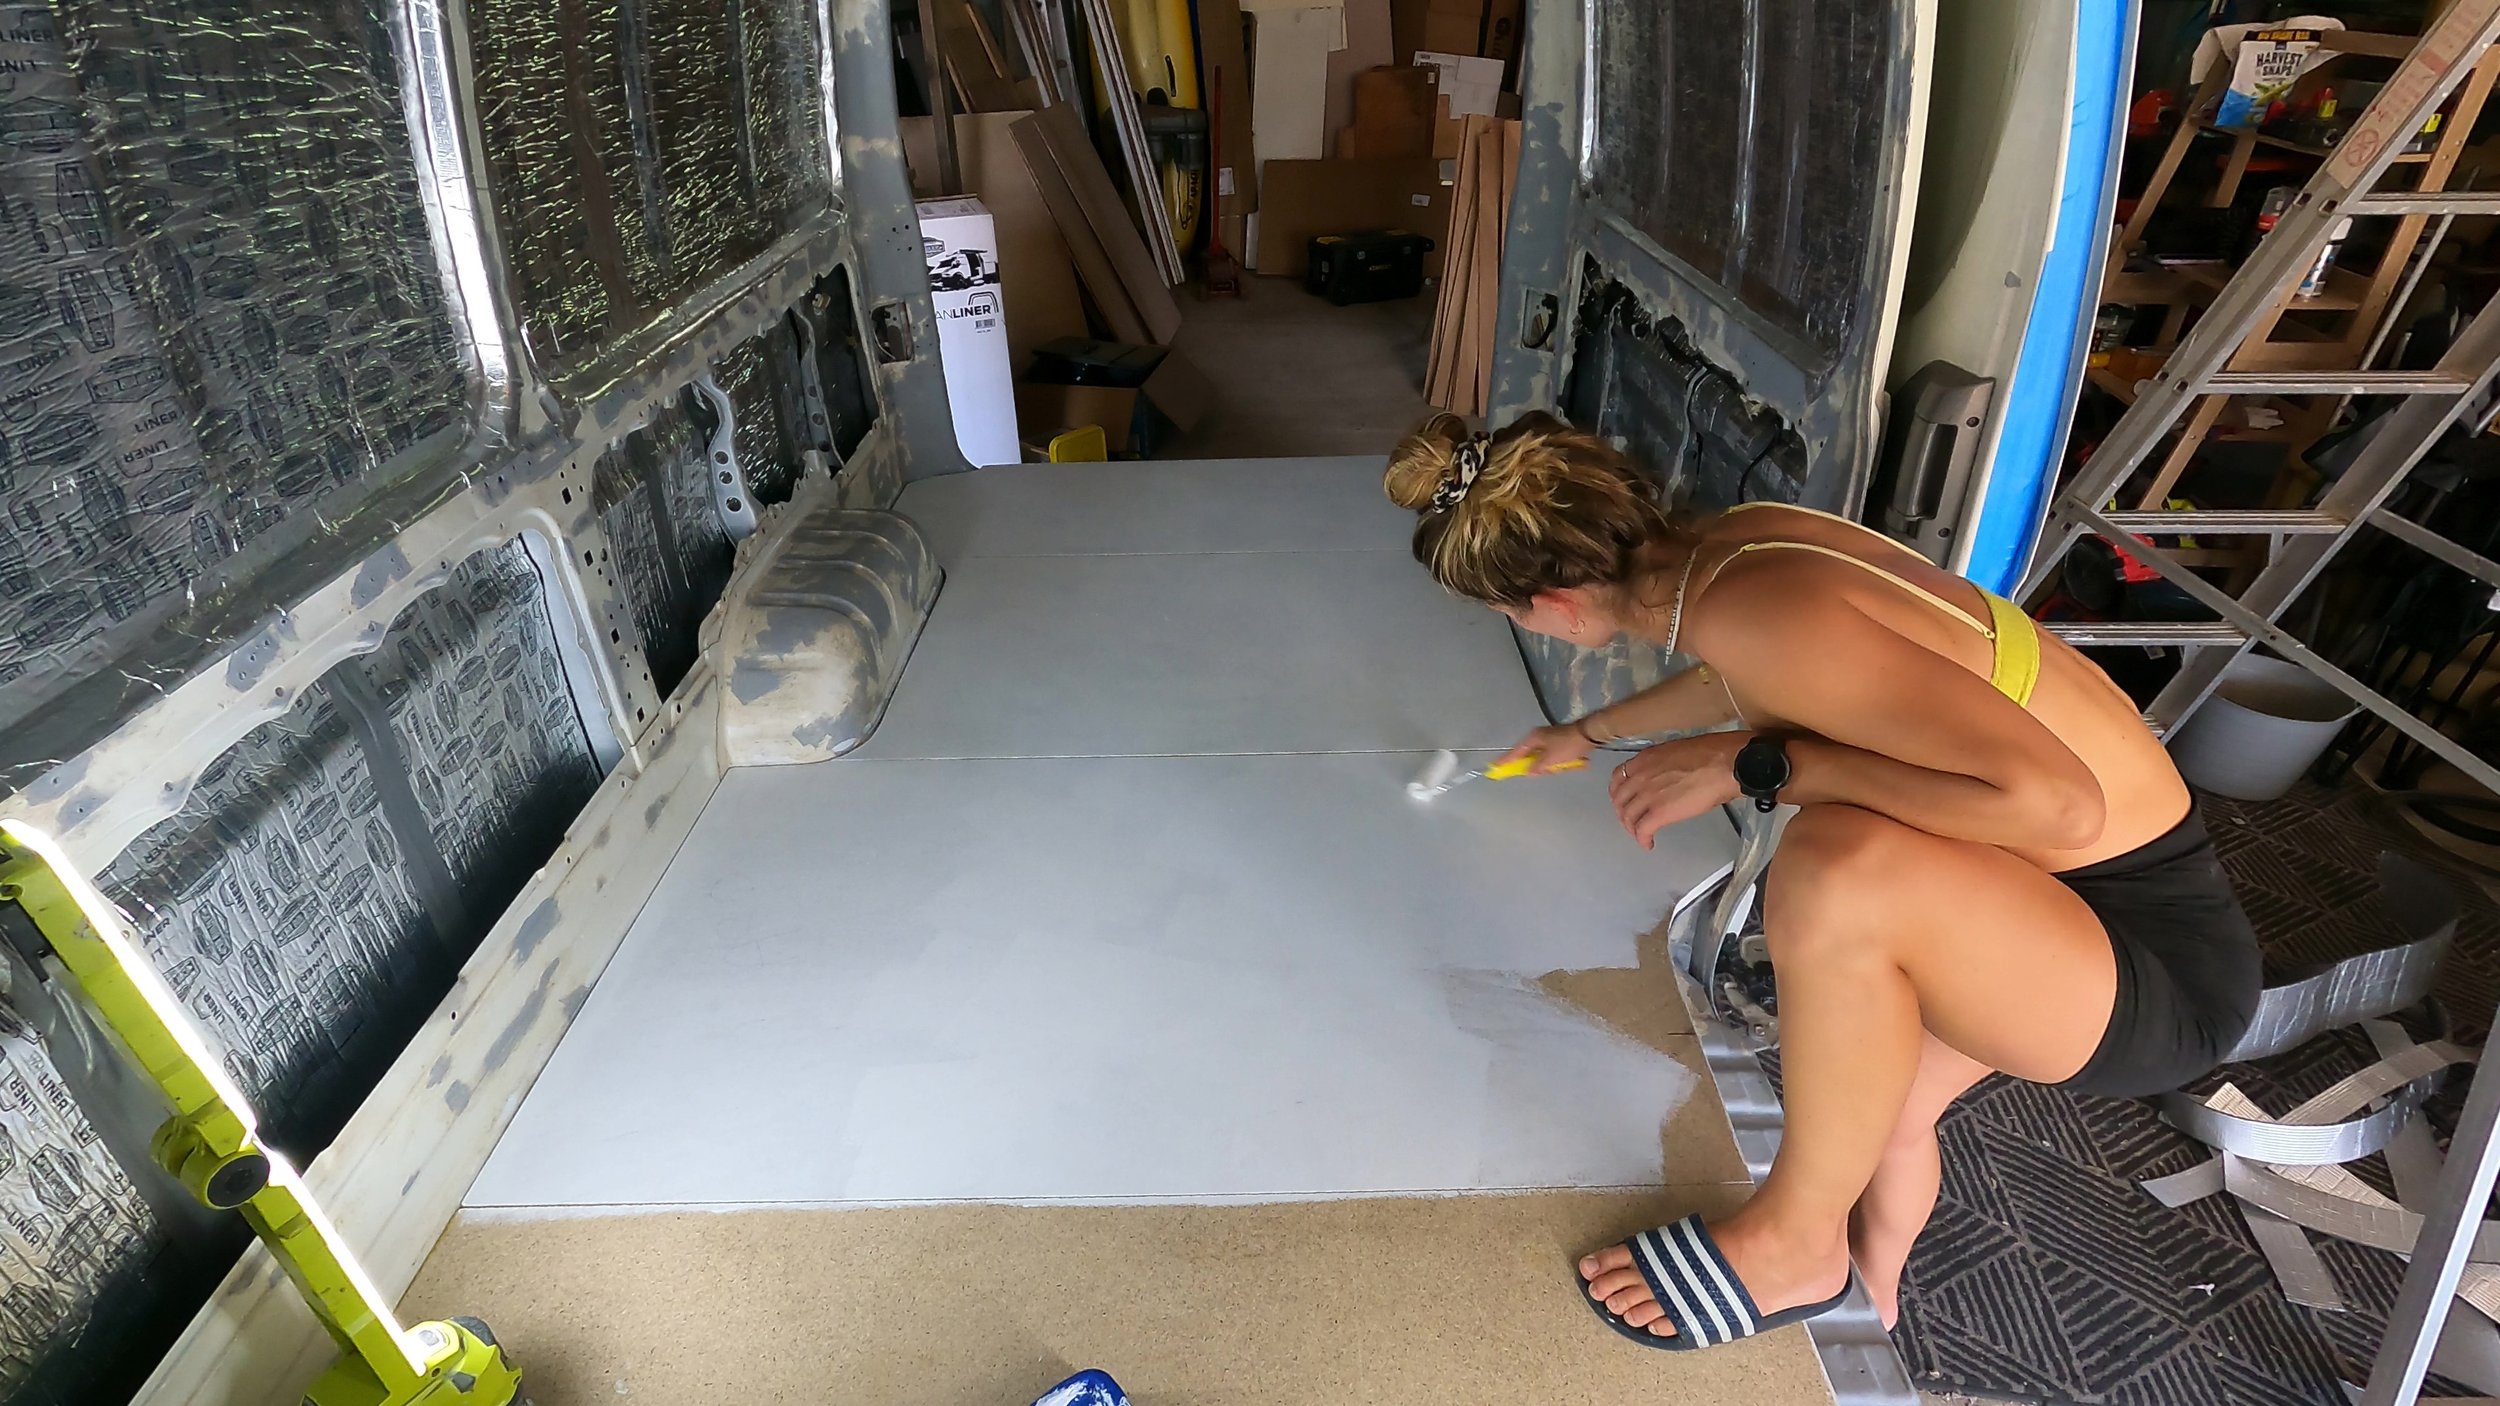
6. Pre-coat subfloor sheets
Before installing, paint or undercoat the sheets to add moisture resistance. This is especially important for particle board.
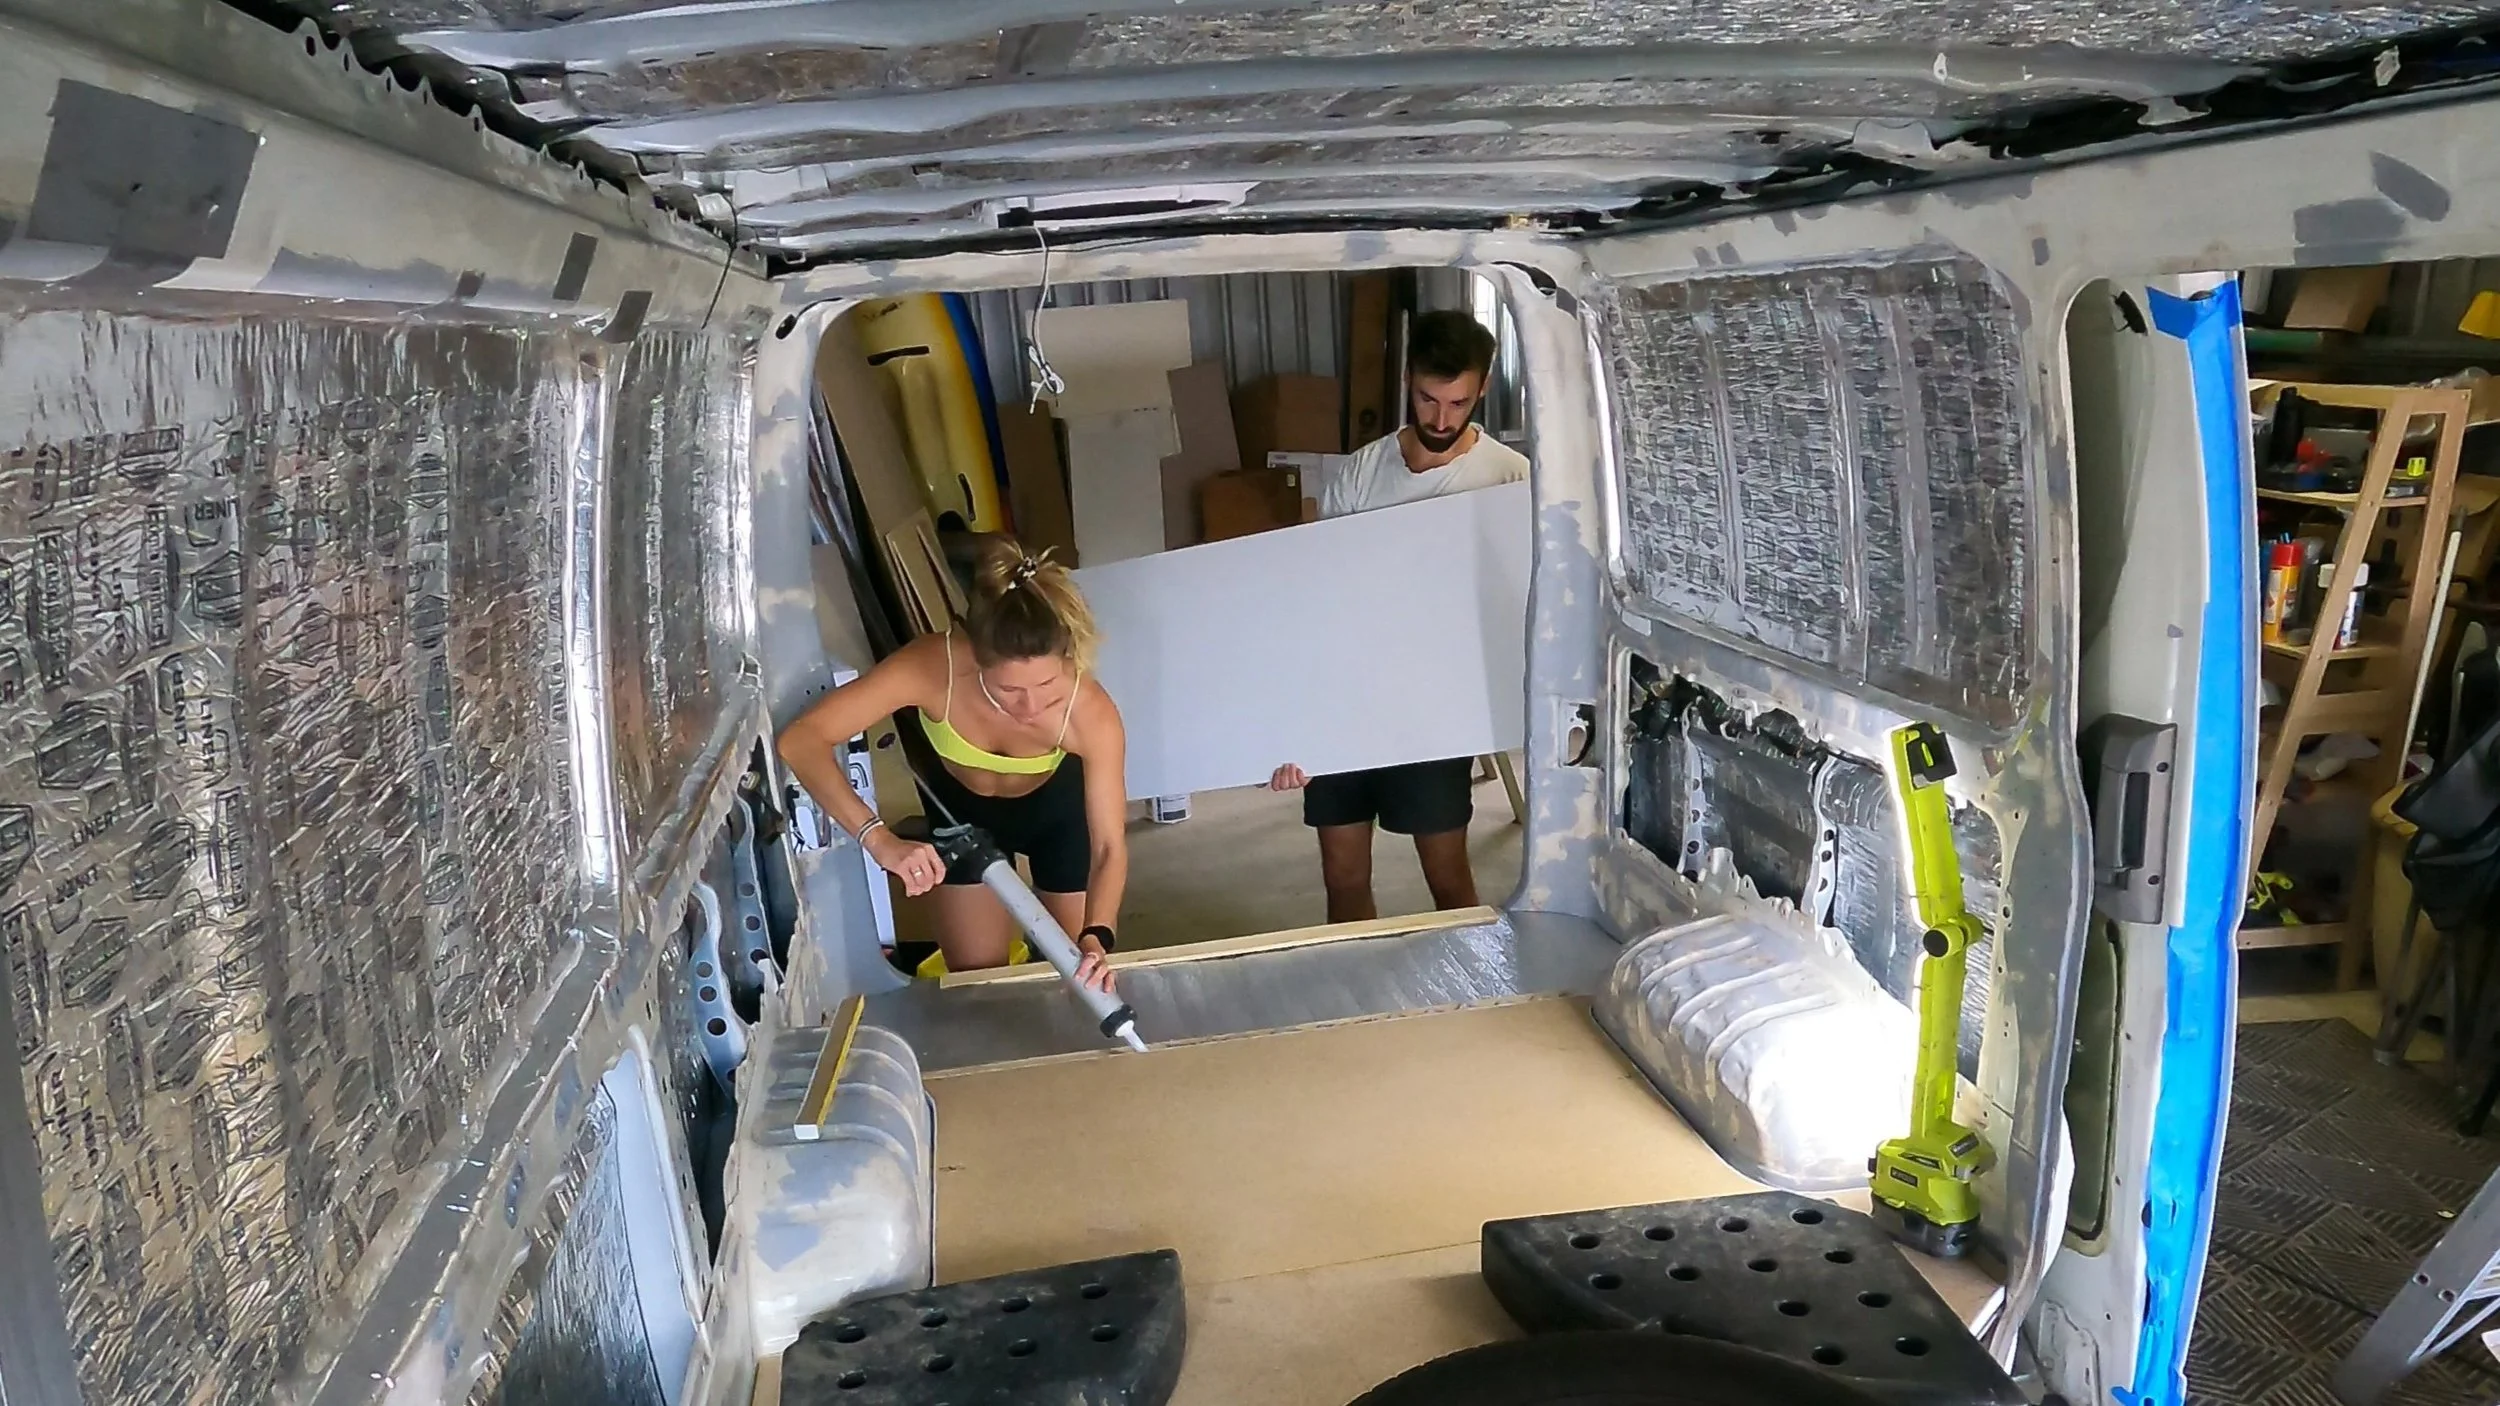
7. Install subfloor sheets
Apply adhesive (Sikaflex) to the top of the timber strips and lay the sheets down one at a time. Work front to back, gluing a section at a time. Place weight on the sheets (toolboxes, water containers, anything heavy) and leave until the adhesive cures.
8. Seal edges and joins
Once the adhesive has set, run silicone around the perimeter and along all joins. This creates a watertight barrier and protects your subfloor from spills or condensation that might find its way under the flooring.

Skip screws into the floorpan
Drilling through the van floor can create rust points and weak spots. Adhesive alone is strong enough to hold your subfloor in place.
Seal everything
Moisture under the subfloor is a nightmare to deal with later. Seal edges and joins with silicone to keep water out from day one.
Save your templates
Keep any cardboard stencils you make for wheel arches or corners. You’ll reuse them when cutting your finished flooring.
Weigh it down
Once the sheets are glued, use whatever heavy items you have to press them flat while the adhesive cures for a strong, even bond.