


Van Conversion Guide
Base Build
Installing The Finished Flooring
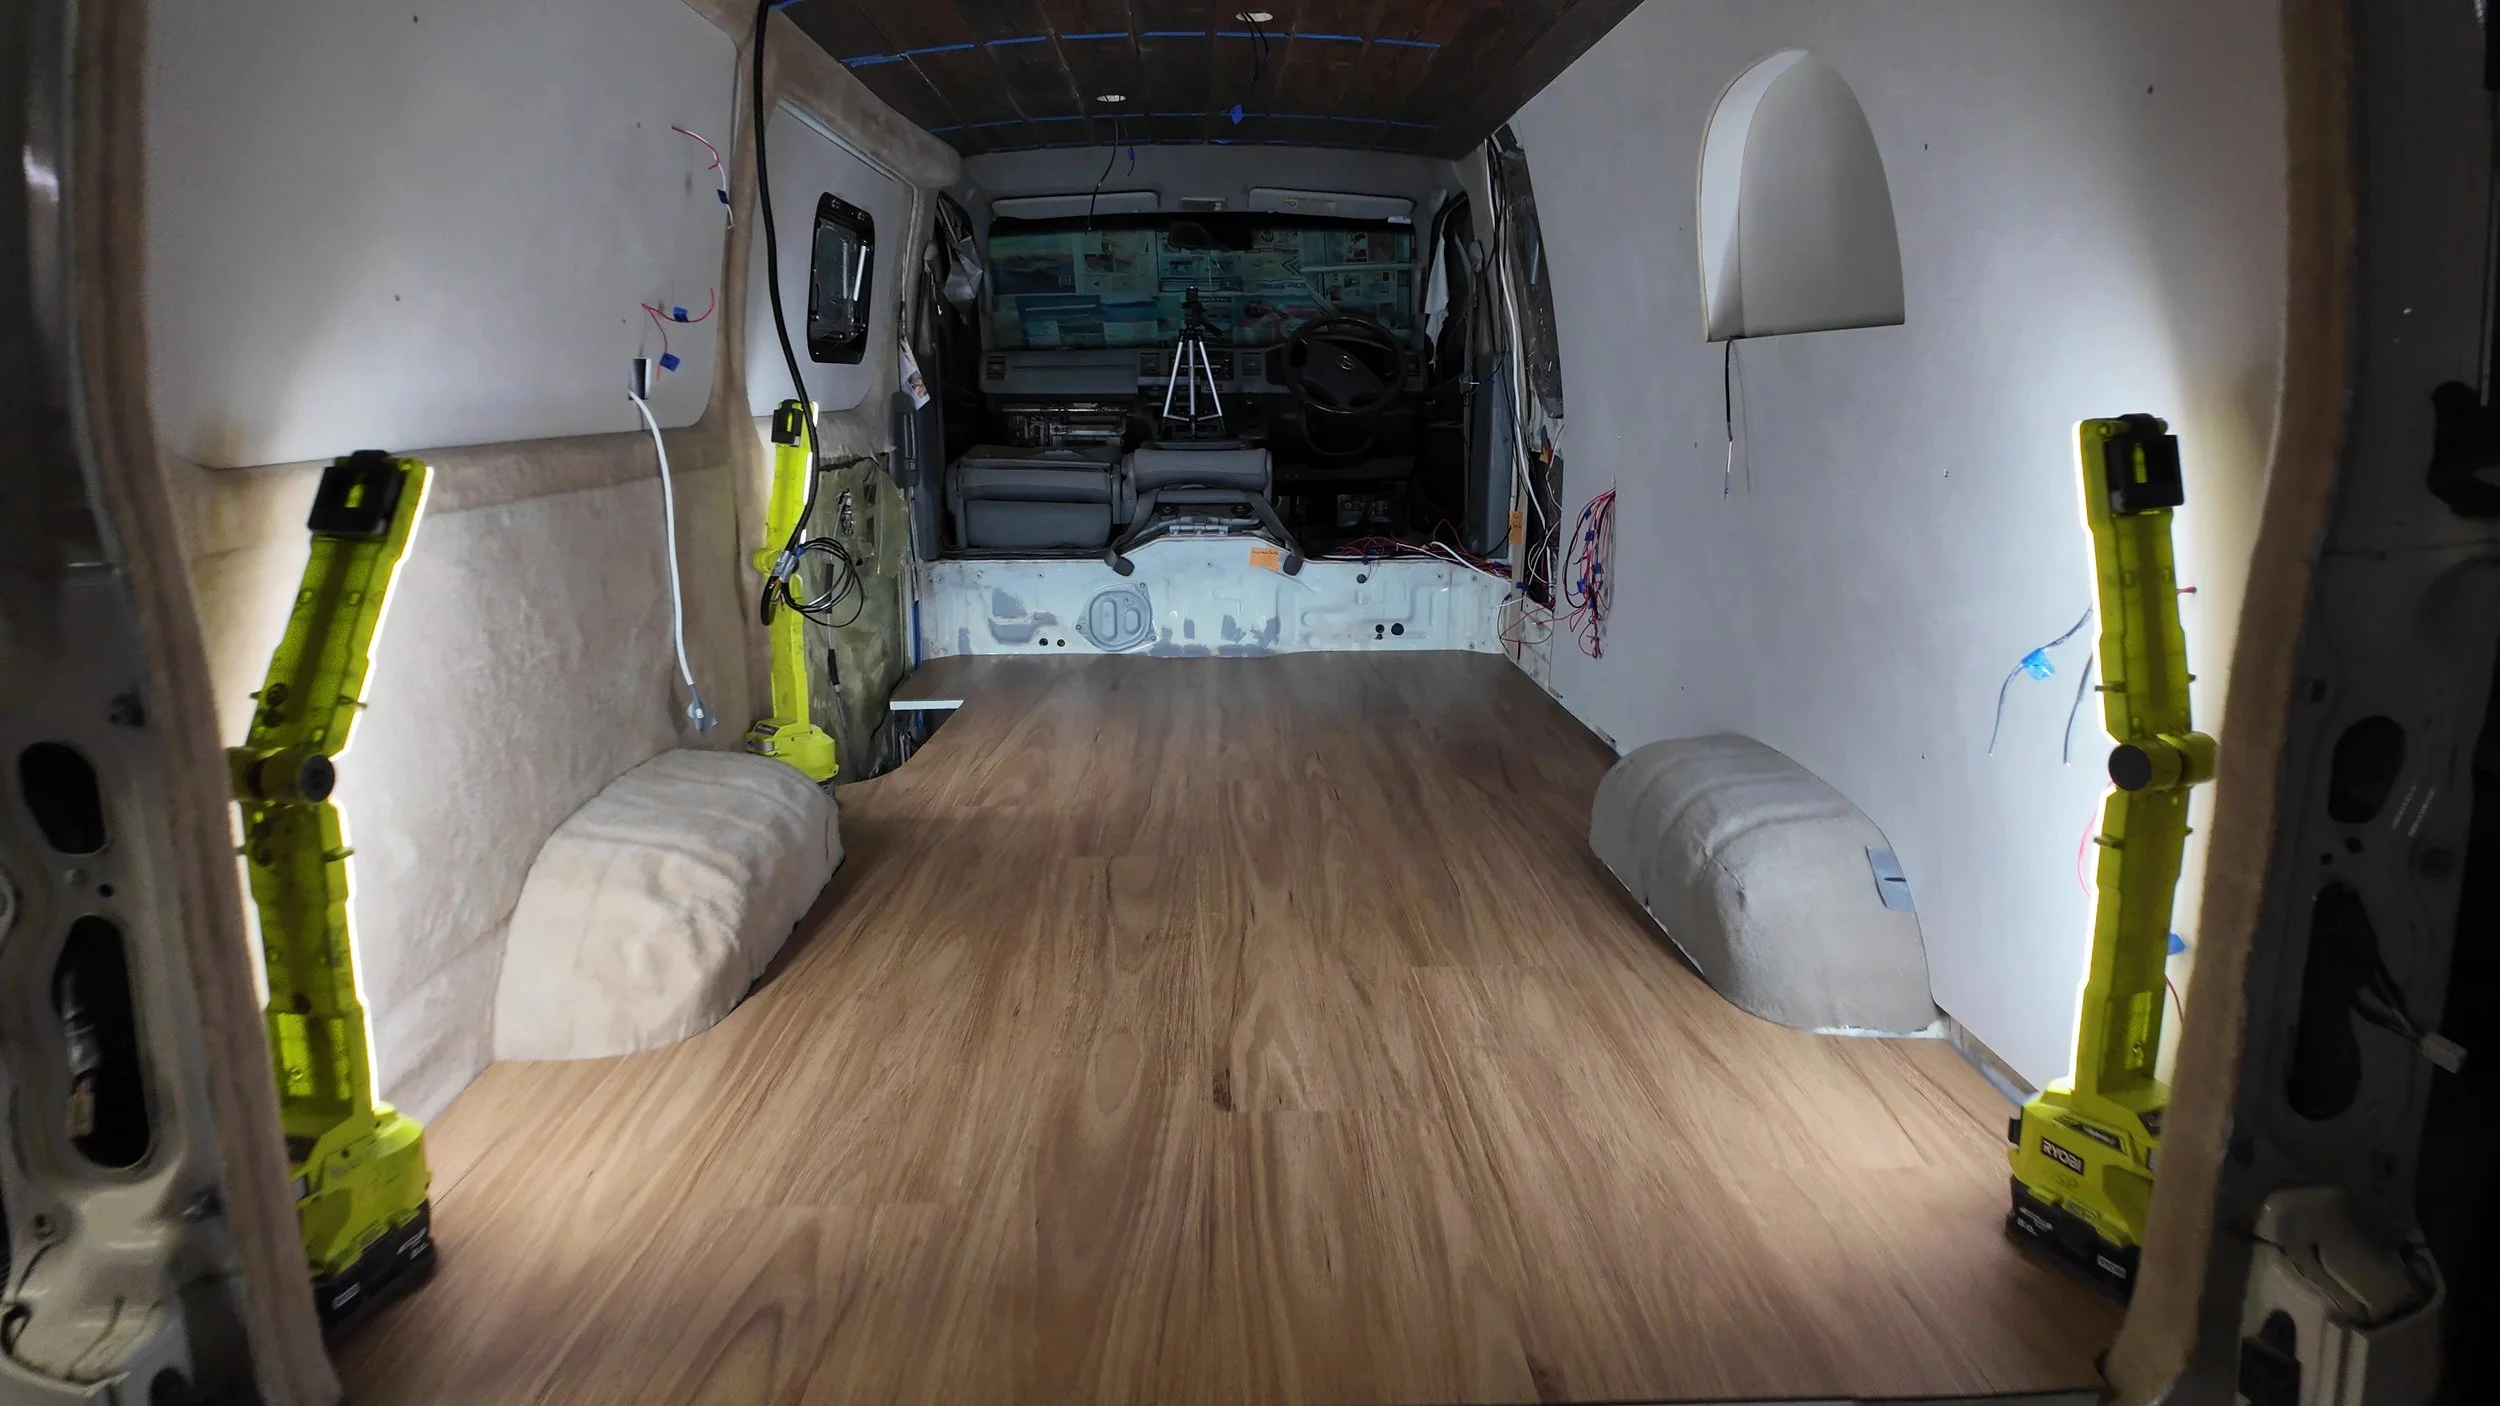
Installing your finished floor marks the end of your base build - and the start of your van actually feeling like a liveable space. Once the walls, ceiling, and floor are in, the interior really comes to life and sets the tone for your furniture, styling, and storage setup.
There are a few ways to go about this step depending on when you choose to install it and what flooring material you go with. But no matter what, waterproofing is non-negotiable - because if there’s one place you don’t want to deal with mould or rot later, it’s under your floor.
Materials and Tools
Vinyl Click-Together Floorboards (Floating Floor)
These timber-look floorboards click together and “float” over the subfloor without being glued down. They’re popular for their premium feel underfoot and give the van a more high-end, home-like finish. Install is fairly straightforward - no adhesive needed -and they go down quickly with a clean, modular rhythm. Just be aware that while many are rated as waterproof, they’re not immune to problems if water ever gets underneath. Because the boards interlock as a single system, replacing or repairing them can be a real hassle once cabinetry is built in. That’s why using only fully waterproof-rated variants is a must in a van. They’re a great choice if you prioritise aesthetics and comfort, but do come with a few practical tradeoffs.
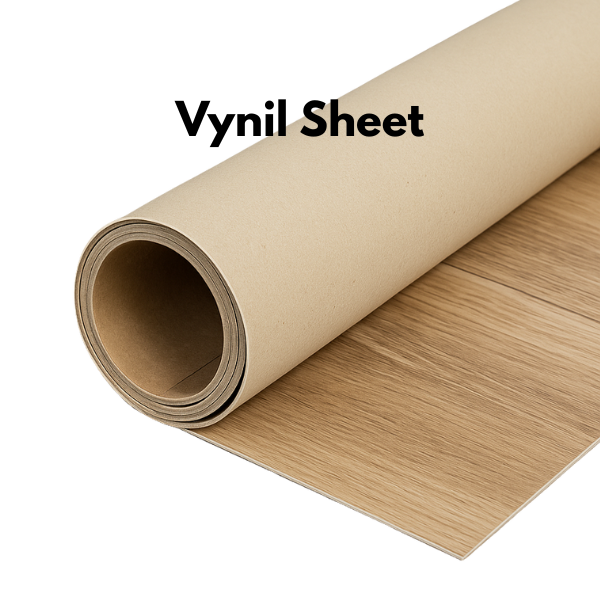
Single Vinyl Sheet Flooring
This is one big sheet of vinyl laid wall to wall, giving you a completely sealed surface with no joins for water to seep through. It’s a practical and stright forward option, especially for small van layouts. You don’t get the same luxury feel underfoot, and it can be a bit more prone to light scratches or chipping if you’re not careful. But for overall waterproofing and ease of maintenance, it’s hard to beat. As long as your cuts are accurate and the sheet is well-secured, it’s a long-lasting and stress-free solution.
Contact Adhesive or Double-sided Vinyl Tape
Used to secure sheet vinyl to the subfloor. Contact adhesive gives a strong, long-term hold but needs to be applied carefully and evenly. Vinyl tape is a quicker and less messy option, depending on the product you’re using and quality of finish you’re after.
Silicone Sealant
Once your floor is installed, sealing the entire perimeter with silicone is a must. It keeps water from seeping underneath and helps protect the subfloor from rot, spills, and condensation.

Note: While a vynil sheet requires fixing down with an adhesive, the click together “floating Floor” system doesn’t need to be fixed down. The combined weight of the furniture and the strength of the silicone around the perimeter are more than enough to hold them in place.

Additional Tools:
Tape measure
Stanley knife
Spare blades
Jigsaw
Jigsaw blades
Pencil
Set square
Silcone
Silicone gun
Cardboard for stencils
Method
Decide when to install
If you install the floor before cabinetry, it’s easier to waterproof, makes cutting simpler, and results in a clean, professional finish. If you install it after cabinetry, you’ll save on materials and protect your floor during the build - but you’ll need to cut around everything more precisely.
Laying hybrid flooring
Tips:
Since the boards click together, it’s easiest to start from the back driver's side wall and work your way across the van.
Don’t glue them down - they’re designed to float.
Prepare your surface
Make sure your subfloor has been painted for waterproofing, is clean, dry, and smooth. Sweep out any dust or debris and vacuum thoroughly before laying anything down.Establish your allignment
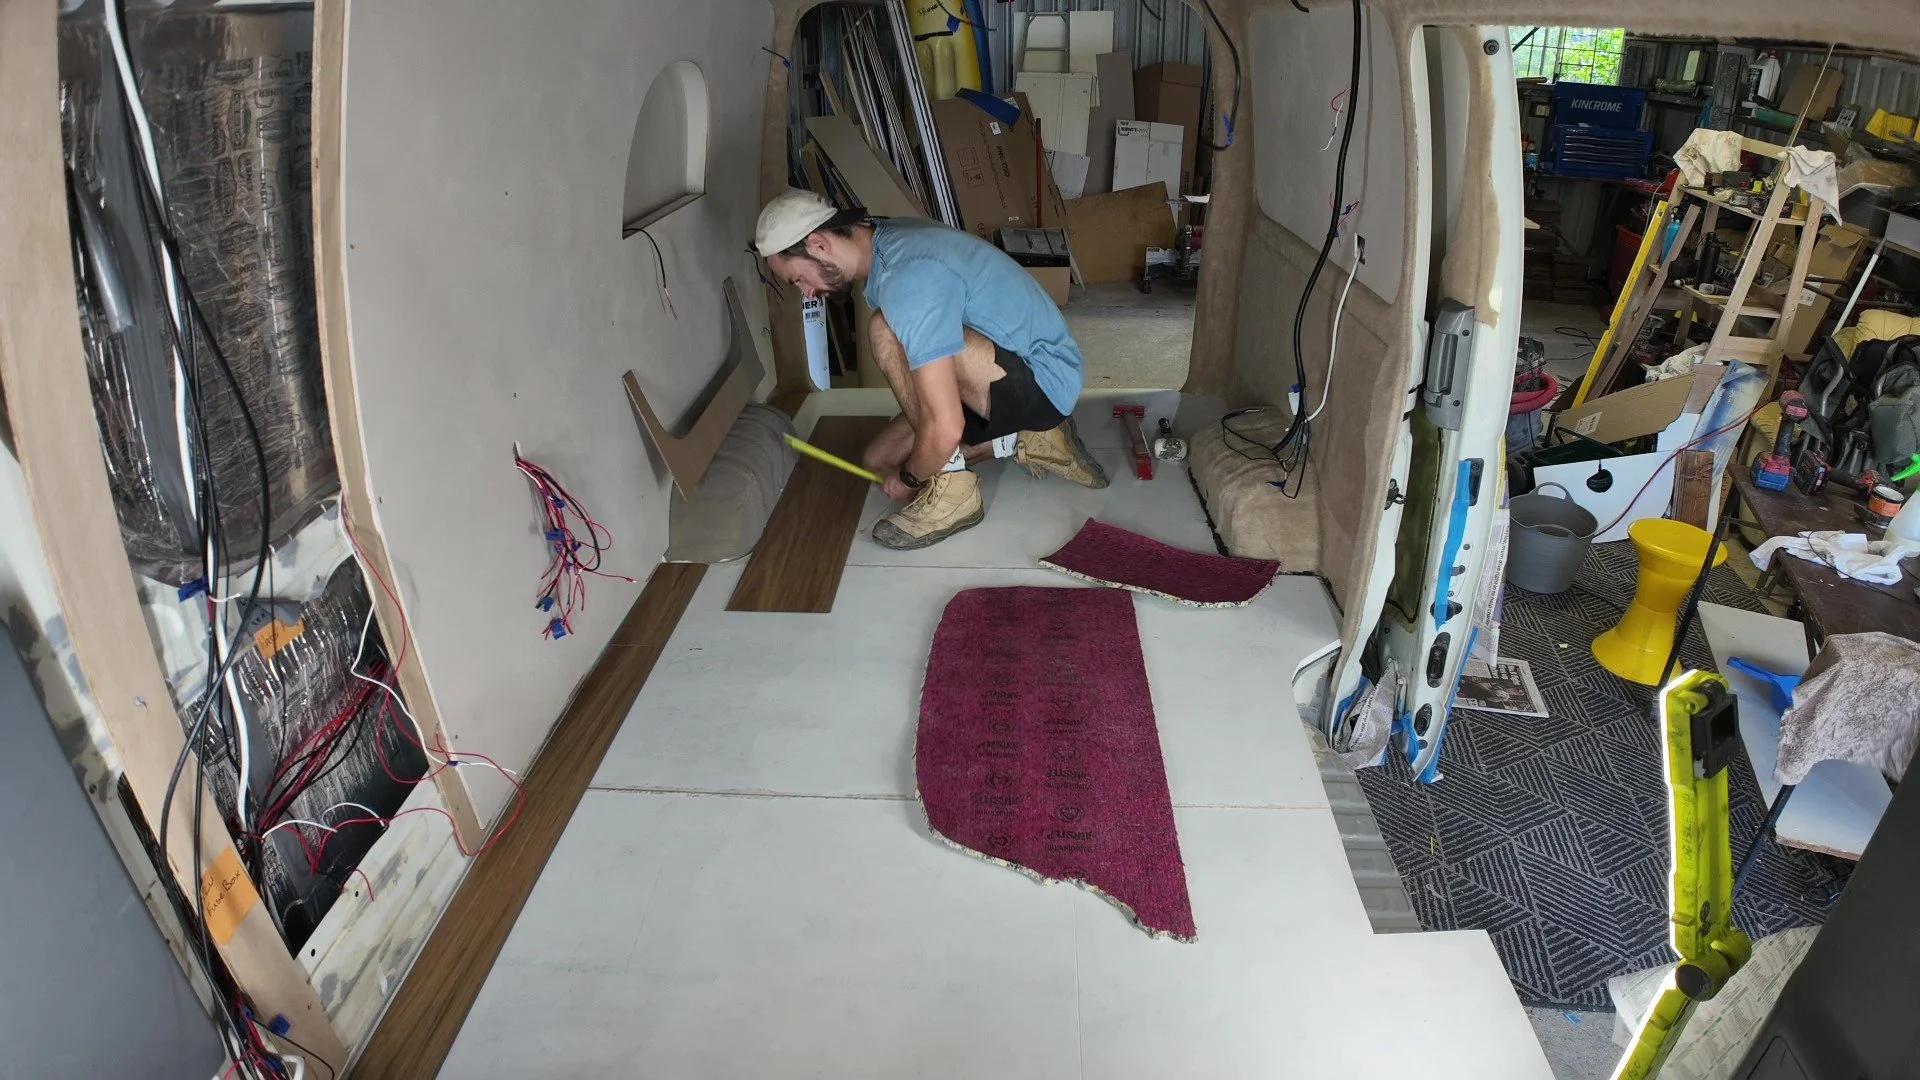
Before laying your first board, measure the width of your floorboards and establish which flooring grid will create the most favorable cuts against walls and in doorways. Large cuts are best, especially in high traffic areas.Make your first cuts
Your first row of cuts will establish the grid for the rest of the floor. Cut your first cuts along the drivers side wall, allowing 3-4mm off any walls for expansion within the floor.Install floorboards
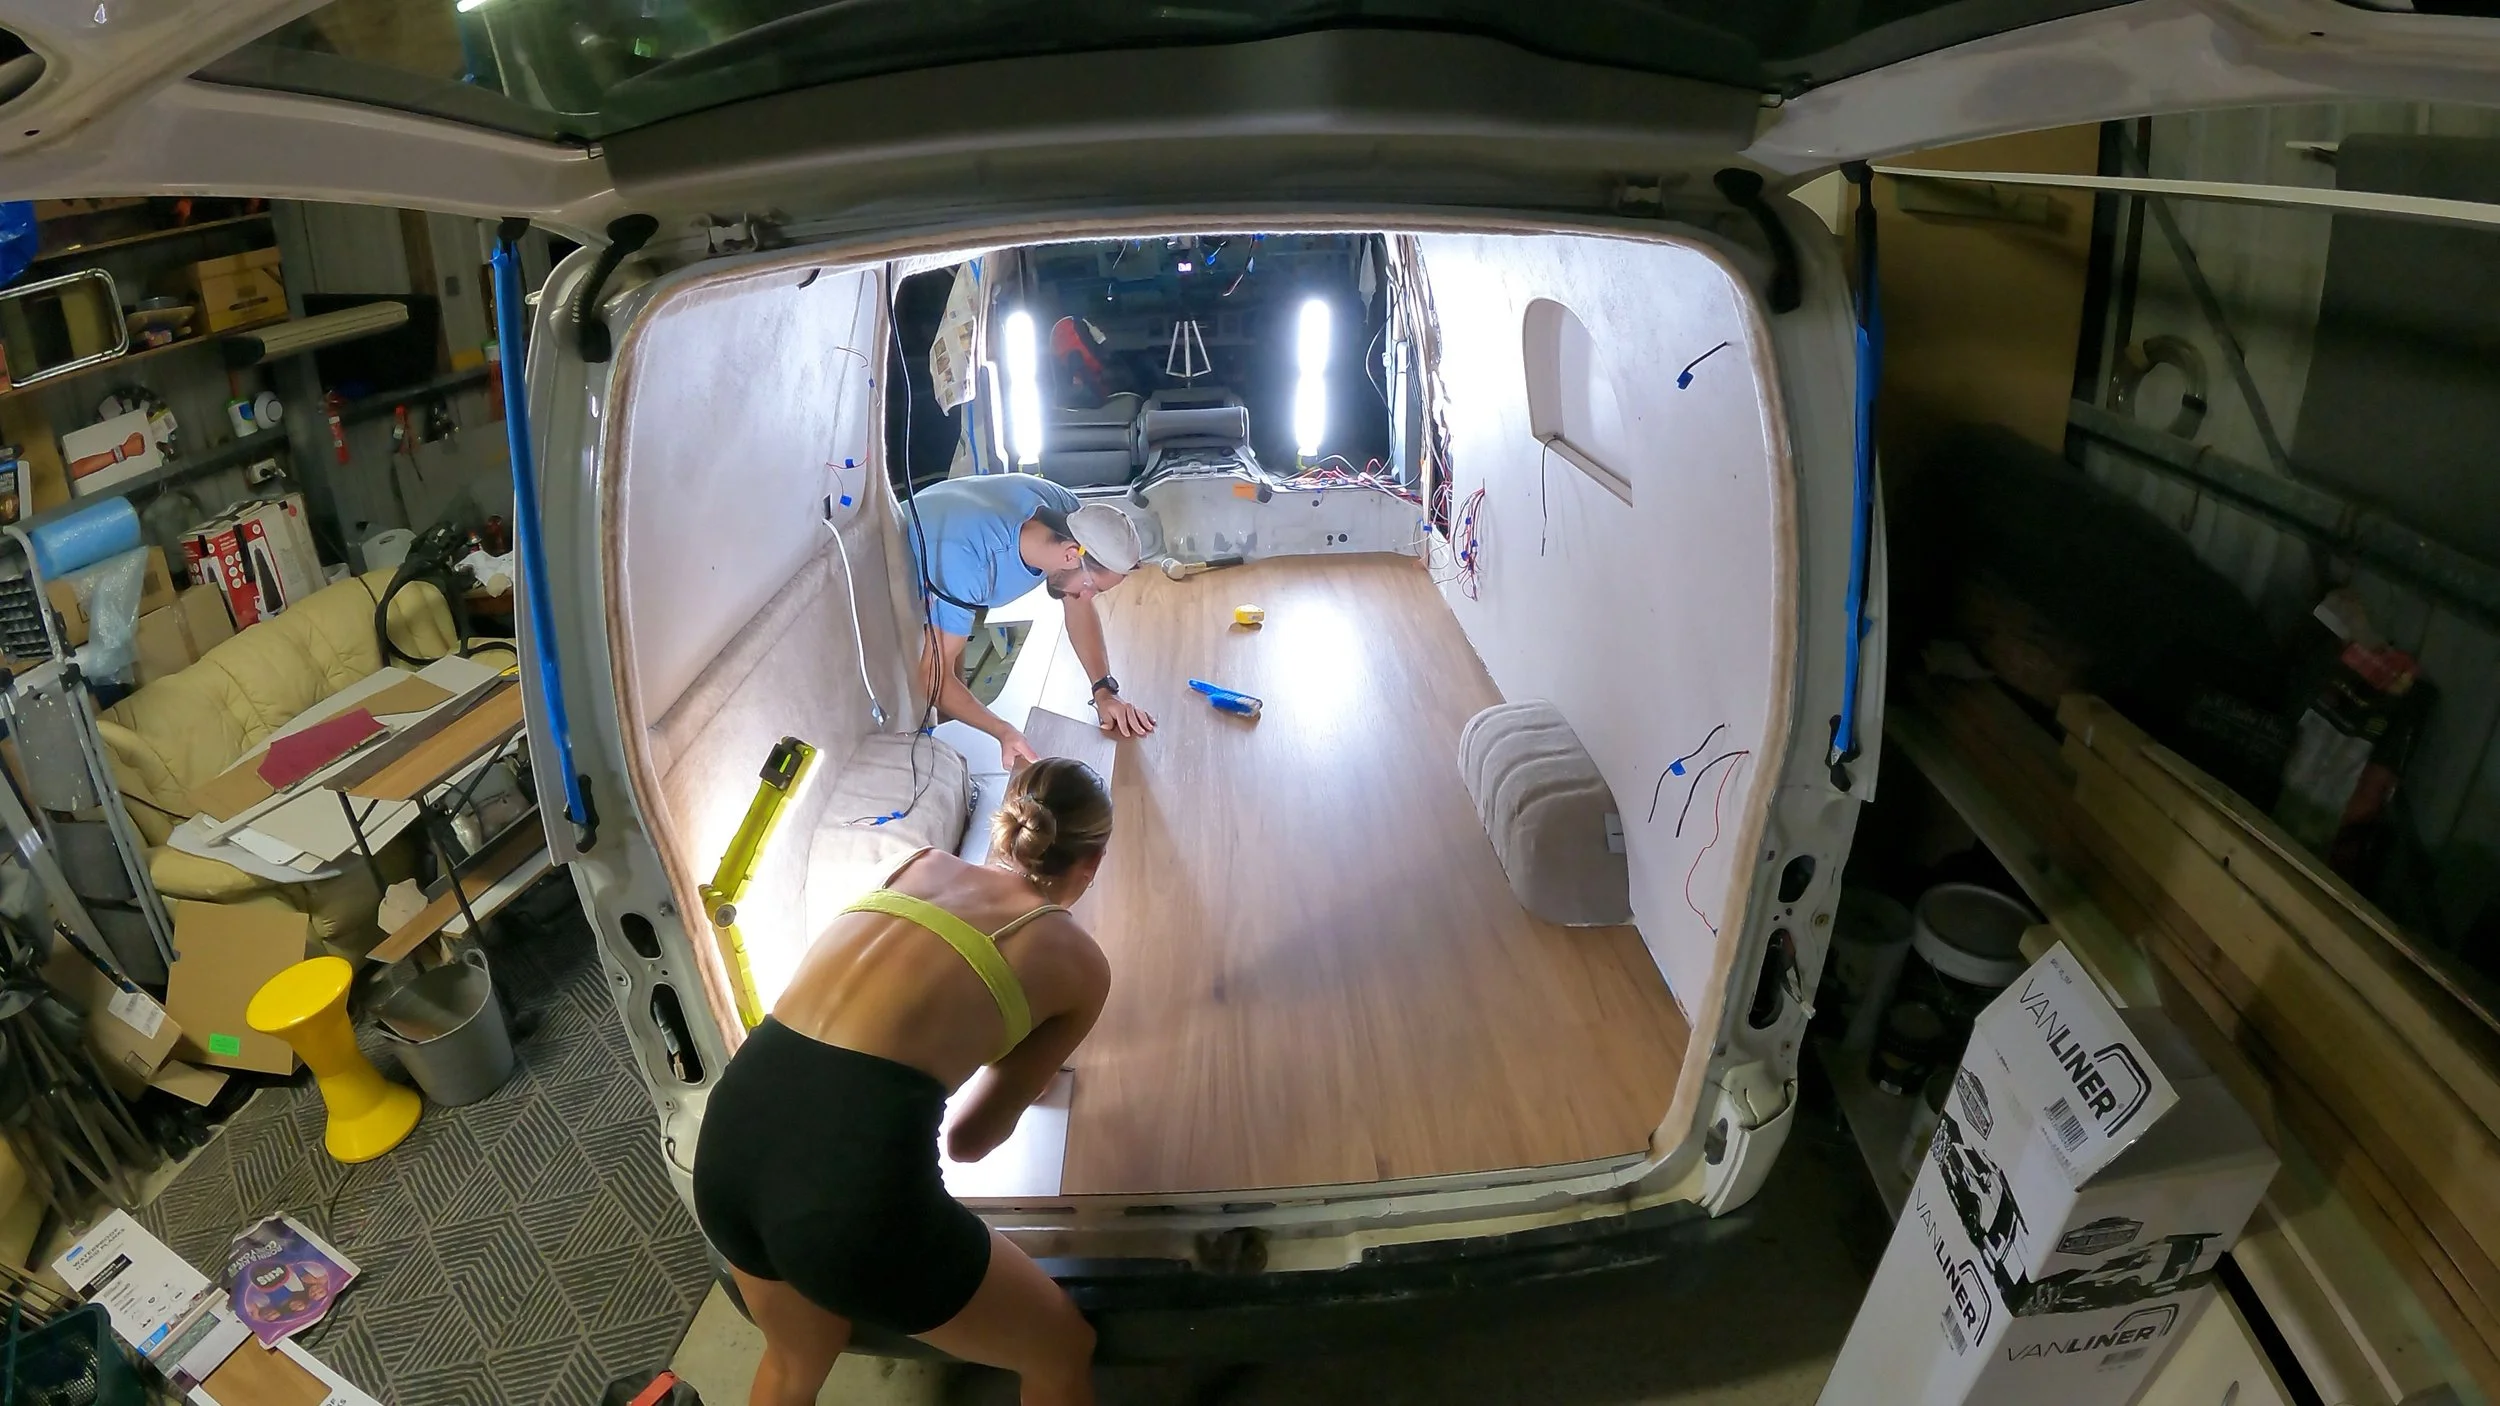
Click together piece by piece, starting in the drivers side wall usually working left to right as you come across the van. Use a rubber malet if necessary to achieve tight connection between boards.Cutting Floorboards
- Straight cuts - Score your line with a set square and a stanley knife. The board should now snap perfectly along that line.
- Curved cuts - A jigsaw is the only way to acheive smooth curved lines. Marking and cutting your lines on the underside of the board will prevent the jigsaw from chipping your finished surface.
- Long cuts - Cutting down the length of the board can be done with a jigsaw or circular saw where snapping isn’t possible.
Leave a perimeter gap
Always leave a 3–4 mm gap around the edges of the floor to allow for expansion. This also gives you room to run a clean bead of silicone around the perimeter.Seal all edges thoroughly
Use high-quality silicone or Sikaflex to seal the entire floor perimeter. This creates a watertight barrier and stops spills from seeping under your floor over time.


Laying Vinyl Sheet
Unfortunately I haven’t yet installed a vinyl sheet so I don’t feel it’s appropriate to tell you how to do this. I’ve included this option in here because it’s a method which I’ve decided to try on my next build for better water proofing in the van. If you’re interested in using this material - until I’ve experimented myself, I’m confident you’ll find heaps of good How-To videos on YouTube.


Silicone is your waterproofing hero
Run a solid bead around the whole floor perimeter. It keeps moisture out and protects the subfloor from rot, spills, or condensation.
Leave expansion gaps
Even in a van, flooring materials need room to shift slightly with temperature and moisture. 3–4 mm gaps around the edge will prevent warping or buckling.
Don’t glue hybrid vinyl boards
These are designed to “float.” Gluing them down can cause them to buckle or lift over time as they try to expand and contract.
Protect the floor during the rest of the build
If you’re installing the floor before cabinetry, cover it with drop sheets or cardboard while you continue working to avoid scratches.