


Van Conversion Guide
Base Build
Stripping Out The Interior
Stripping out any parts or paneling to reveal the van’s interior is a must to be able to properly insulate. But more importantly it allows you to inspect the health of your van before permanently covering every surface with a van conversion. Starting with a clean, rust free interior is critical for the health and longevity of your conversion.


Method
Removing unnecessary parts
left from the previous owner, like tradie shelves or partitions between the front cab and cargo area. You can often sell these parts to help cover renovation costs. Whether to remove a partition is up to you; removing it can create more space and allow crawl-through access in emergencies, but keeping it offers better security and insulation. Personally I recommend removing them as the space they take up is far too valuable.
Removing Interior Panels
Take down all panels from the walls, doors, and ceiling to inspect for rust and install insulation. Save these if you plan to reuse or cover them with carpet for a simple finish. Discard panels only if you’re replacing them with new materials like timber panelling, and can’t use them as a stencil.
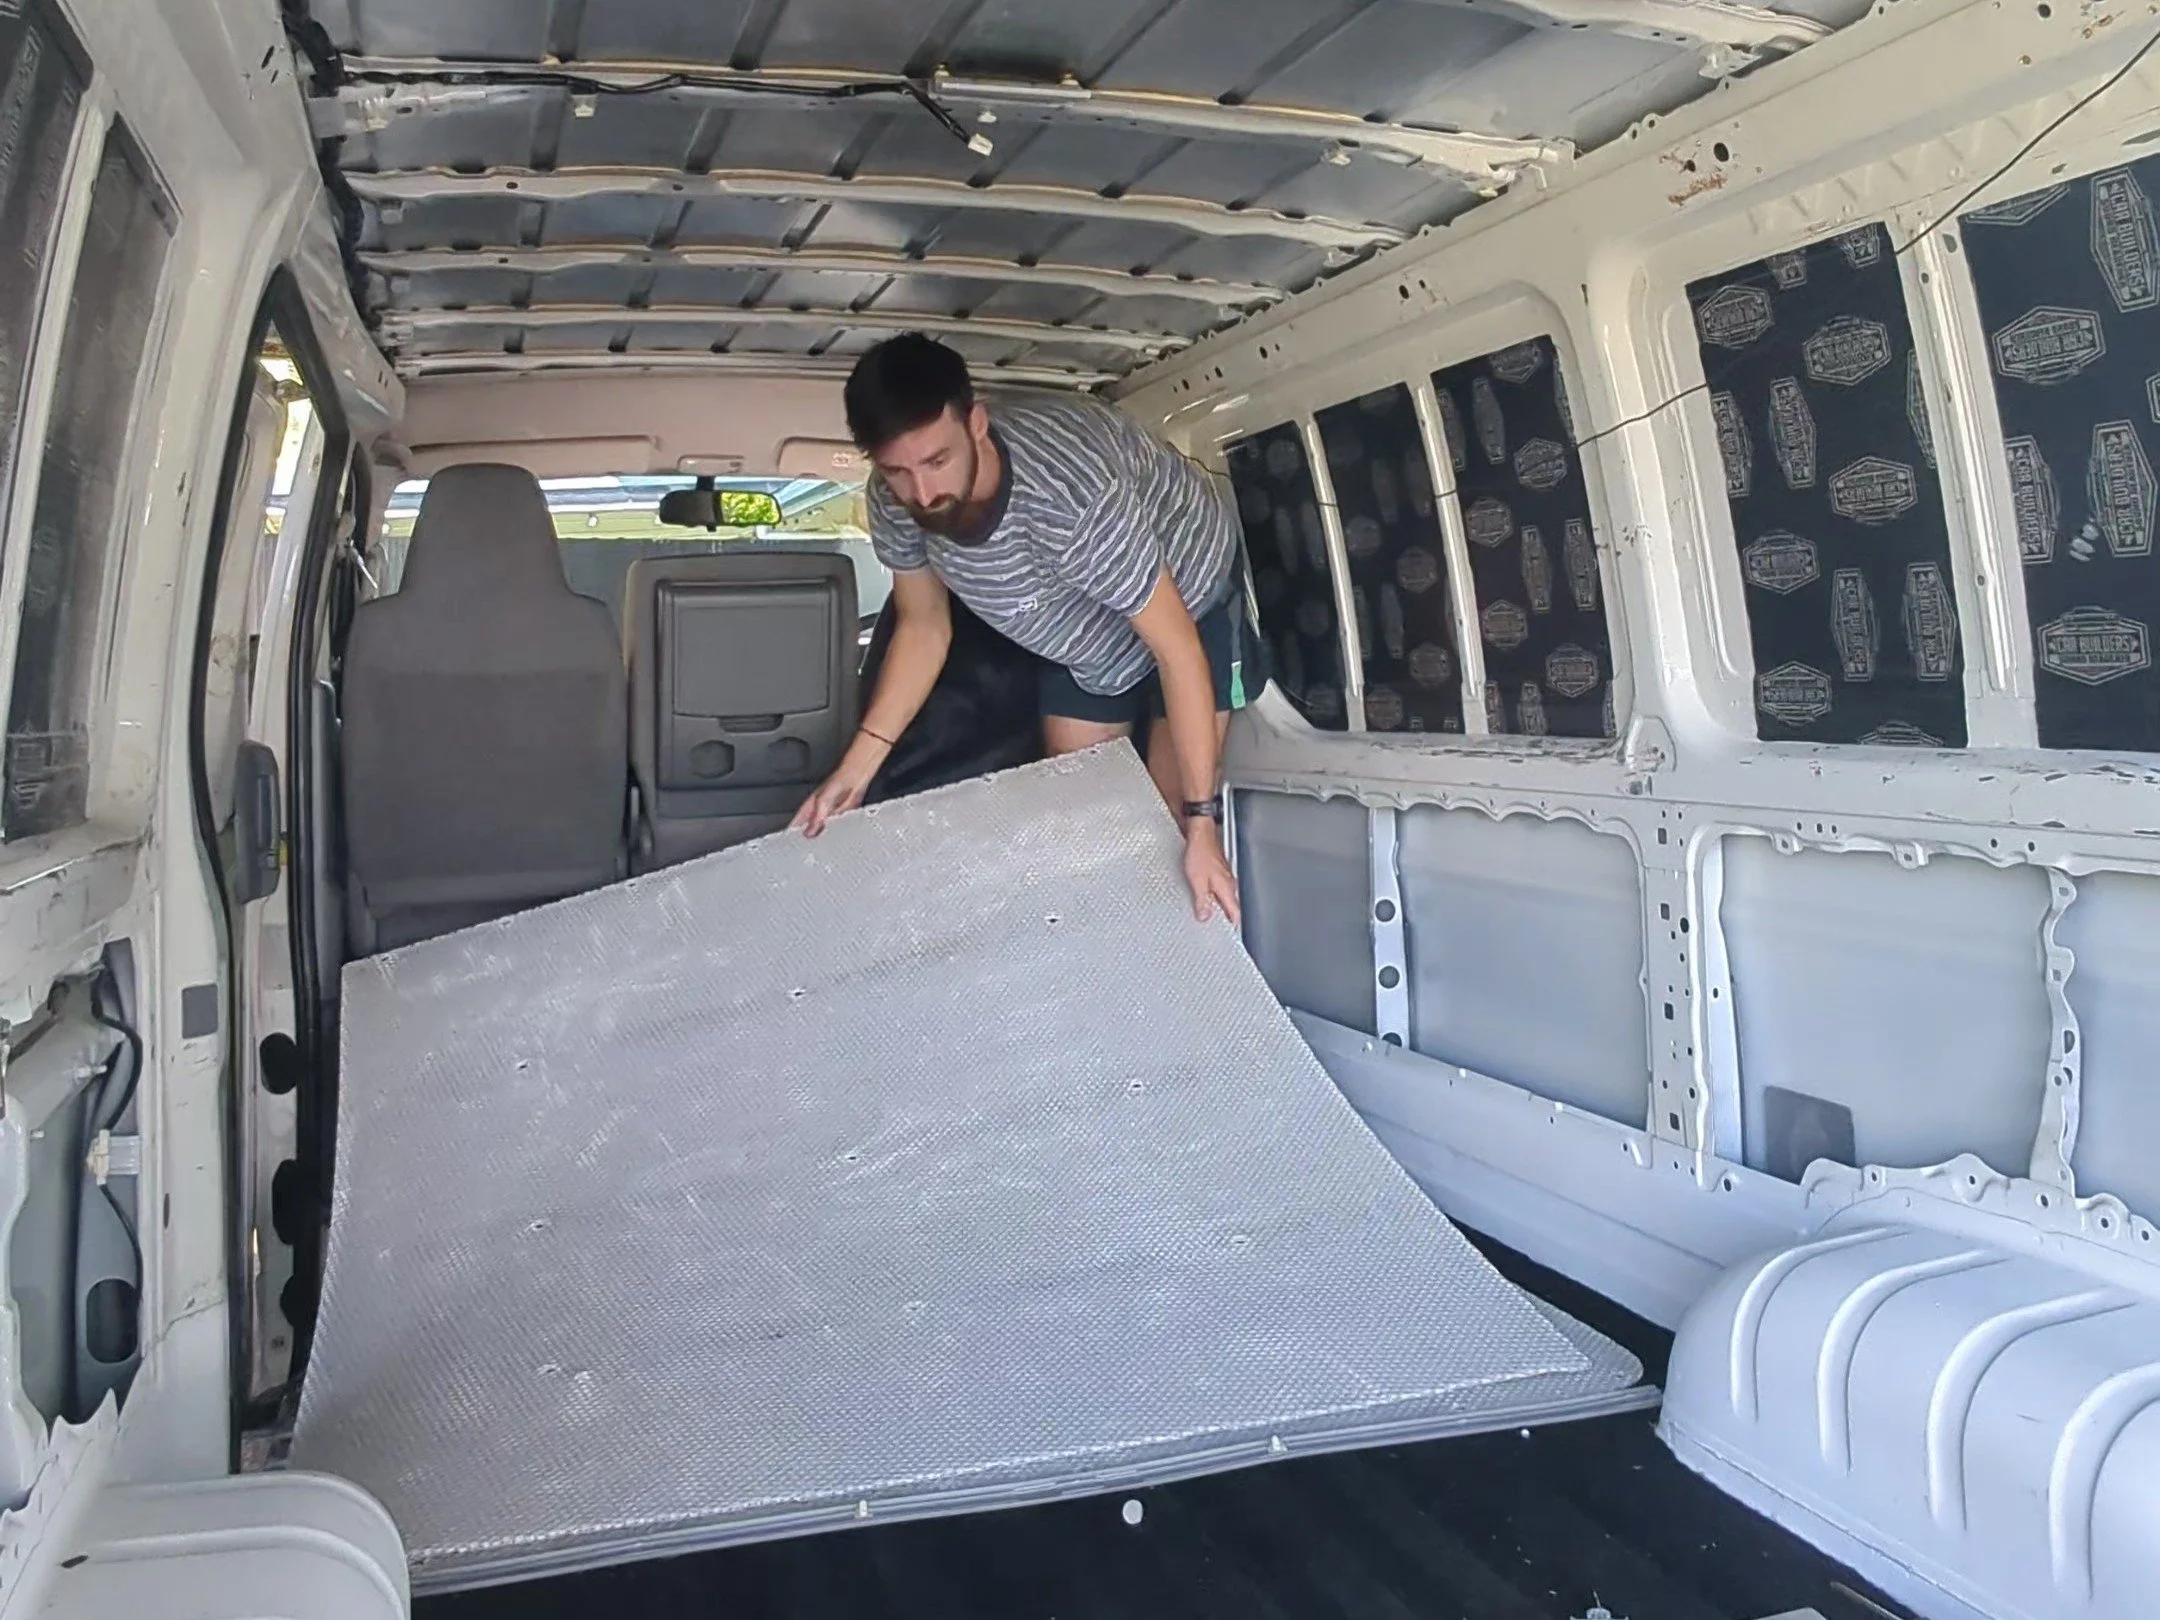
Removing Floor Covering
Even if the existing floor boards appear to be in good condition, this step is essential to ensure the health of your conversion. Remove any existing floorboards to allow you to properly clean the bed pan (metal floor), thoroughly inspect for rust, and install insulation in following steps.
(Note: Make sure to keep these boards to use as a template for cutting your new subfloor!)


Bag and label everything
Keep screws, clips, and bolts in labelled bags as you remove them. You’ll often reuse them later for framing or trim.
Heat helps stubborn adhesive
A cheap heat gun or even a hairdryer softens old glue under flooring or insulation, making removal much easier.
Check under factory flooring
Always pull out factory flooring regardless of the condition it's in to check for any rust on the floorpan.
Save useful panels
Old ply wall panels or flooring make great stencils for cutting new insulation, framing, or subfloor sheets later in the build.