


Van Conversion Guide
Base Build
Removing ALL Rust
Take rust removal seriously at the beginning or it will cause you 10x the headaches down the line and seriously reduce the value of your van.
The importance of this step is something you can’t fully appreciate until you witness first hand how quickly it can take hold of your van. You must treat all visible rust and clean thoroughly after rust treatment and after every metal cut to prevent rust from returning or spreading all over your paintwork.

Tools
Here are my tips on the best tools for the job:
A Flappy Disk grinder attachment:
Wheras other grinder attatchments can be difficult for DIY builders to master without causing too much damage to their vans, the flappy disk is designed with rust removal in mind. It’s abrasion is perfectly suited to remove even heavy set rust without ripping through good metal.
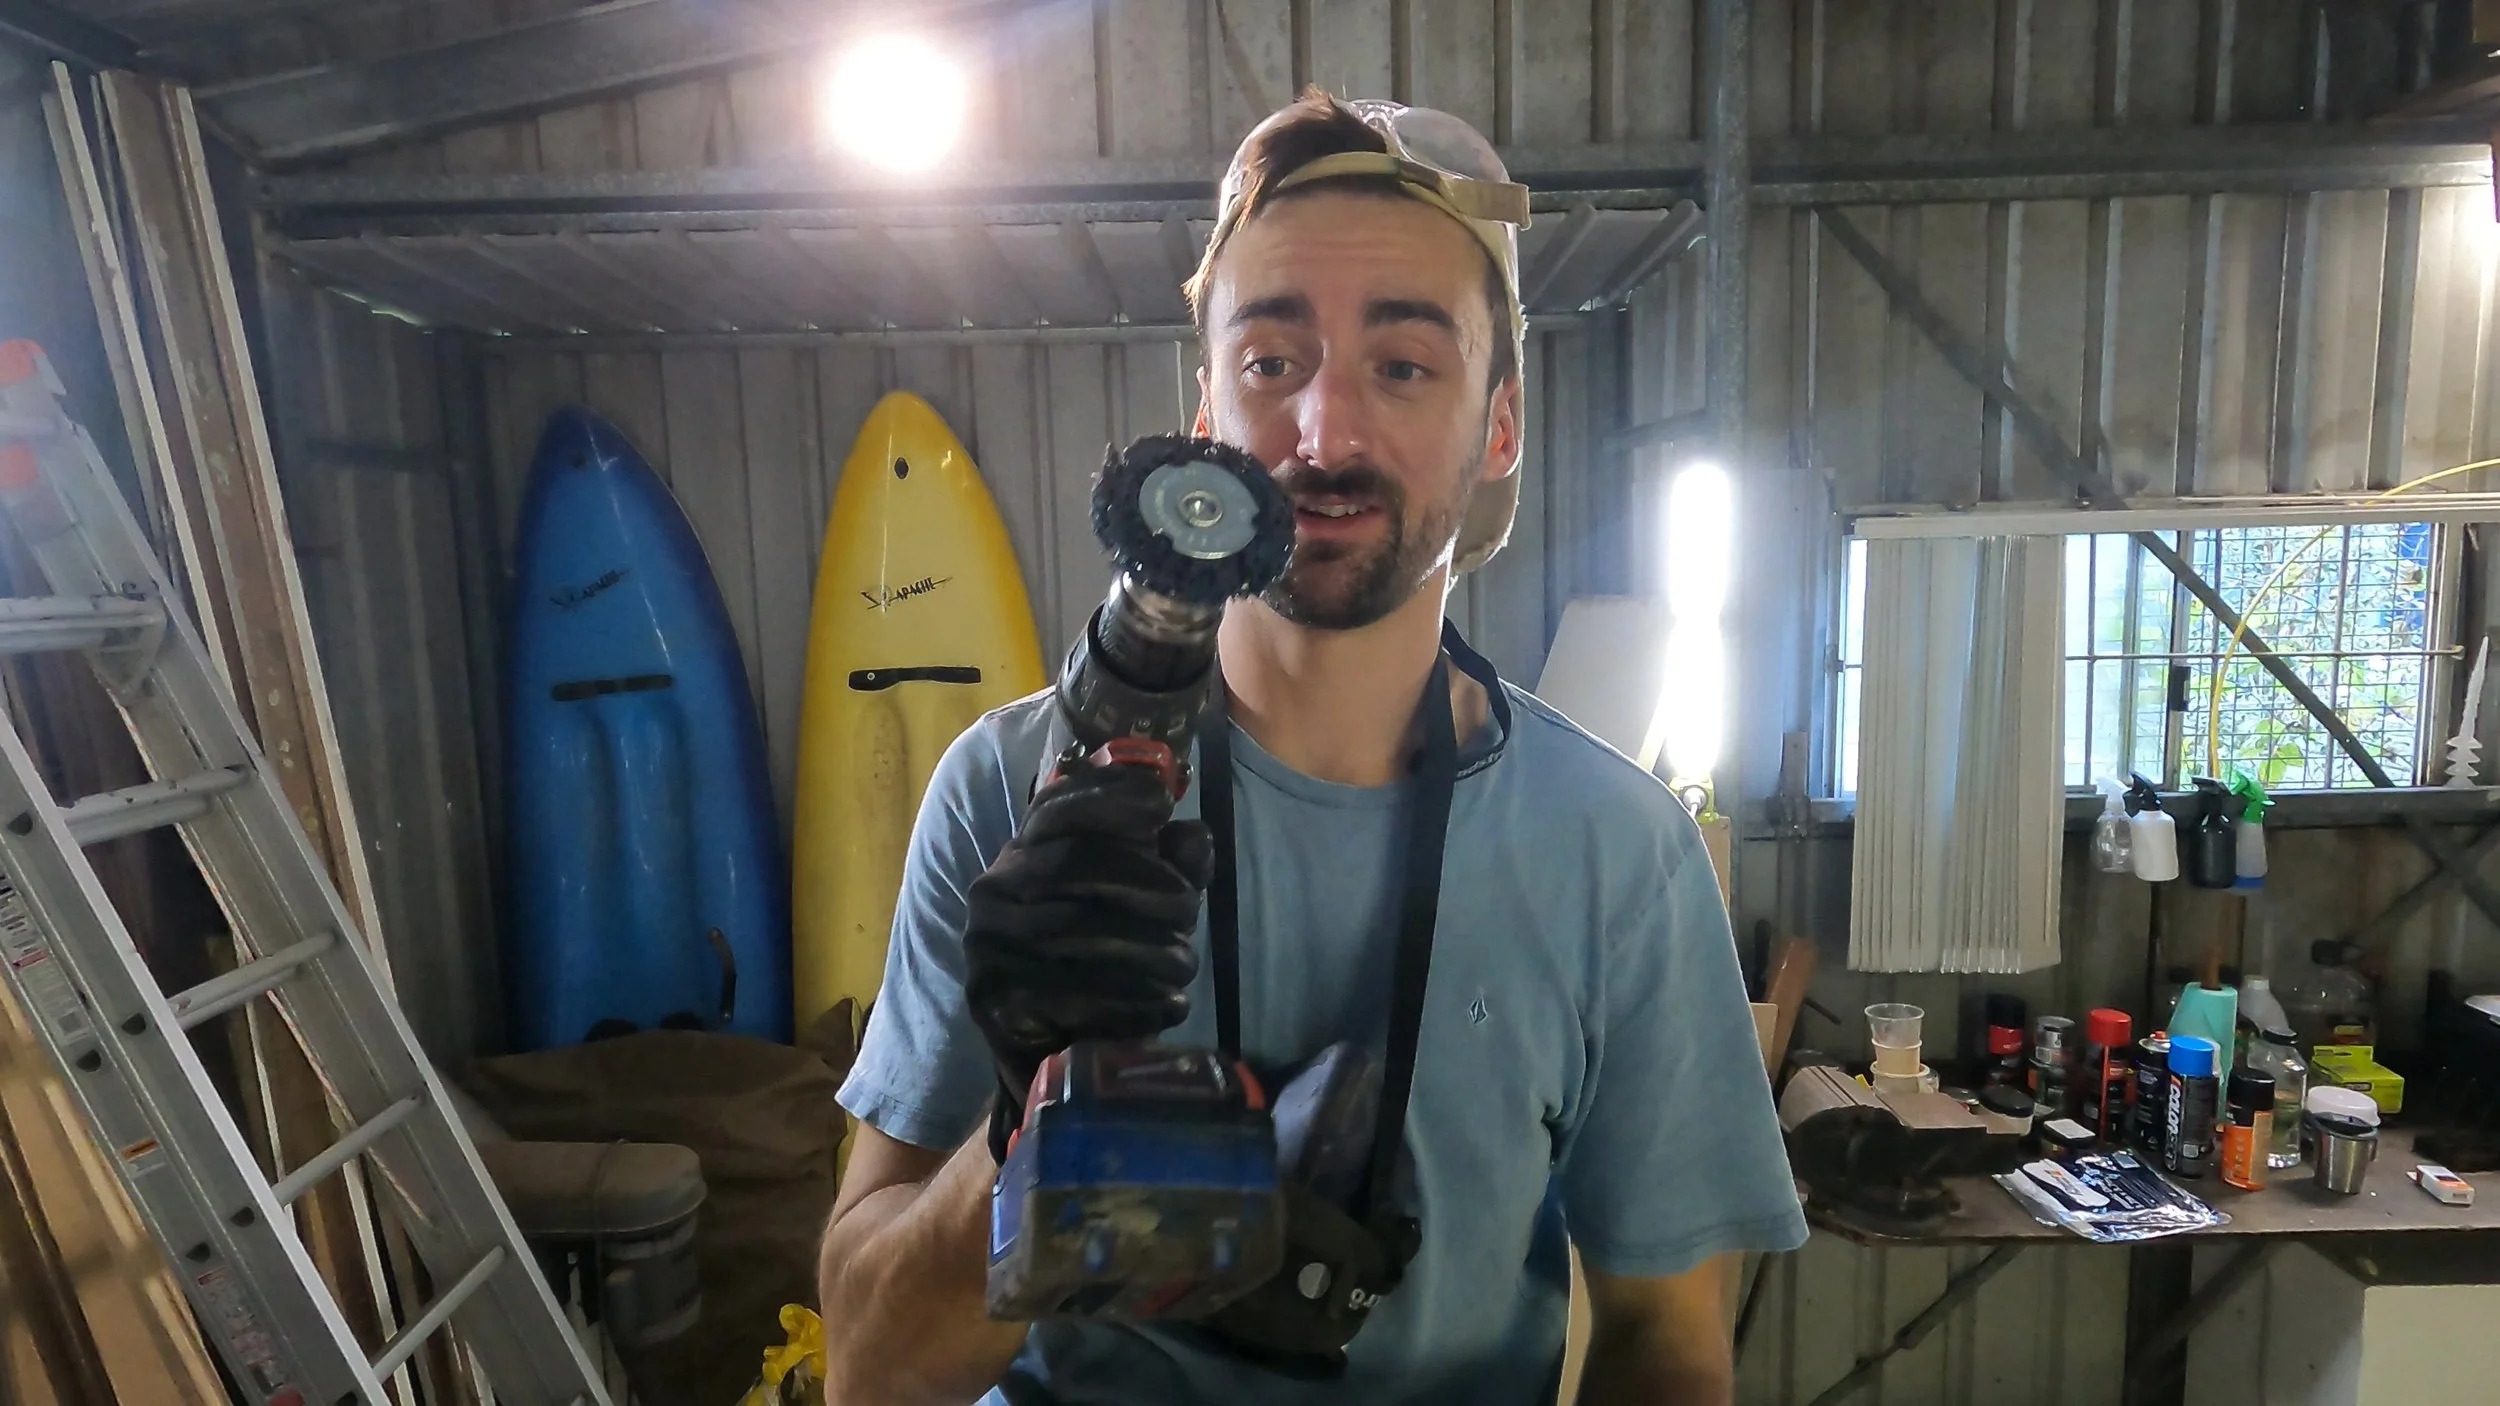
“Strip-It” Rust Wheel
One of my favourite discoveries in van building — this tool is perfect for finishing off rust removal once the heavy stuff is gone. It aggressively removes any remaining surface rust, getting into all the tiny bumps and crevices left behind, while somehow leaving the good metal untouched.
Alternative Options That Still Work:
A braided wire attatment for use with a standard drill.
This attachment is tough as hell and really chews through rust with ease if used right. Plus it has the added benefit of attatching straight onto a standard drill which most people have access to. (Always use safety glasses with these)
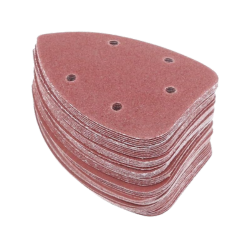
Small electric sander with high grit sand paper.
This method has a little more accuracy and finess about it and is far less intimidating to use. However, it can’t quite shred through heavy set rust like the wire attatchment can.
Sandpaper on it’s own with a little elbow grease will also come in really handy for finishing off any delicate or hard to reach areas.
I don’t recommend using a grinder with any attachments other than the flappy disk. They’re a challenge to handle at times and with the wrong attachemtn can quickly do more damage than it’s worth.

Flappy Disk Attachment


Products
Once all visible rust has been removed it’s time to treat all of the effected areas.
Rust Converter
(Sold at Repco)

Your new best friend in the fight against rust - simply spray it over the affected areas and watch as it reacts, turning a deep purple as it neutralises rust and chemically converts it into a stable, harmless metal.
Etch Primer
(Sold at Supercheap Auto)

Etch primer is the key to getting paint to properly bond to bare metal. It bites into the surface, creating a strong base layer that prevents rust from returning and helps your top coats stick smoothly and last longer.
Colour Mathced Paint
(Sold at Supercheap Auto)

Your final layer of protection and polish - colour-matched paint gives your repair a seamless factory finish. Simply provide your vehicle’s three digit colour code (found on the VIN plate) to your local auto store, and they’ll mix a perfect match in an aerosol can ready to spray.
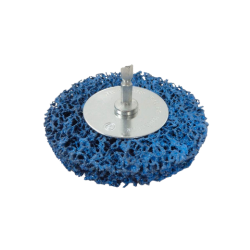
Strip It Rust Wheel

Small Electrical Sander
Method
Strip Heavy Rust
Use a grinder with a flap disk or a drill with a braided wire brush attachment (use safety glasses - seriously!), applying sturdy downward pressure to remove all heavy-set rust down to bare metal. Avoid using cutting or grinding discs on grinders, as they can severely damage the metal.
Remove Surface Rust
Use a “strip it rust wheel” attachment on your drill, or a small sander or hand-held sandpaper. Start lightly for minor rust and apply more pressure for deeper rust, taking surfaces back to paint or to bare metal if necessary.
Detail Clean
Thoroughly vacuum and then clean the entire area with a degreaser, methylated spirits, or mineral turpentine to remove any microscopic rust spores and prepare the surface for painting.
Apply Rust Converter
Even if no vidual rust remains, apply a rust converter to exposed areas of metal. It chemically converts rust into a harmless metal, indicated by the metal turning a deep purple colour. For novices dealing with rust I recommend using a coat of rust converter even if it appears that you have removed all of the rust in the previous steps. I think of this as like an insurance - neutralising any spores that may have survived.
Before you paint - Think of painting a vehicle like a delicate scientific process where the smallest details can completely ruin your work. Be sure to read the instructions on any products you use thoroughly and actually follow them - cleaning, waiting times ect. are all important.
Apply Base Coat/Etch primer
(Clean area with wax & grease remover and allow drying time) It’s important to apply a base coat next to give your final coats of coloured paint the most compatible serface possible to adhere to. Etch primer is the best kind of base coat to use if possible because it has the strongest adheasion to bare metals, other paints, and rust converter.
Apply Colour/Top Coat
Apply at least two to three light coats of finished paint for proper sealing over your base coat/primer. Colour-match the exterior if needed by taking your vehicles 3 digit colour code (found on the same information plaque as the VIN number) and asking for colour matched paint in an aerosol tin at your local Supercheap Auto store.
Acrylic Clear Coat
(If necessary) On the exterior of the van or anywhere visible you might want to finish with a clear coat available at most auto retailers. This protects the paint and helps achieve a similar “glossy” finish to the rest of the van. Seriously consider this last step because missing it can result in a very “DIY” or “botch job” looking finish despite all your hard work.
Deap Clean
Take the opportunity while you have a completely empty can to give it a really good once over. Investing the time to remove all the dirt, grease and grime of the previous owner will give you a renewed sense of pride and also remove any rust spores that might have survived the rust treatment process and settled on another surface in your van.
Use a degreasing agent for cleaning the cargo area of a van to best deal with the heavy set dirt and oils.
Make that thing shine!


Protect the van before you grind
Mask nearby paint and glass, lay drop sheets, and use magnets or tape along cut lines to catch filings. Hot shards embed and create rust specks fast if left behind.
Use the right abrasive order
Heavy rust: flap disc or braided wire. Remaining rust: Strip-It wheel. Smooth and feather: sander/high-grit paper. This sequence removes rust without gouging good metal.
Prime the same day
After cleaning and rust converter cures (per instructions), hit bare metal with etch primer the same day to avoid flash rust. Follow product re-coat windows closely.
Always read product instructions
Think of auto painting like a scientific process where one slight alteration in the process can completely ruin the finished product. Read each product's instructions and follow them!