

Installing Campervan Windows
Adding a window to your van completely transforms the feel inside. It brings in natural light, fresh air, and makes the space feel more open and liveable. But cutting into the side of your van can feel daunting - it’s one of the few irreversible steps in your build. Done right though, it’s straightforward and incredibly rewarding.
This page walks you through installing a bonded/sliding campervan window - the same process I’ve used in my builds.

Materials and Tools
Campervan Window
Choose a bonded or sliding campervan window designed to fit your van. Make sure you order the correct size and side (left vs right).
Cutting tools
A jigsaw with fine-tooth metal blades for cutting the van panel. You’ll also need drill bits to create starter holes for the jigsaw.
Protective equipment
Safety glasses, gloves, and hearing protection are essential. Cutting sheet metal throws sharp shards and is loud work.
Rust protection & sealant
Primer/paint to protect the bare metal edges after cutting, and a high-quality polyurethane adhesive/sealant (like Sikaflex) for sealing the window frame.
Other essentials
Masking tape
Clamps (or suction cups for handling glass)
Marker/straight edge
Vacuum (for cleaning filings)
File or deburring tool


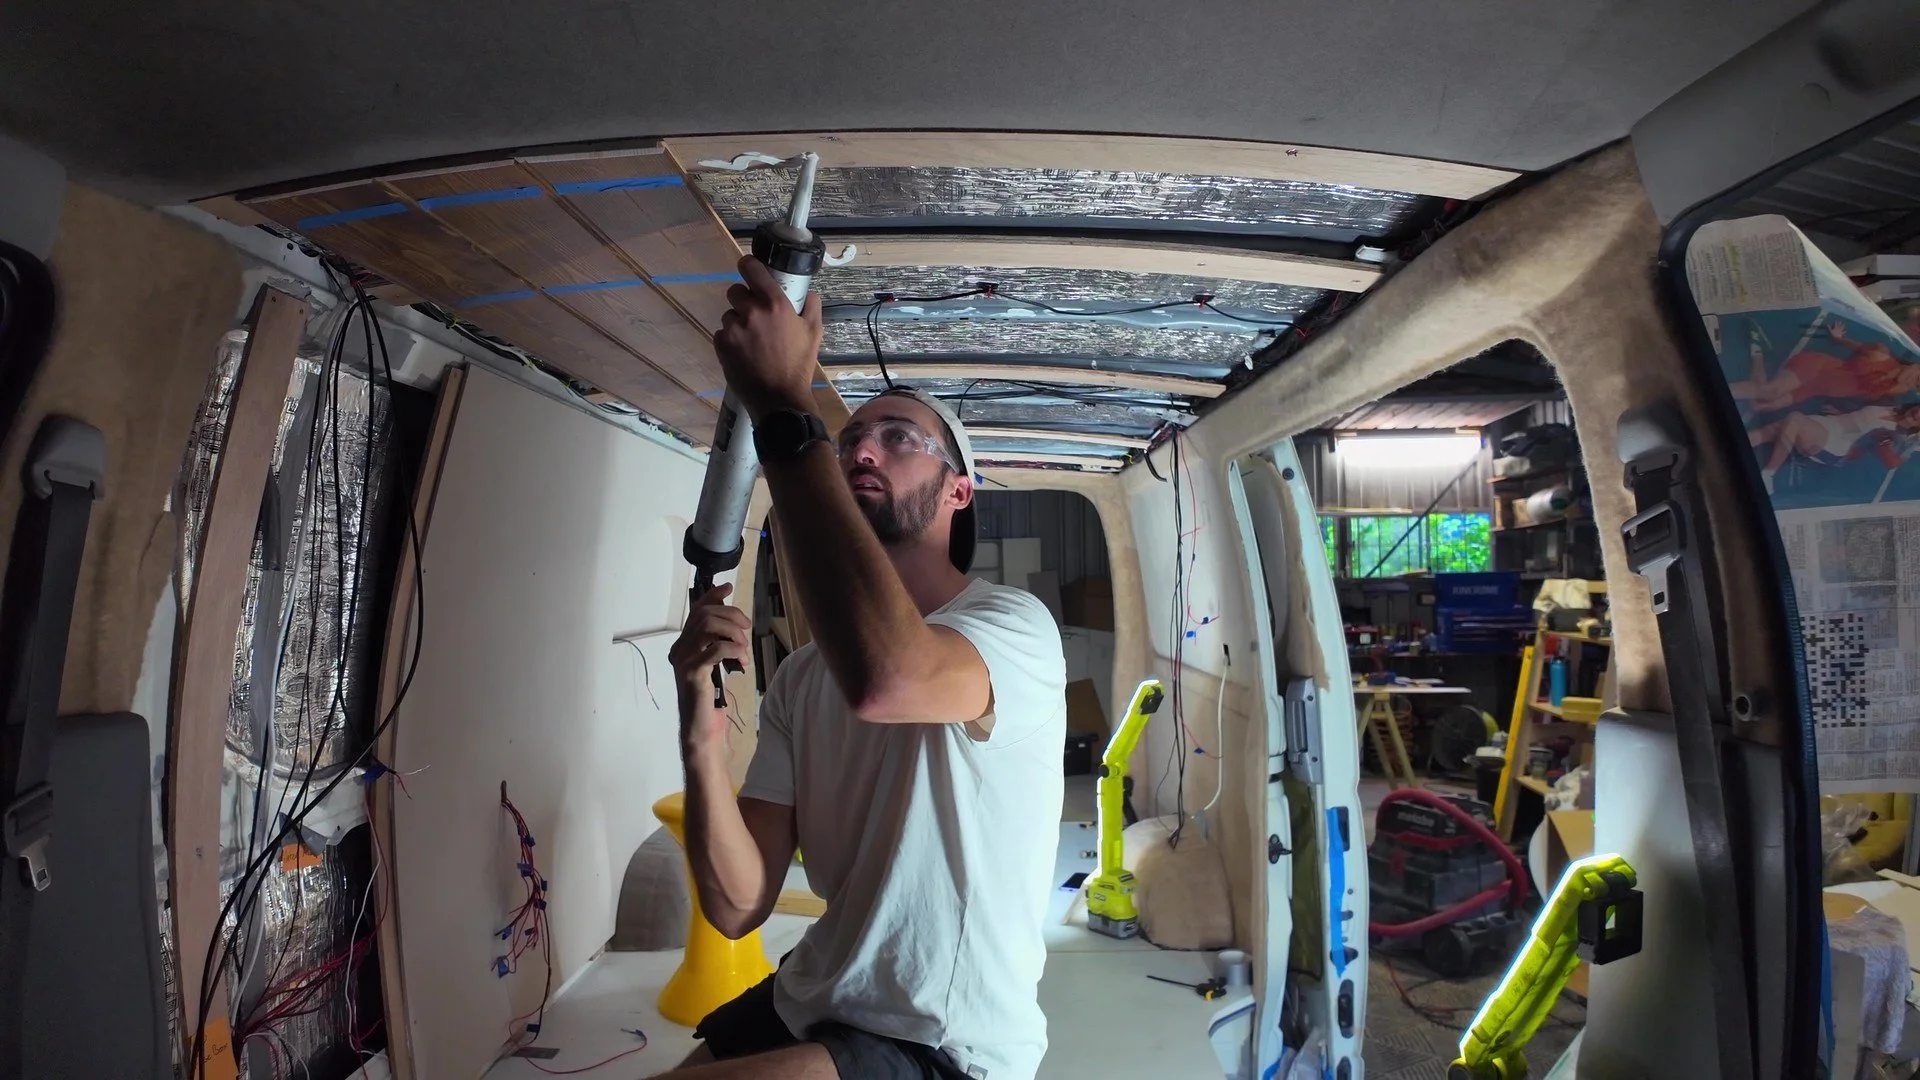
Tip - A light interior makes the space feel larger which can make a huge differece in a tight space like a campervan

Additional Tools:
Drill + Drill bits
Impact driver + timber screws
or
Nailgun/Hammer (If using nails)
Jigsaw
Jigsaw blades
Dropsaw/Circular saw
Sanding block
Tape measure
Pencil
Paintbrush or roller
Method
Method
Mark your cutout
Measure carefully, then measure again. Use the window frame as a guide or follow manufacturer templates. Mark the cutout on the van wall with masking tape and a marker — the tape helps prevent paint chipping when cutting.
Drill pilot holes
Drill holes just inside the corners of your cutout large enough to fit your jigsaw blade. These will be your starting points for cutting.
Cut the opening
Using a jigsaw with a fine metal blade, cut slowly along the taped line. Support the panel as you finish each side so it doesn’t tear away and bend the sheet metal.
Treat bare metal
Once the panel is out, file down any sharp edges and clean up filings. Coat all cut edges with rust protection — primer, paint, or rust-proofing spray — and let it cure fully before continuing.
Test fit the window
Place the window into the cutout to check alignment and ensure it sits flush. Adjust the cut edges if necessary.
Apply adhesive/sealant
Run a continuous bead of polyurethane adhesive (Sikaflex or similar) around the inside flange of the window frame. Be generous — this is what keeps water out.
Install the window
With a second set of hands if possible, press the window into the opening. Clamp lightly (or use tape/temporary props) to hold it in place while the adhesive cures.
Clean up excess sealant
Wipe away any excess before it hardens, being careful not to smear sealant onto the glass.


Measure twice, cut once
Double-check placement from inside the van before cutting and remember to allow extra space around your cutout for the internal blind system.
Avoid using a grinder
Grinders spray thousands of tiny metal shards as they cut which can create rust headaches. Using a Jigsaw is prefered.
All at once
Install the timber frame at the same time as your window to ensure that the window can pull the van wall flat against the wet sikaflex on the frame.
No need to use silicone
If installed properly - the rubber seal around the window is enough to seal the hole and prevent water from coming in. Of course you can seal the perimeter afterwards if it makes you more comfortable.