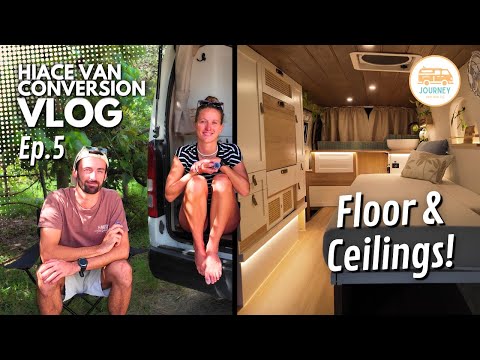
Hiace Van Conversion Vlog - Installing Walls
In this episode of our Toyota HiAce campervan conversion, we build and finish the interior walls—from the initial framing right through to the final coat of textured paint.
This stage is more than just making the van look good. It's where you'll lock in your wall framing, complete your electrical rough-in, create mounting points for cabinetry and transform the inside of the van into something that finally feels like a living space.
As always, we don't just show the highlights. We share the mistakes we made, what we'd do differently next time, and the practical tips that can save you time and frustration on your own build.
In this episode, you'll learn:
How we framed the van walls, floor and ceiling
Why electrical cables need to be run before wall panels go on
Tips for installing 4-way stretch carpet
Mistakes to avoid when using spray adhesive
The pros and cons of full-sheet vs framed MDF wall panels
How we built a custom storage nook
Our textured paint process for a clean, durable finish
If you're getting ready to line the inside of your campervan, this episode will give you a realistic look at the entire process—from bare metal to finished walls—without skipping over the tricky parts.
👉 Want a step-by-step guide? Check out my Van Conversion Guide, where I cover every stage of a DIY campervan conversion with detailed tutorials, product recommendations and beginner-friendly advice.